
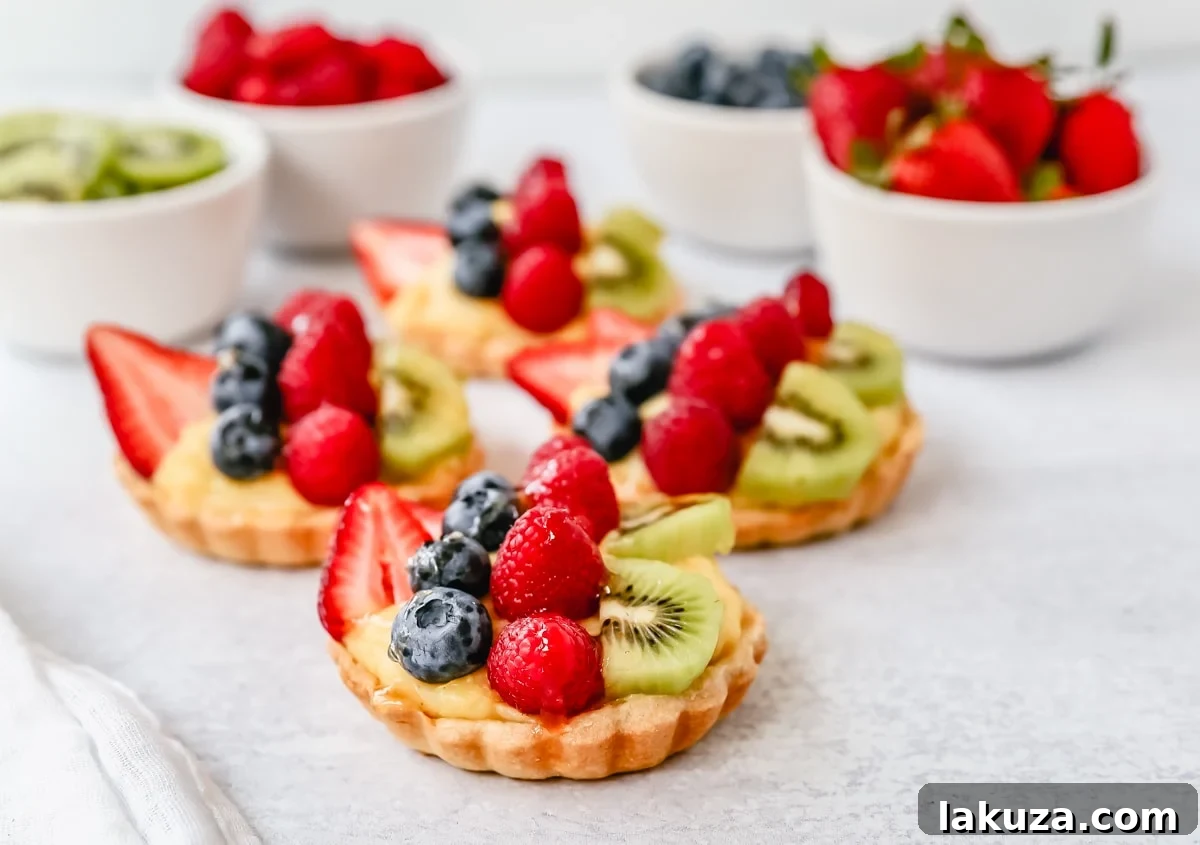
Decadent Fresh Fruit Tart with Vanilla Pastry Cream
Discover the art of making this quintessential French dessert: a flaky, buttery tart crust filled with rich homemade vanilla bean pastry cream and adorned with a rainbow of fresh, seasonal fruits.
As spring awakens the senses, there’s no better way to celebrate than with a dessert that embodies freshness, lightness, and vibrant colors. A classic French Fruit Tart is precisely that — a culinary masterpiece that brightens any table and delights every palate. With its harmonious blend of textures and flavors, this elegant dessert has an undeniable charm that makes it a universal crowd-pleaser. Few can resist the allure of a perfectly crafted fruit tart, and once you master this recipe, it will undoubtedly become a staple in your dessert repertoire.
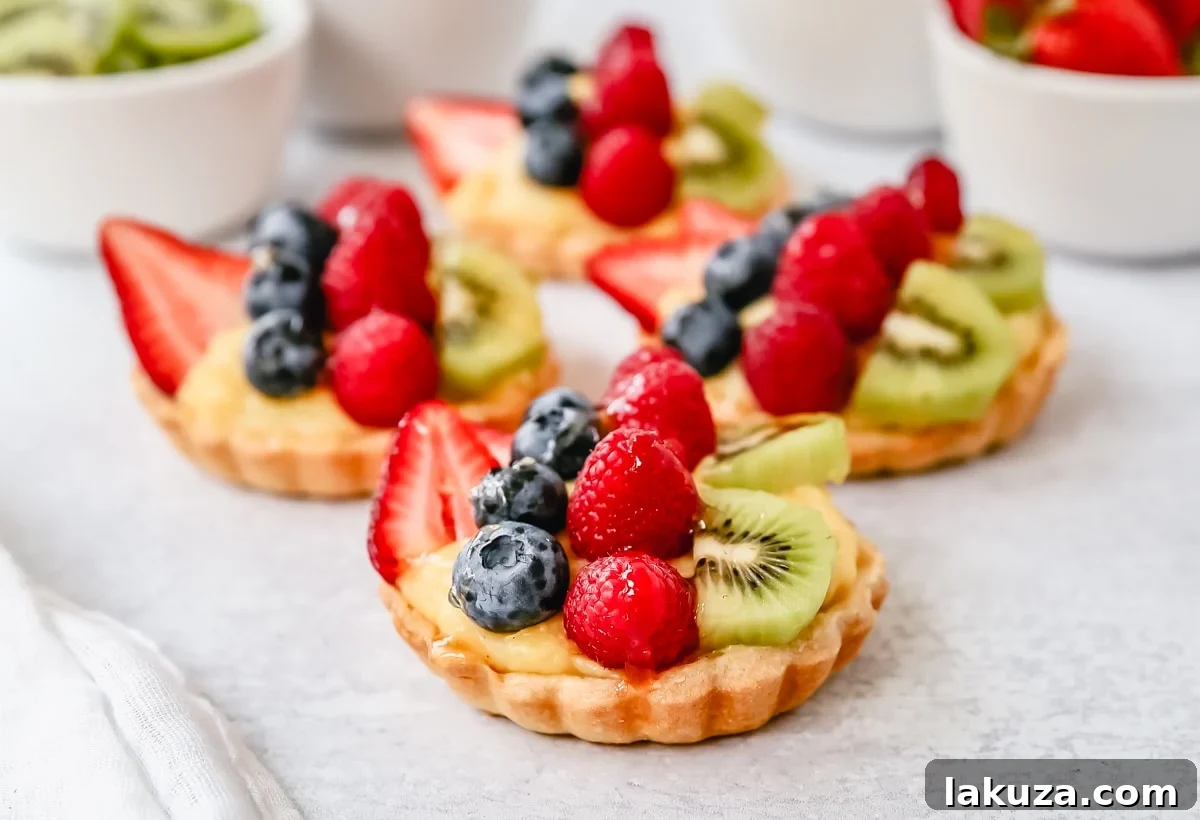
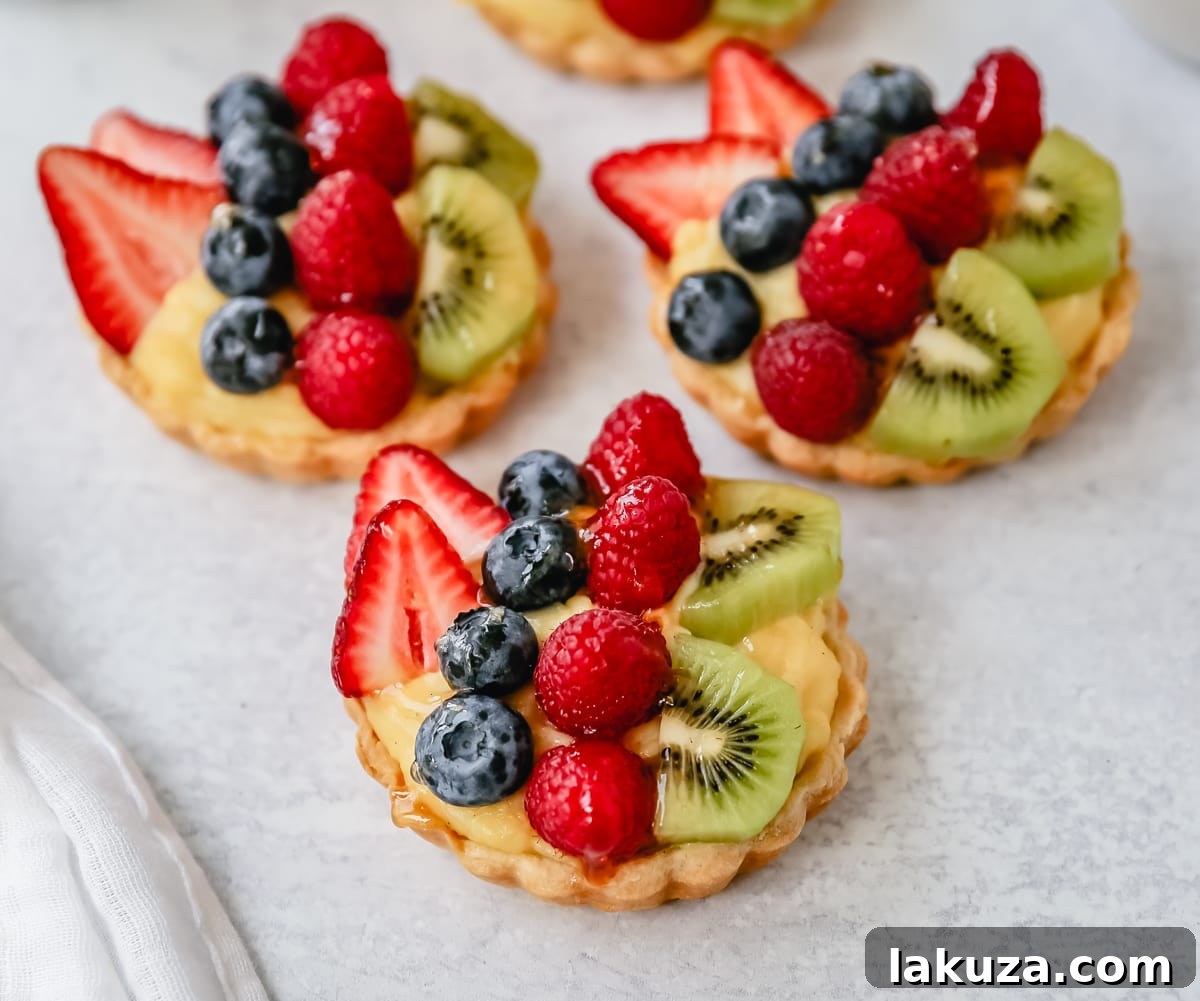
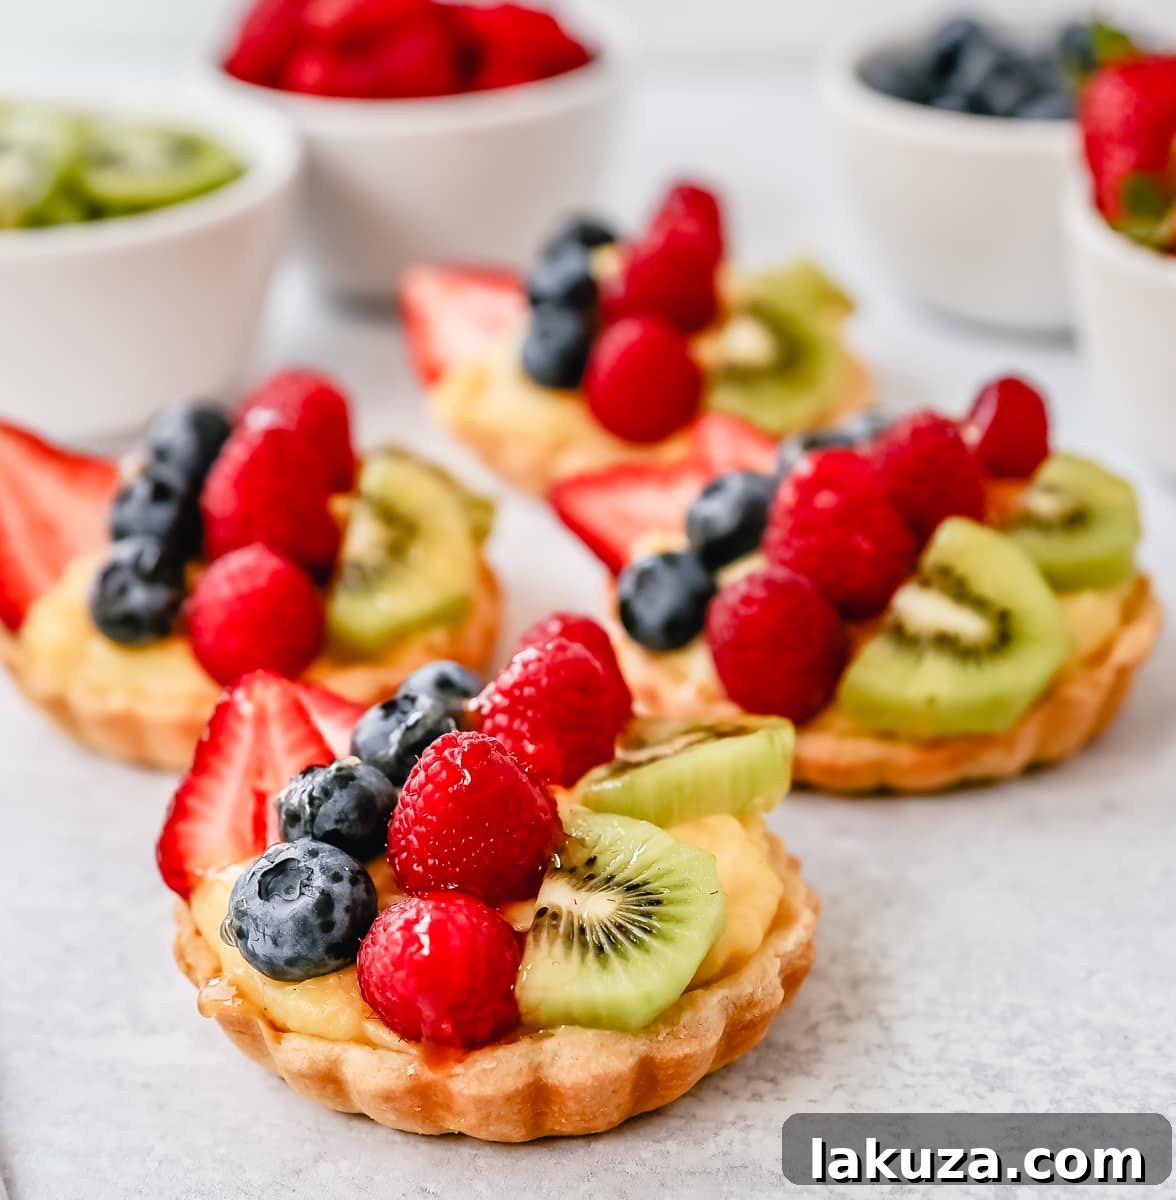
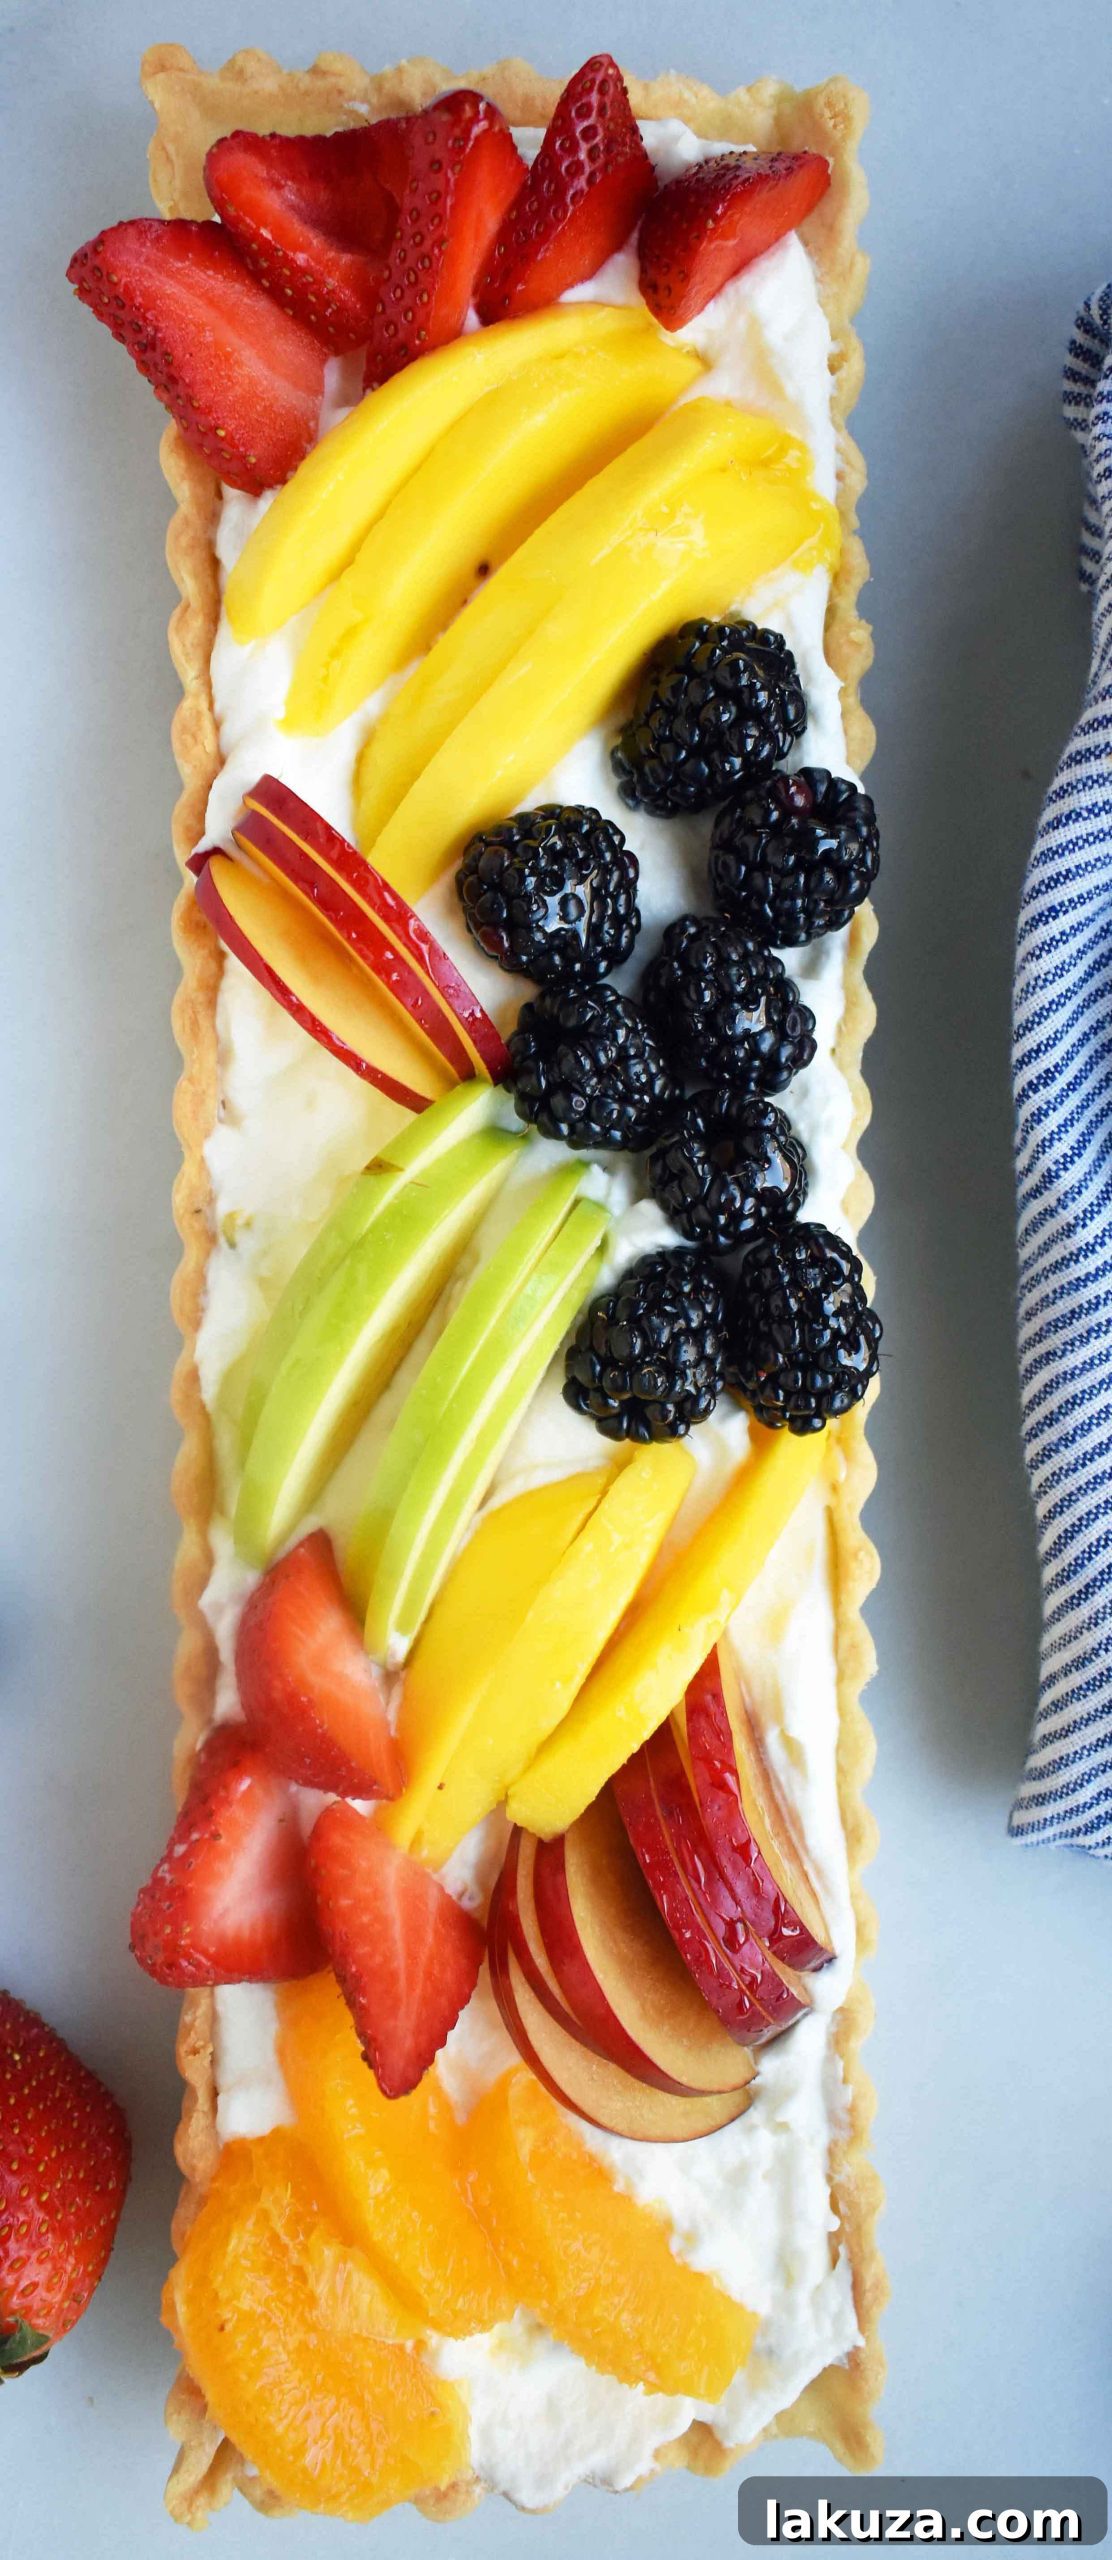
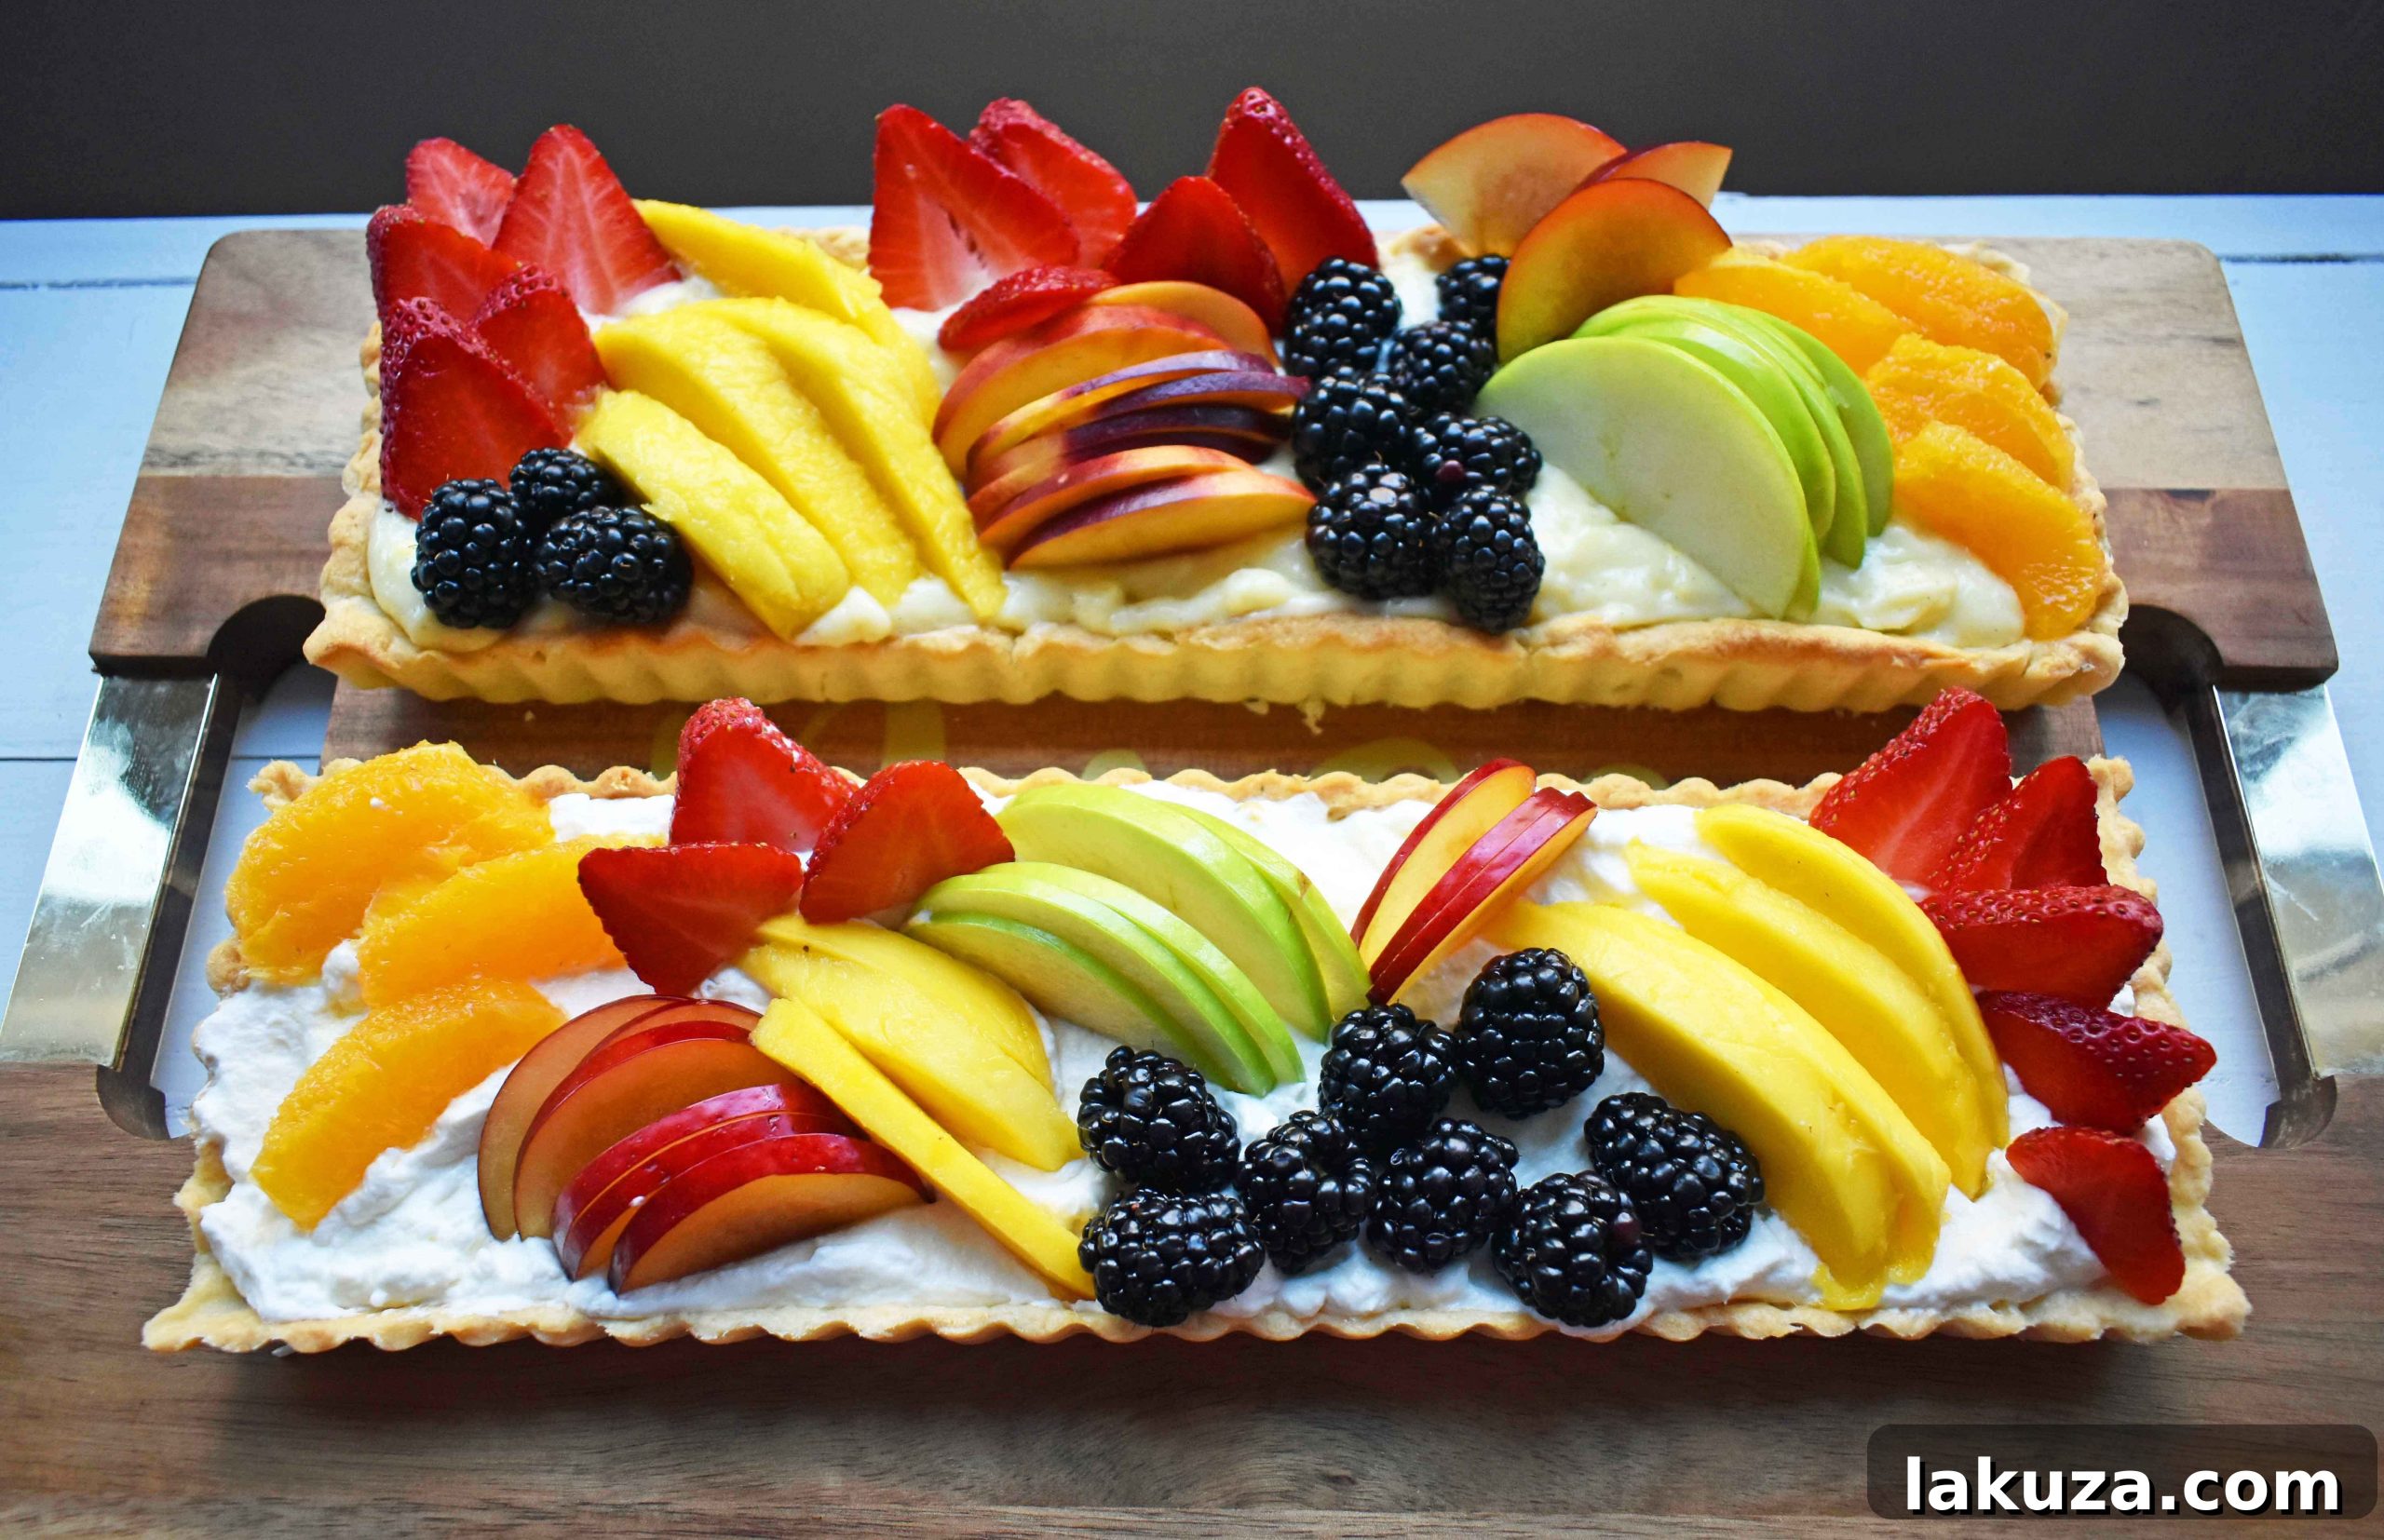
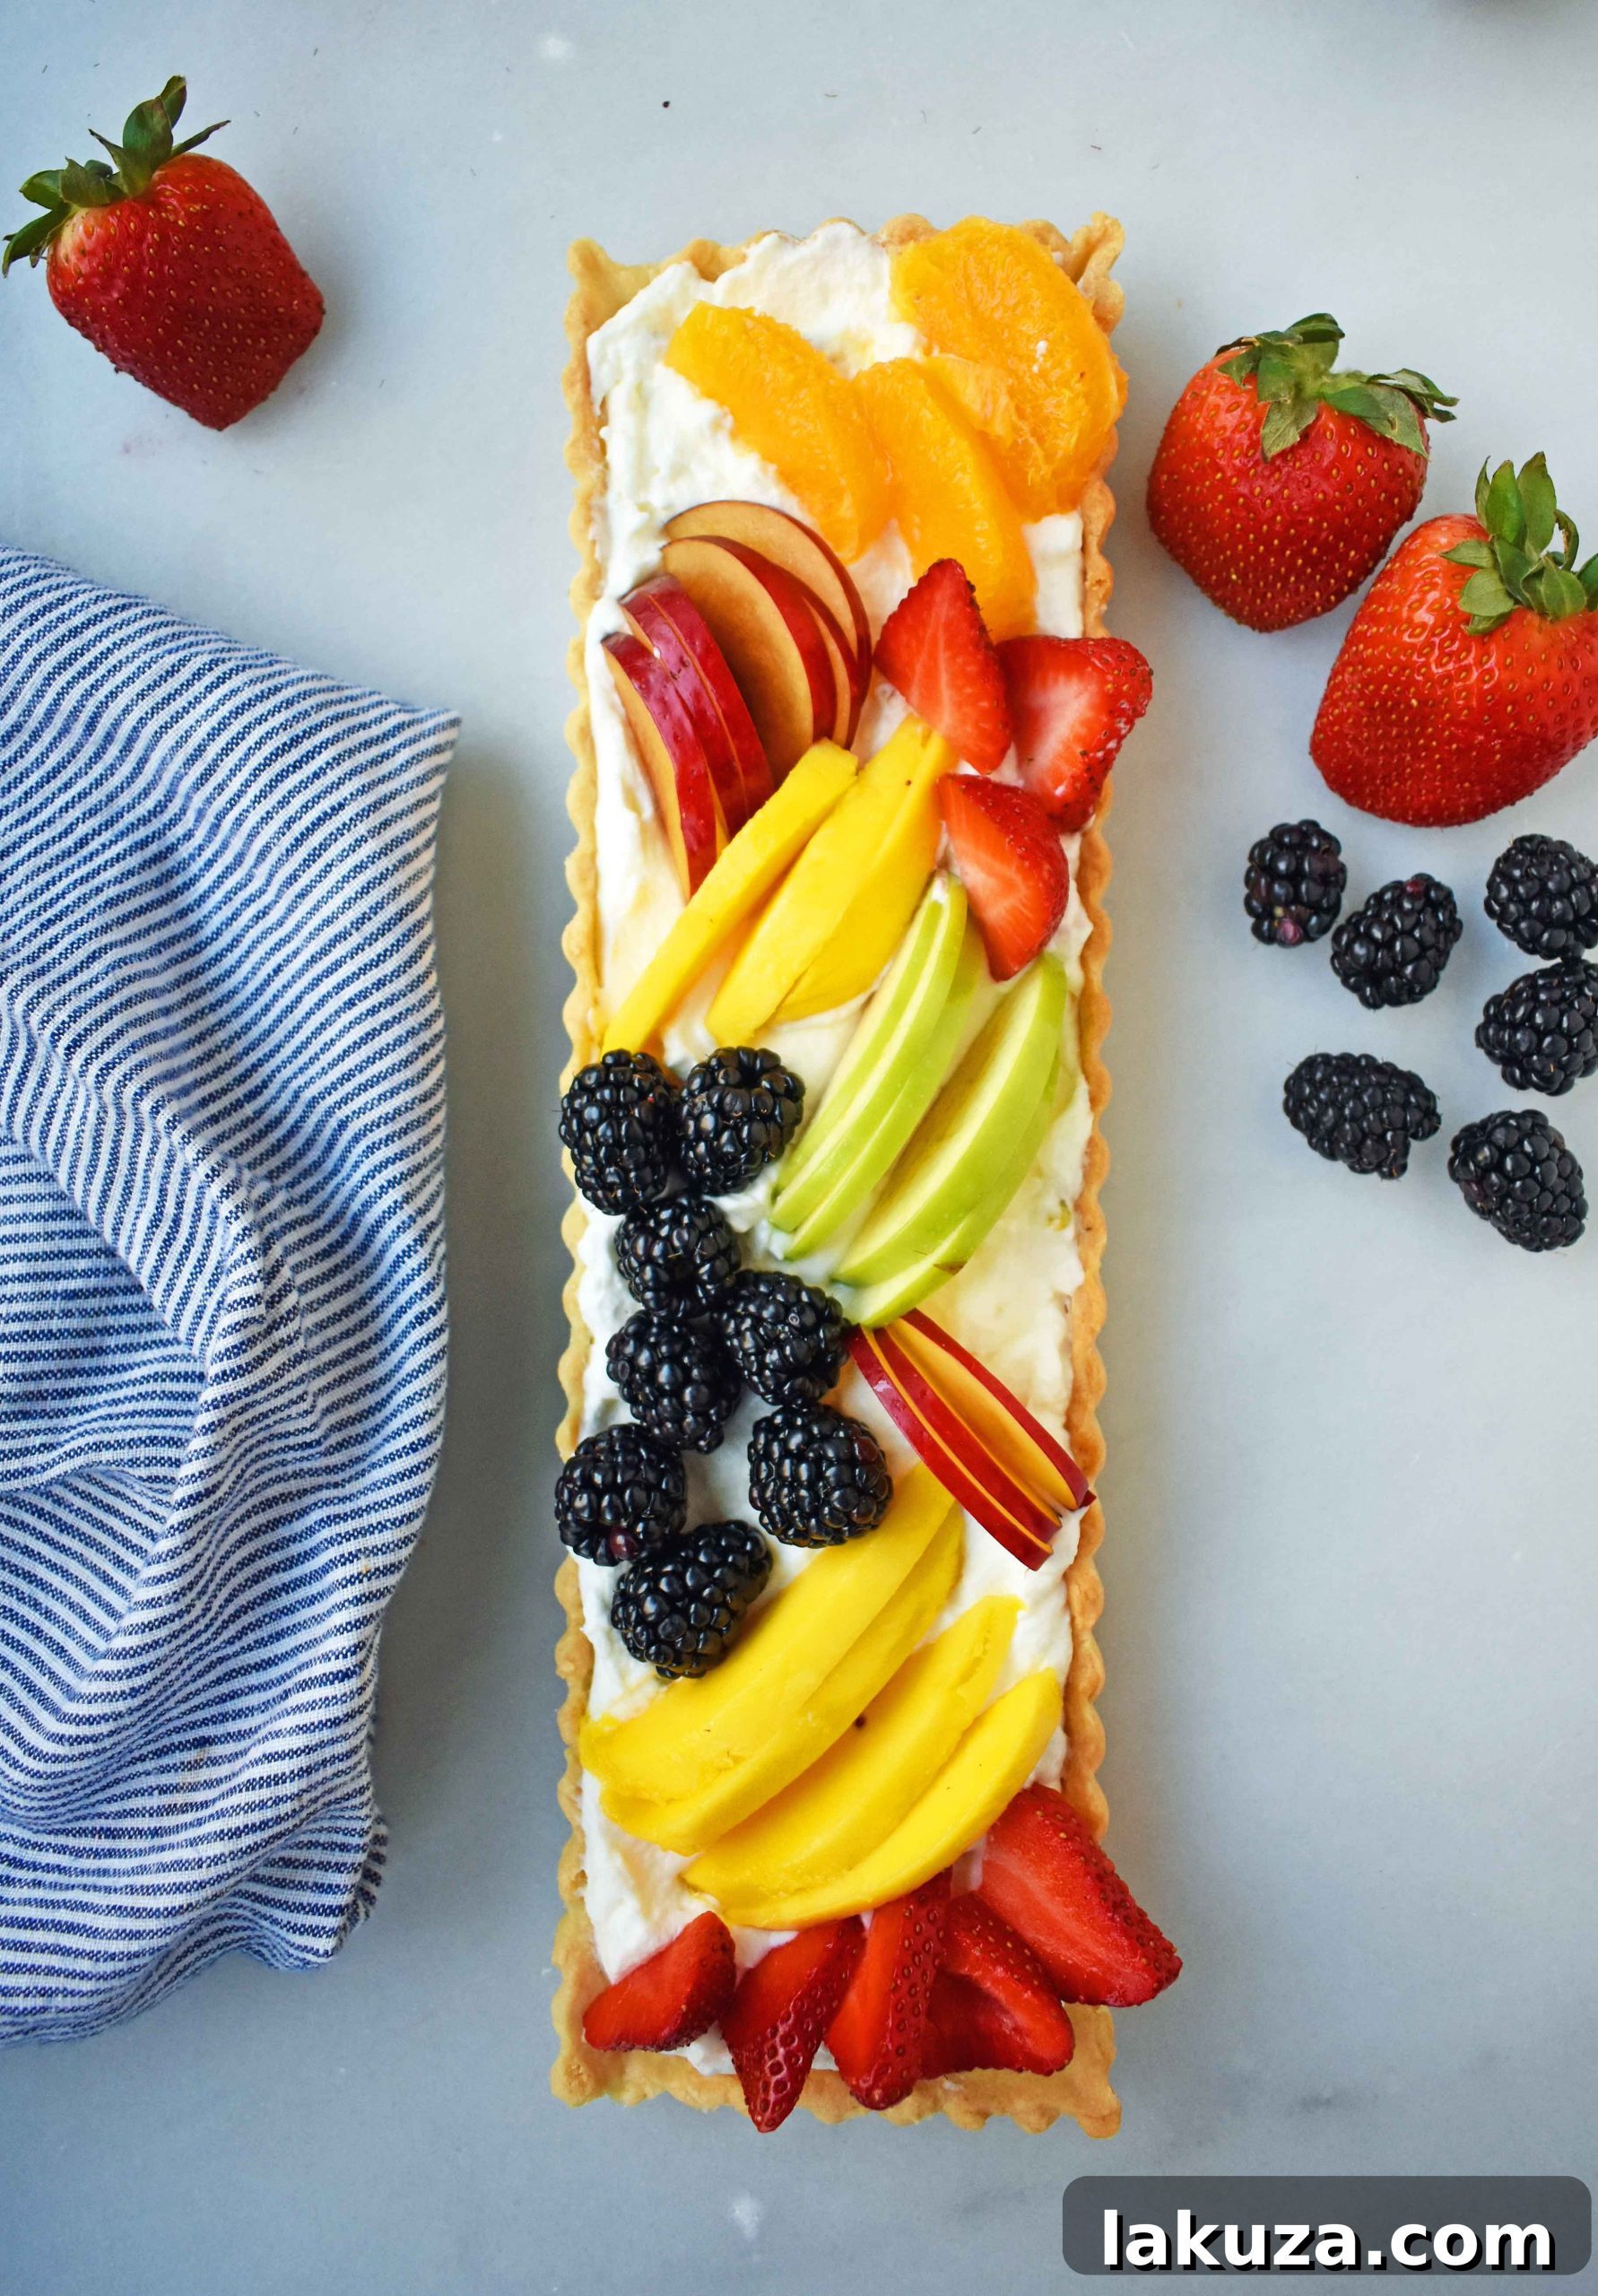
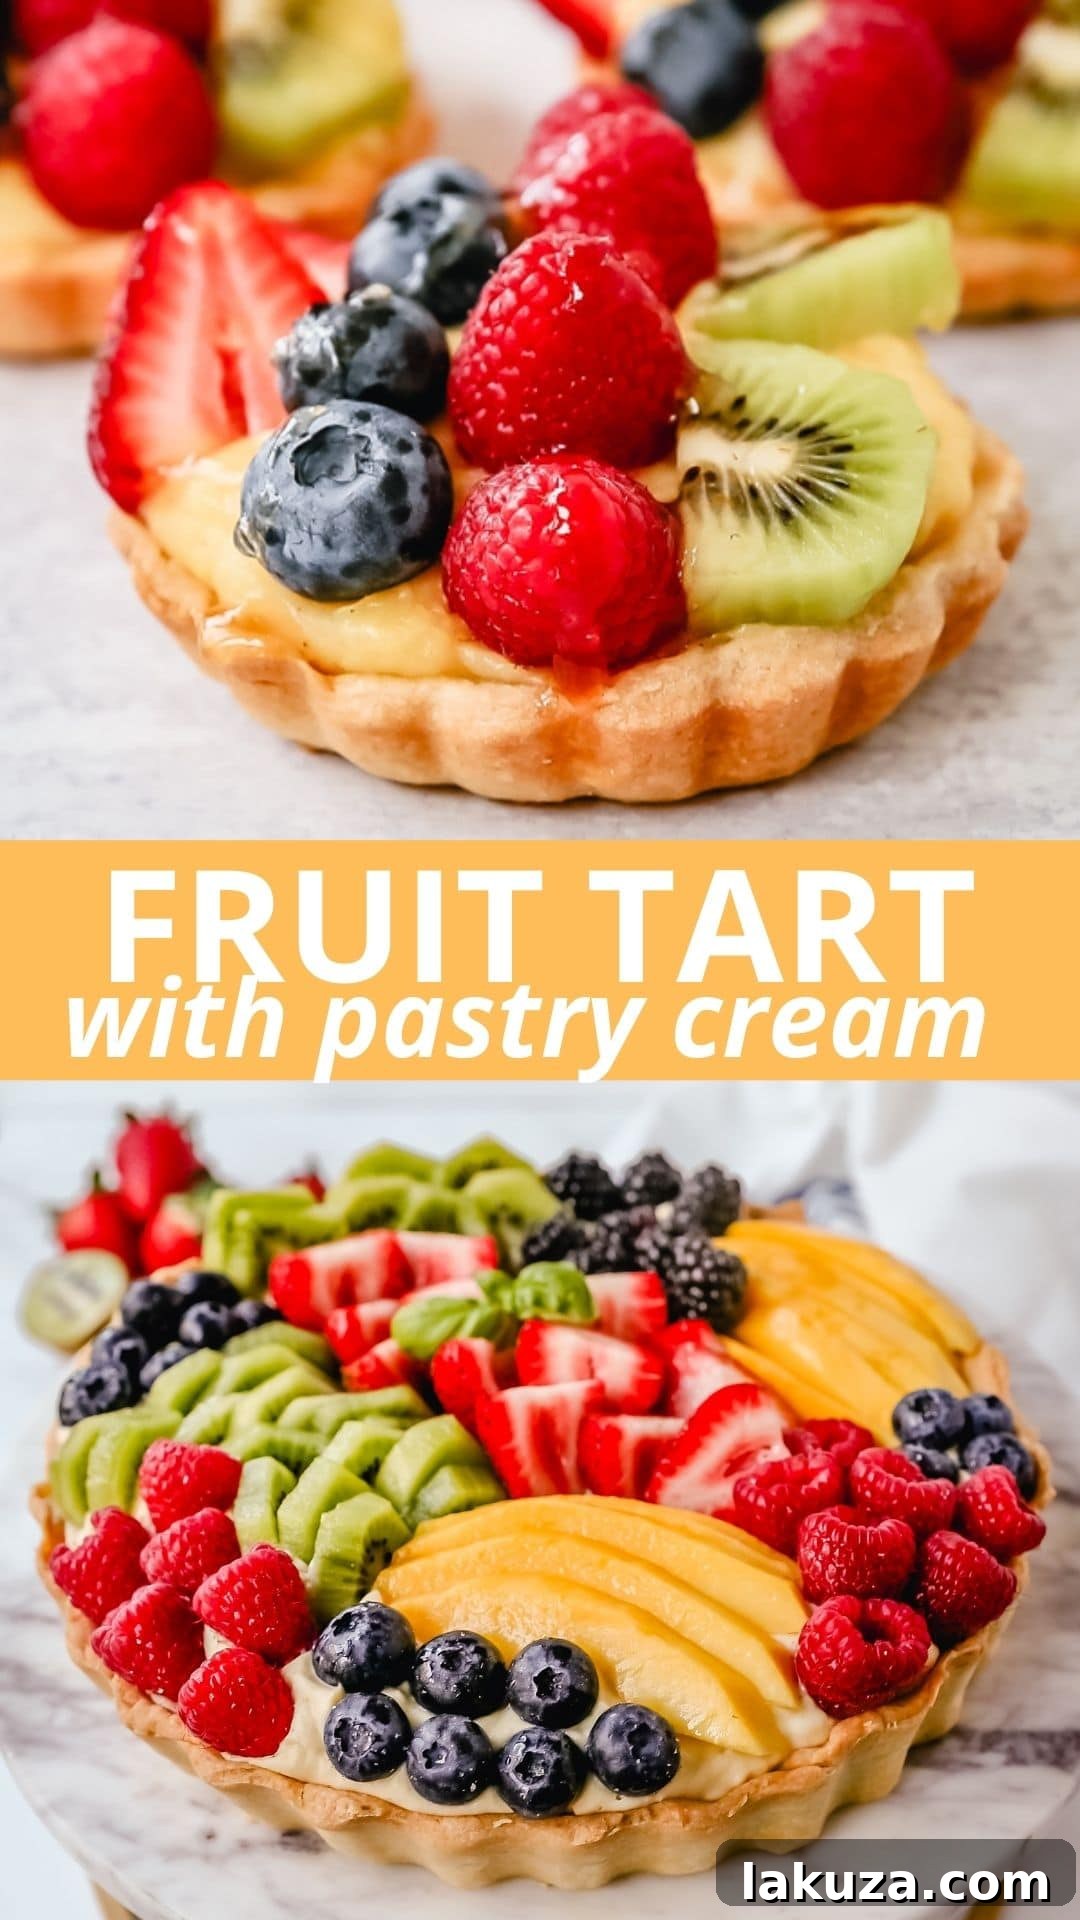
Our recipe for this exquisite Fresh Fruit Tart with Vanilla Pastry Cream features a tender, buttery pie crust, expertly baked to a golden perfection in your preferred tart pan. Whether you opt for a traditional round shape, a modern rectangular design, or charming mini tarts for individual servings, the result is always a stunning presentation. The choice of tart pan allows for creative expression, making each tart a unique work of art.
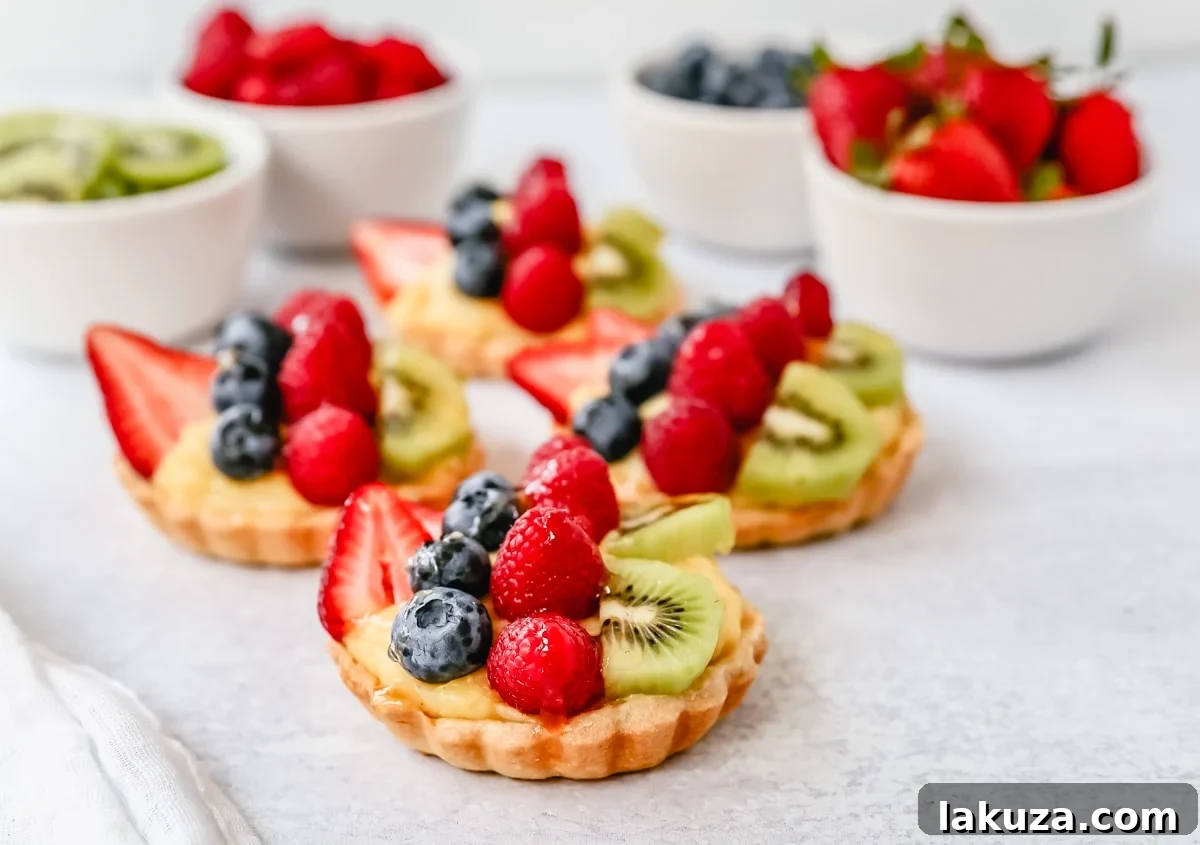
The heart of this fruit tart lies in its luscious filling: a simple yet sublime vanilla pastry cream, also affectionately known as custard. This velvety cream is so irresistibly smooth and wonderfully fragrant that you might find yourself tempted to enjoy it straight from the bowl. It’s a warm, comforting delight on its own, but truly shines as the creamy foundation for this fresh fruit tart.
Mastering homemade pastry cream is a foundational skill for any baker. This versatile custard serves as the base for a myriad of classic desserts, from indulgent cream pies and airy cream puffs to our delightful fruit tarts. Once you learn the essential techniques, you’ll find that making a rich, smooth pastry cream is surprisingly straightforward and incredibly rewarding, opening up a world of dessert possibilities.
Unveiling the Components of a Perfect Fruit Tart
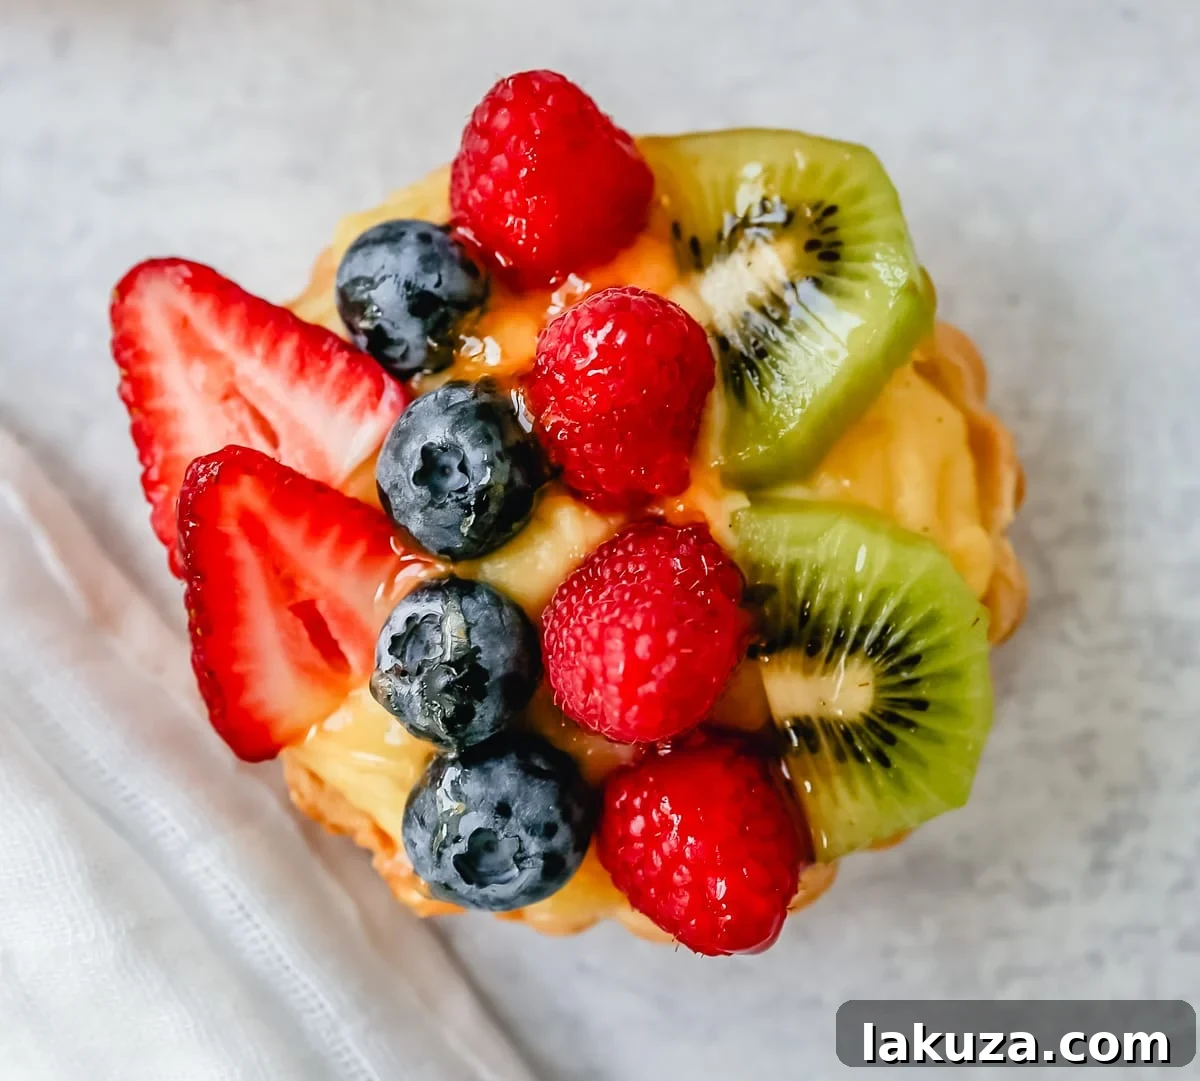
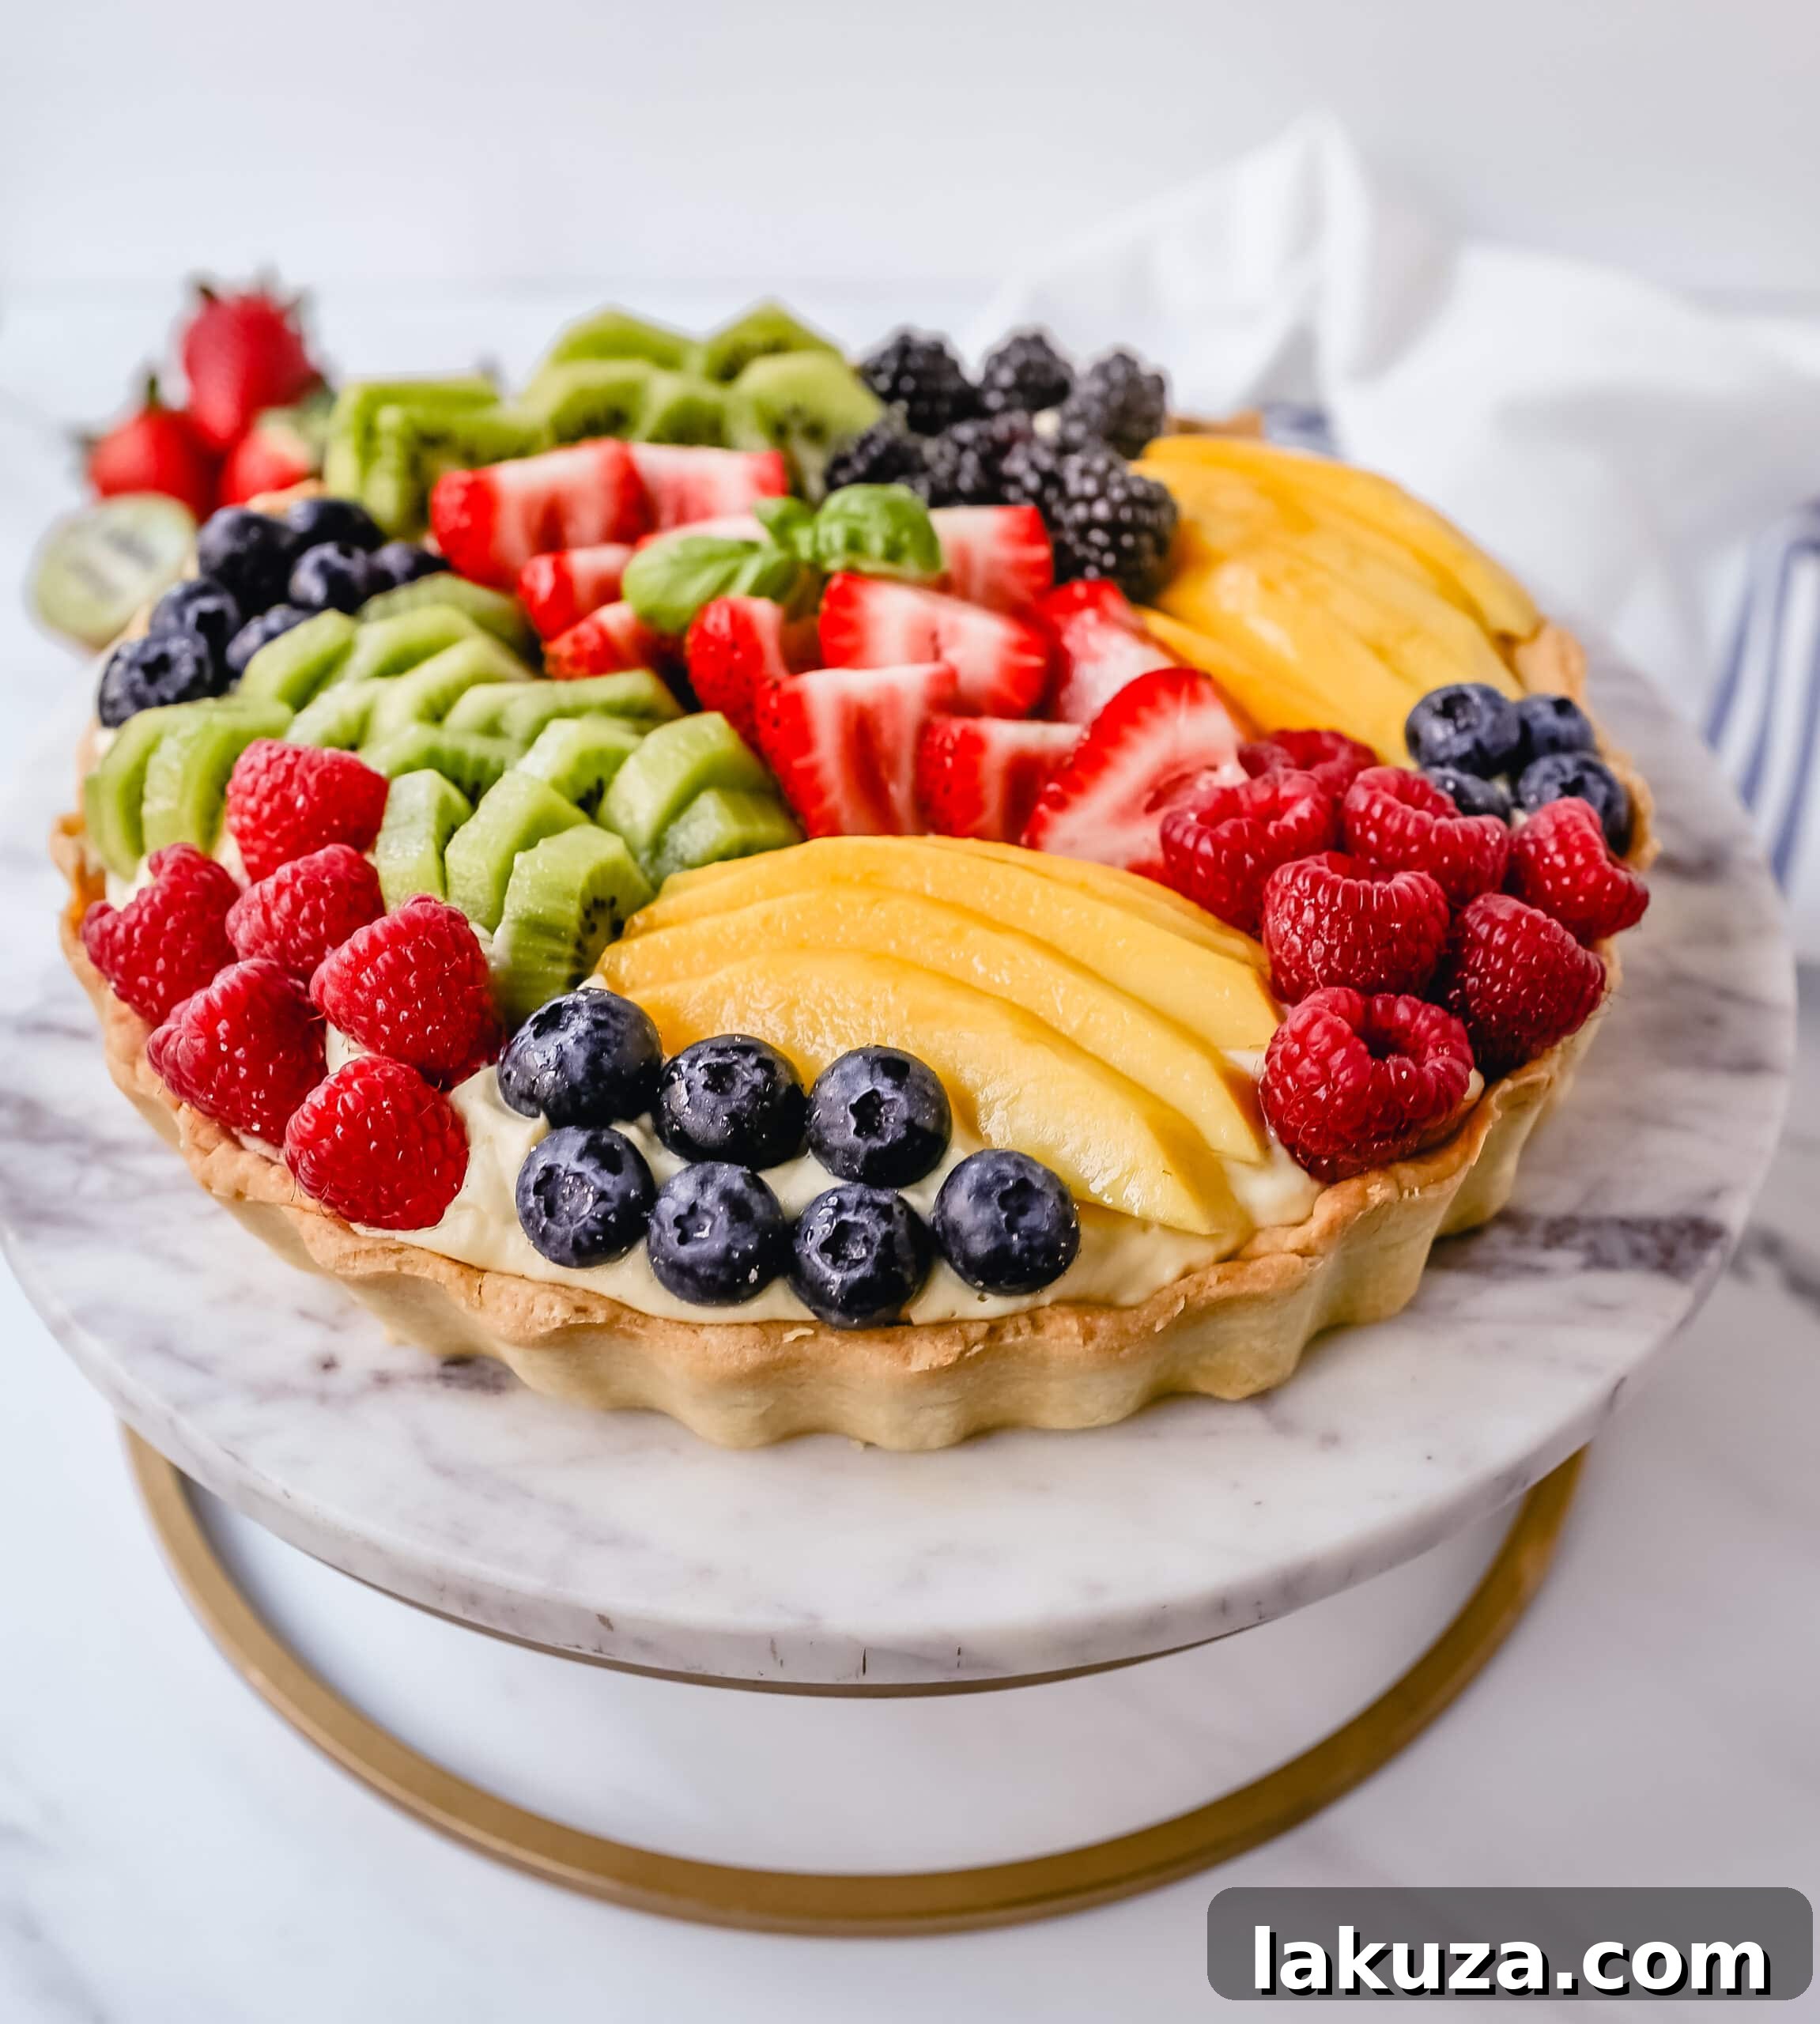
A truly exceptional fruit tart is a symphony of flavors and textures, meticulously composed of four essential elements: the crust, the filling, the fresh fruits, and the glistening glaze. Each component plays a crucial role in creating the ultimate dessert experience, balancing richness, sweetness, and vibrant freshness.
The foundation of our tart is a wonderfully flaky and buttery tart crust. This tender pastry is crafted from traditional pie crust ingredients: cold butter, all-purpose flour, a pinch of salt, a touch of ice water or milk, and a hint of vinegar. For those seeking an extra layer of tang and tenderness, buttermilk can also be used as a substitute for some of the liquid. The key to a perfect crust is using cold butter and handling the dough minimally to ensure a light, crisp, and melt-in-your-mouth texture.
The star of the filling is our homemade vanilla bean pastry cream. This rich, smooth custard is a luxurious blend of whole milk, granulated sugar, vibrant egg yolks, cornstarch for thickening, and the unmistakable aroma and flavor of real vanilla beans. The vanilla bean paste or scraped vanilla seeds infuse the cream with a depth of flavor that is truly unparalleled, making it the most perfect companion to the fresh fruits.
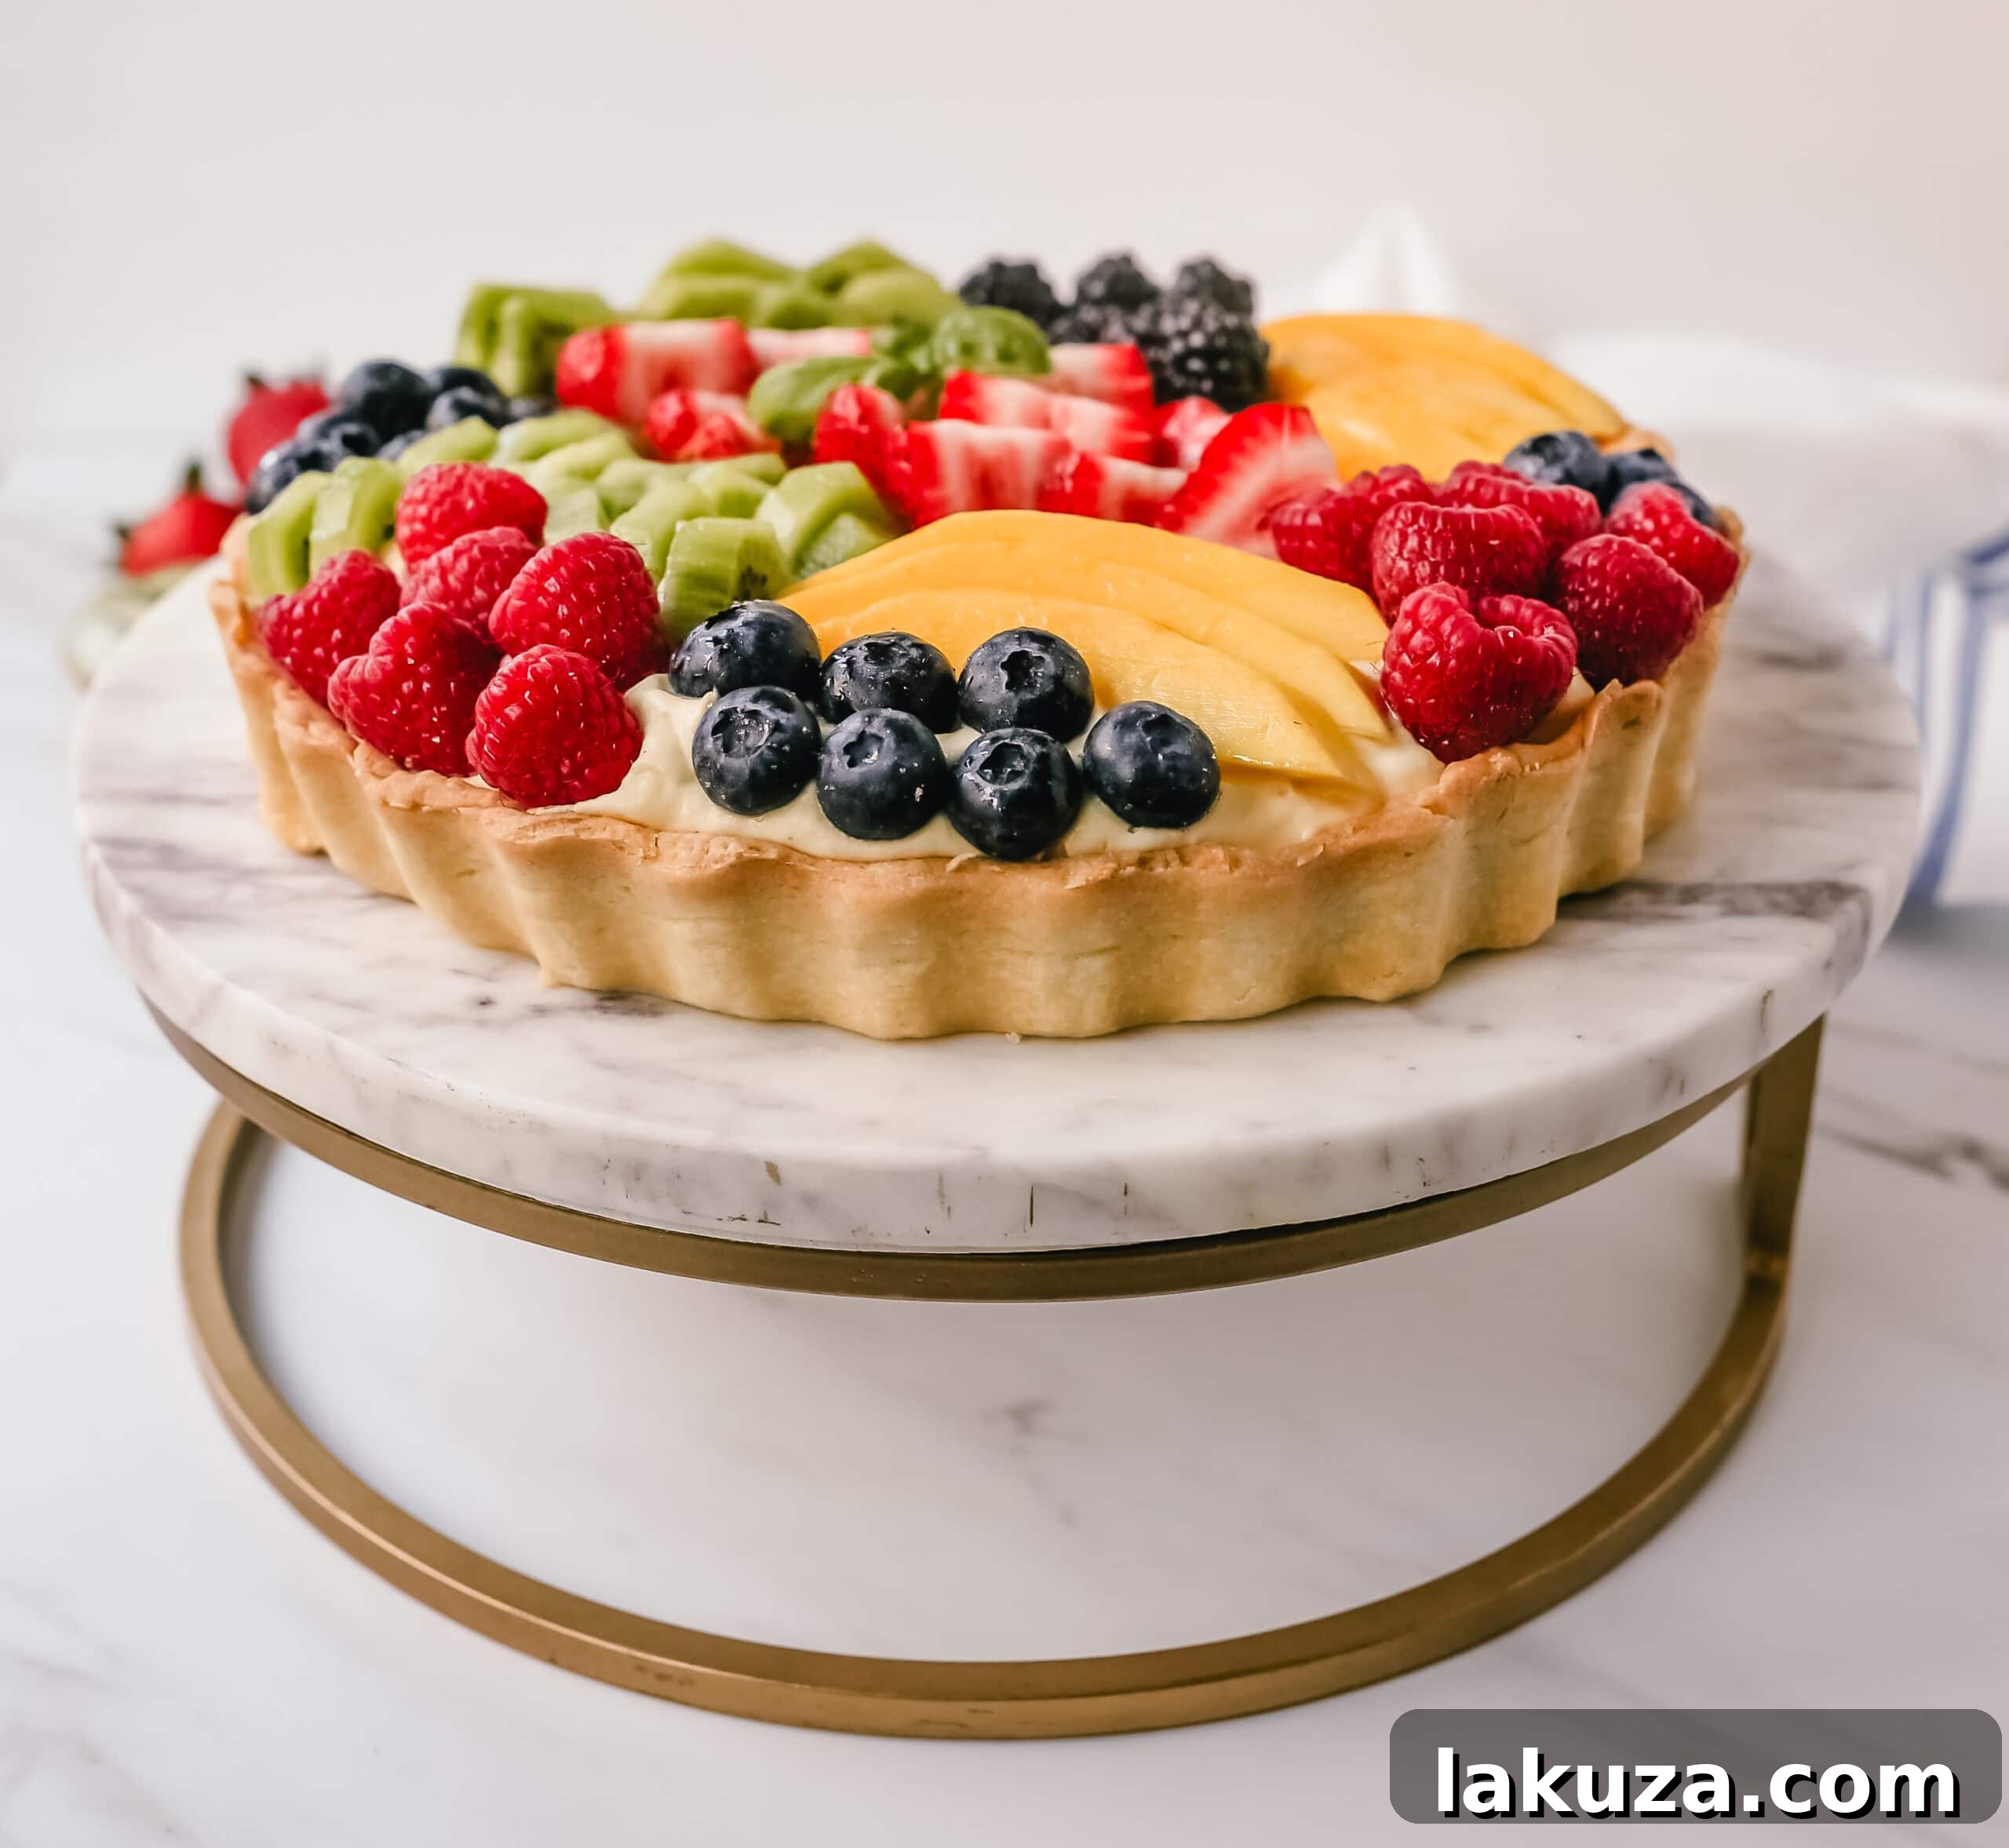
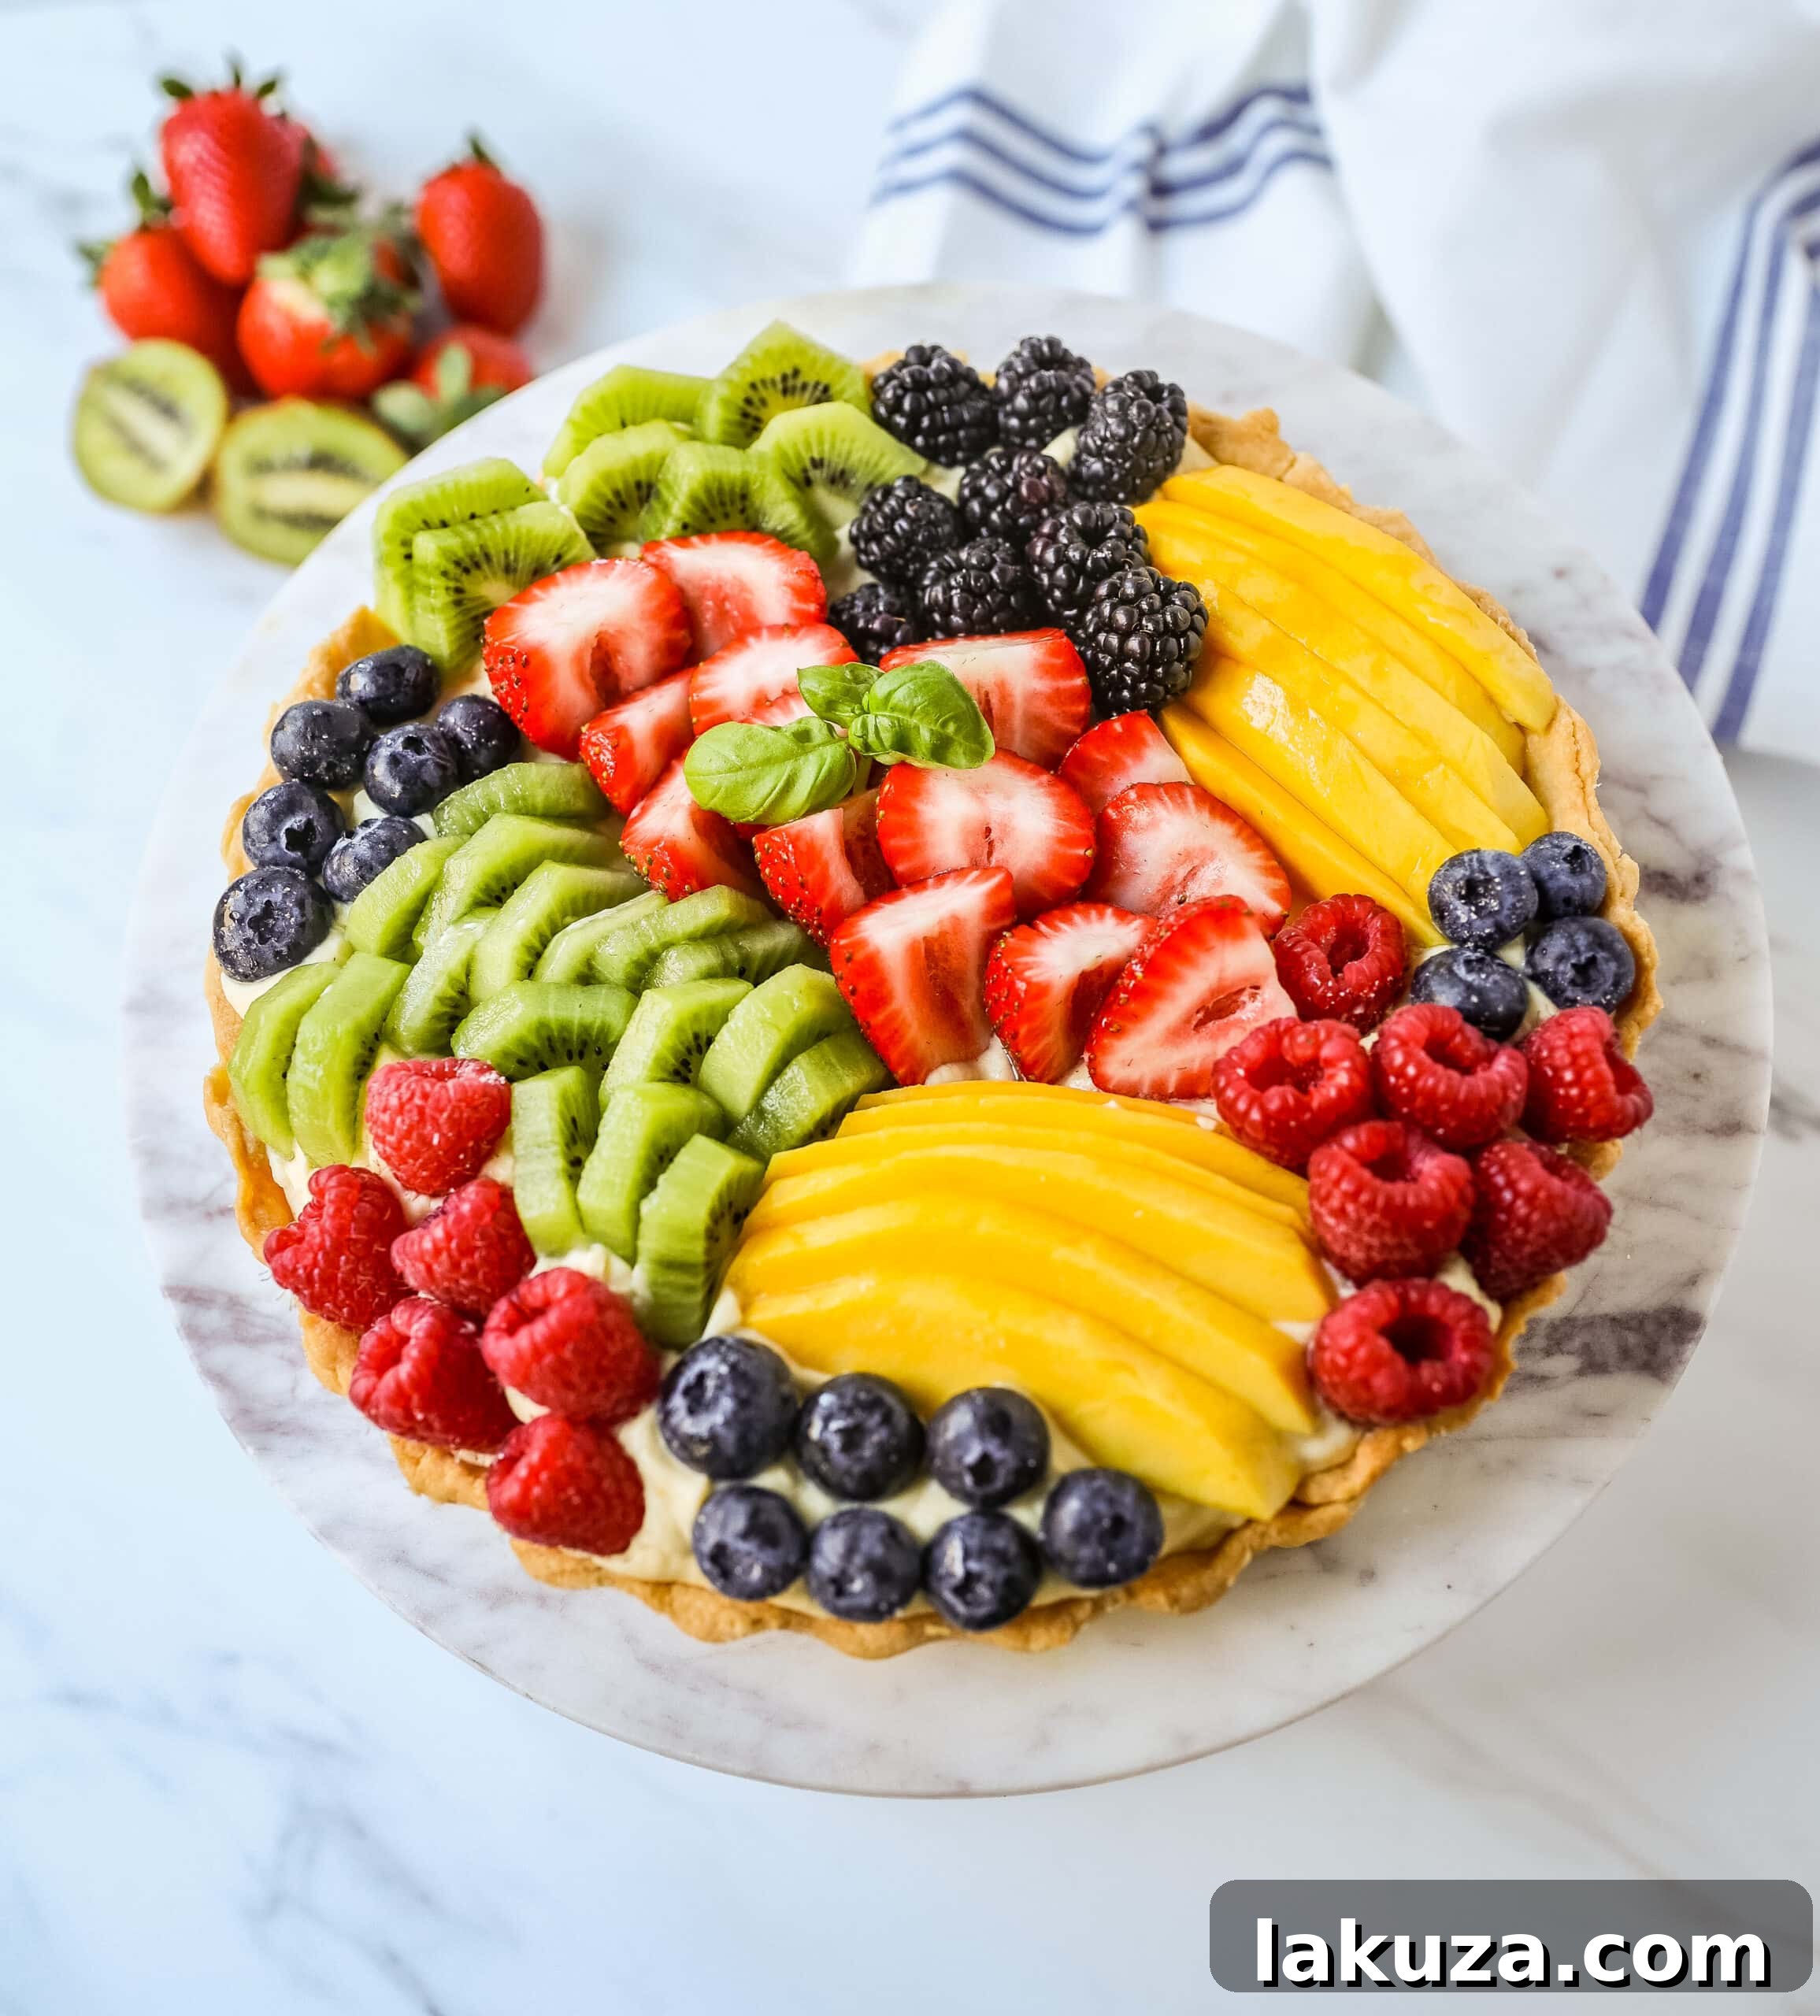
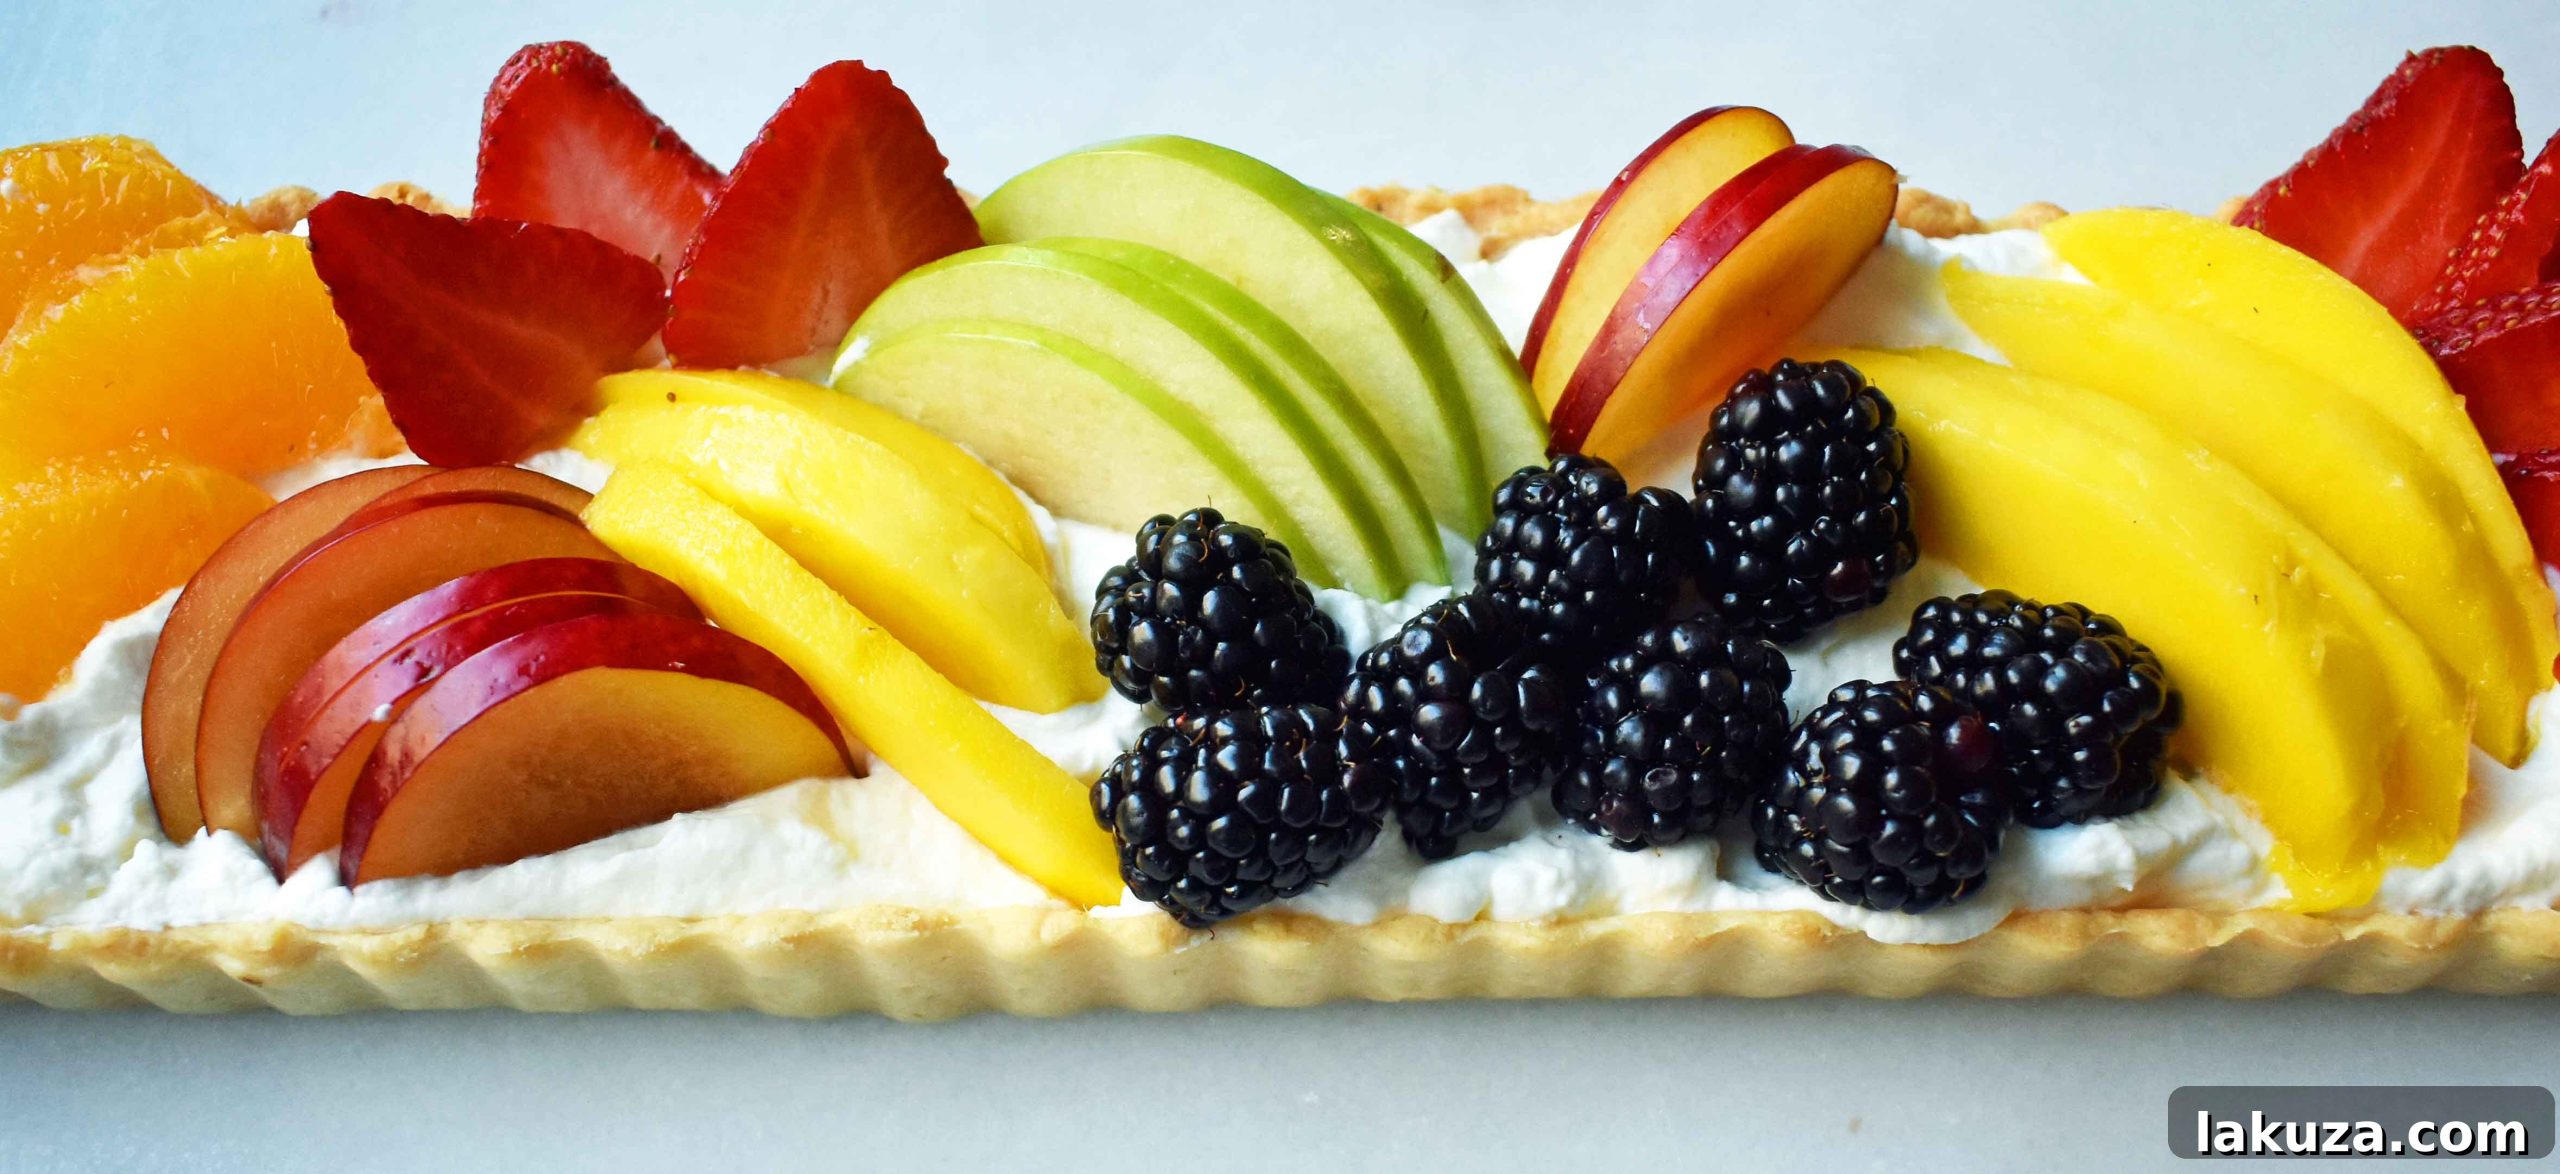
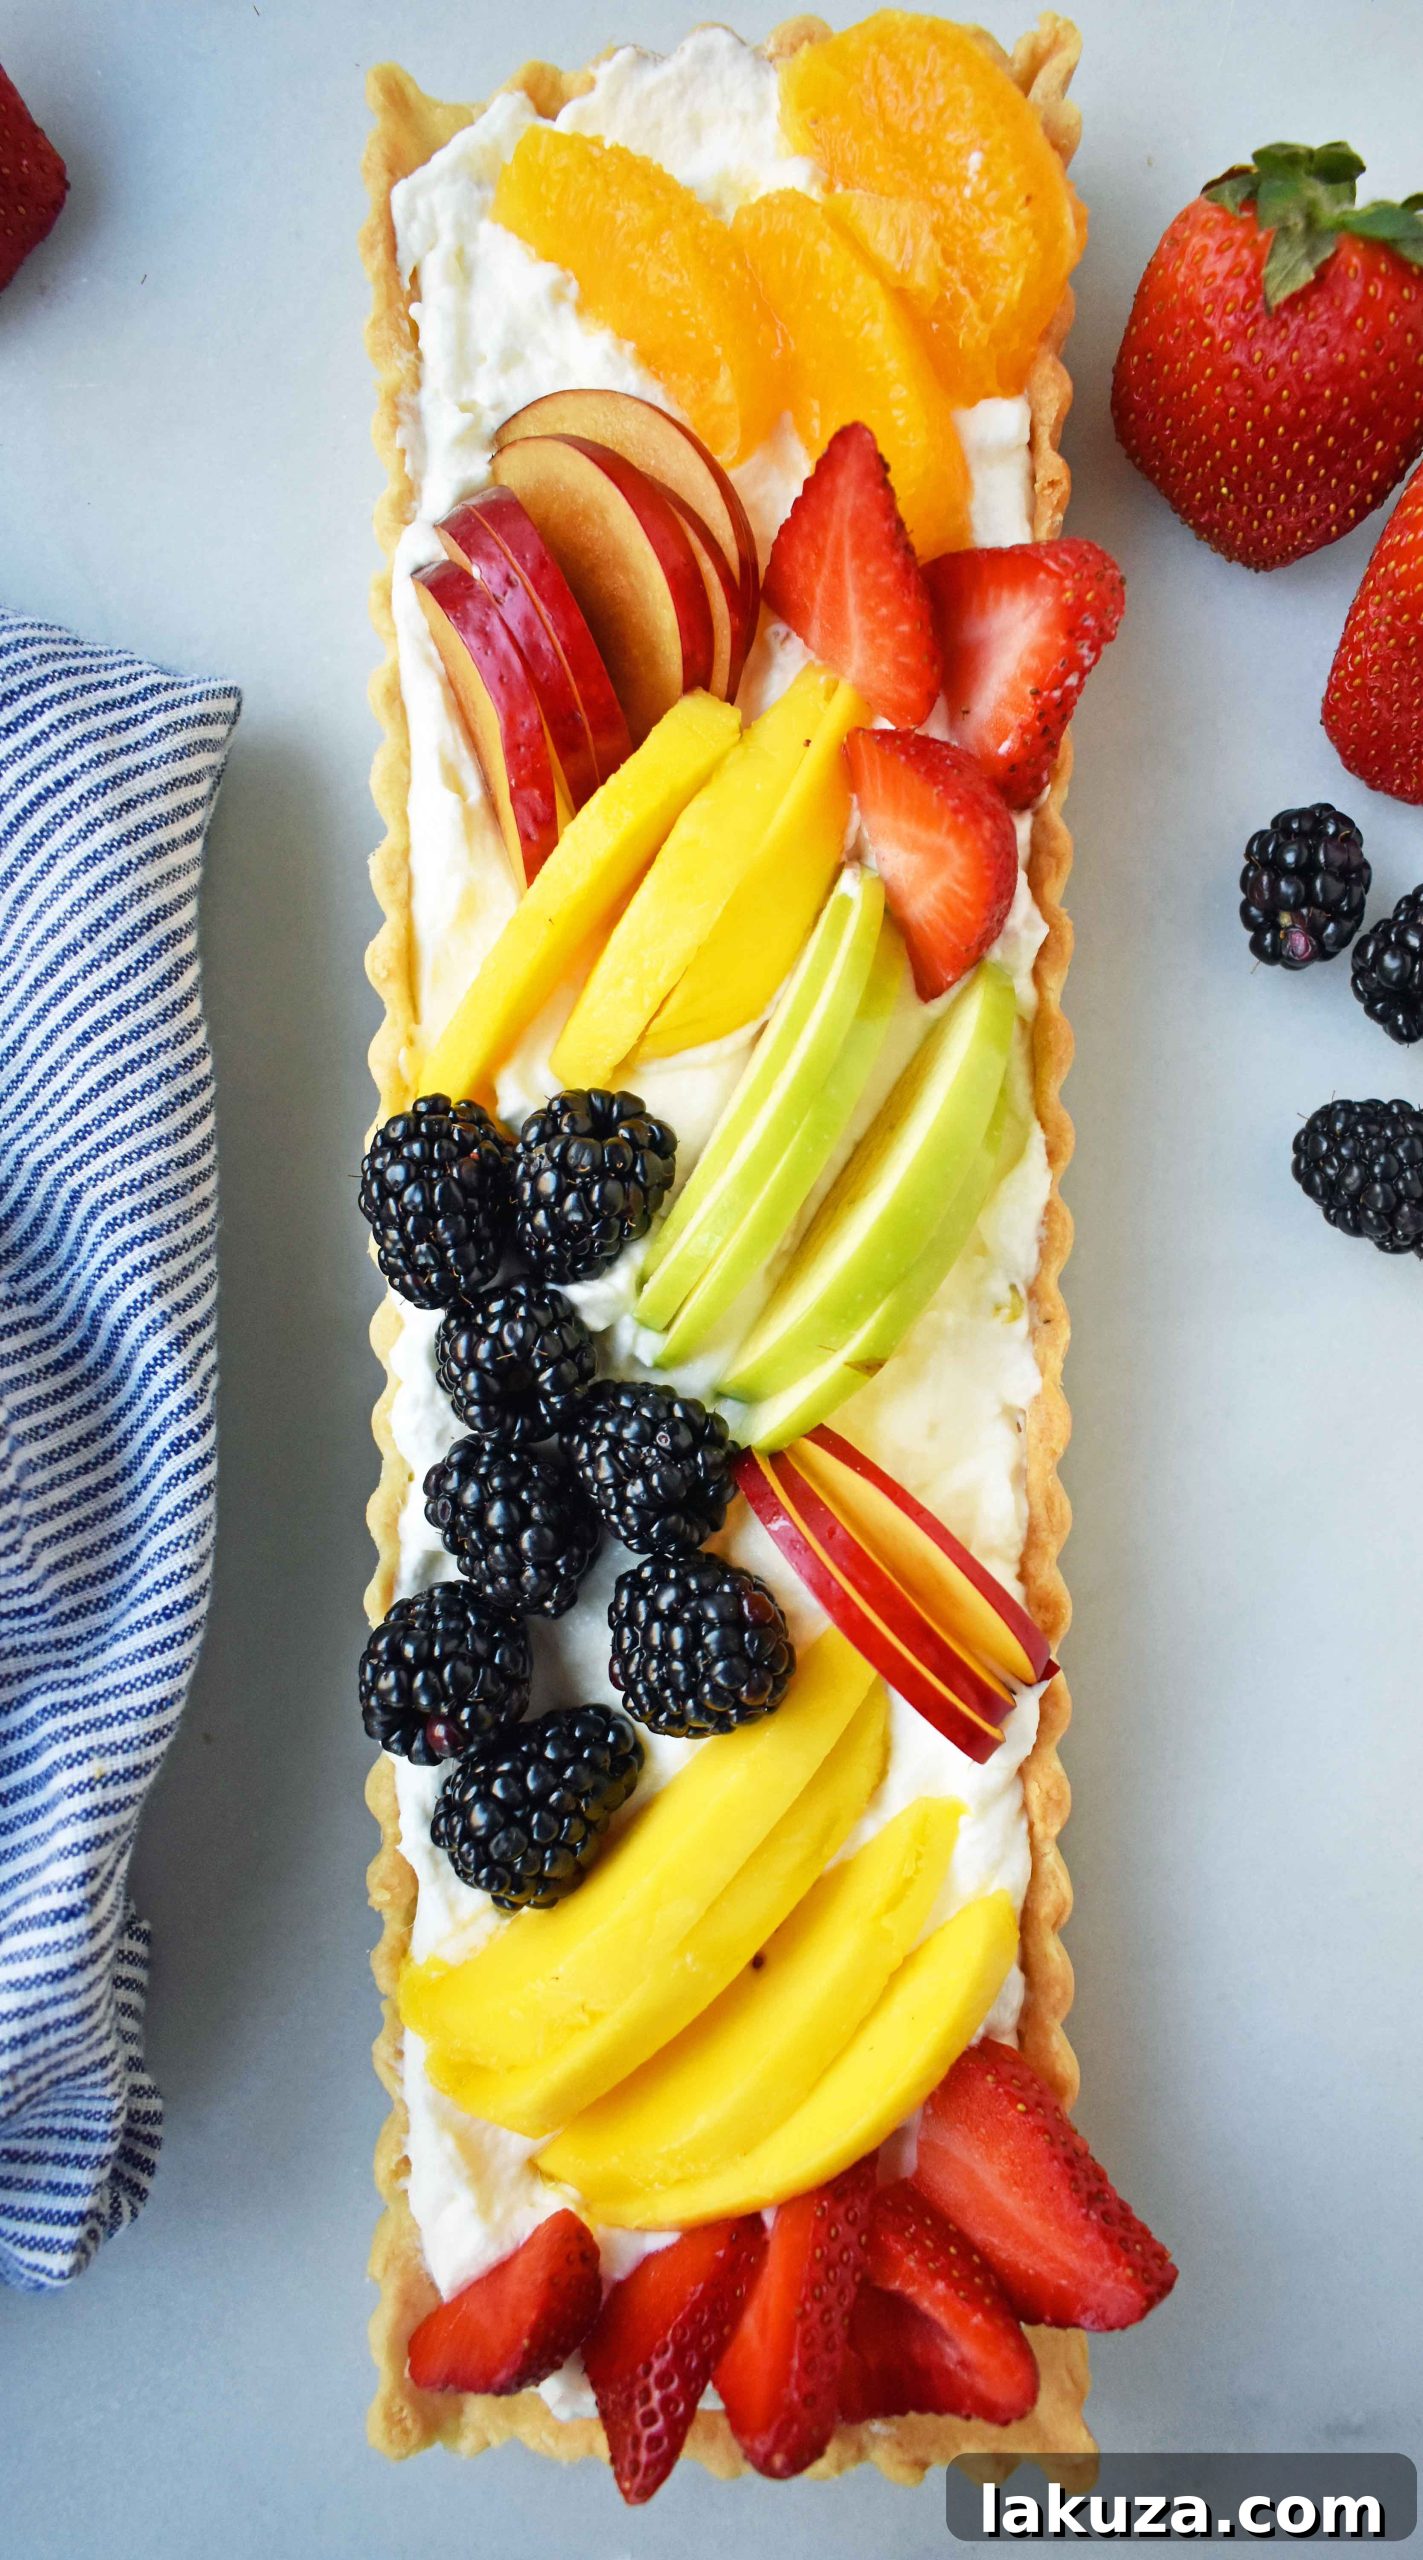
For the topping, selecting perfectly ripe, fresh fruit is paramount. The natural sweetness and vibrant colors of seasonal produce elevate the tart from delicious to extraordinary. We recommend a colorful medley of raspberries, sweet strawberries, tangy kiwis, luscious blackberries, juicy blueberries, tropical peaches, and fragrant mango. The beauty of a fruit tart is its adaptability; feel free to choose any fruits that are in season and appeal to your taste.
To give your fruit tart that professional, eye-catching sheen and to preserve the freshness of the fruit, a simple fruit glaze is applied. This can be effortlessly made using your favorite fruit jelly or jam, such as apricot or strawberry. Simply melt a spoonful of jelly in the microwave for 20-30 seconds until it’s smooth and brushable. A thin layer over the fruit will make them “pop” with color and add a subtle extra layer of sweetness. Alternatively, a homemade simple syrup offers a neutral shine and additional moisture. Prepare simple syrup with a 1:1 ratio of granulated sugar to water; gently heat until the sugar fully dissolves and the syrup slightly thickens. Allow it to cool before brushing it over your beautifully arranged fruits for an irresistible gleam and delicate sweetness.
Selecting the Best Fruits for Your Tart
The beauty of a fruit tart lies in its versatility and the endless possibilities for customization with fresh, seasonal produce. Choosing the right fruits not only enhances the visual appeal but also contributes to the overall flavor profile and texture. Aim for a mix of colors, shapes, and flavors – from sweet to slightly tart – to create a balanced and exciting experience. Here’s an expanded list of fantastic fruits to consider for your next fruit tart:
- Strawberries: Classic and beloved, their sweet and slightly tart flavor pairs wonderfully with vanilla pastry cream. Slice them for elegant presentation.
- Kiwis: Offering a vibrant green hue and a distinct tangy-sweet taste, kiwis add a refreshing tropical note. Peel and slice them into rounds or half-moons.
- Raspberries: Delicate and intensely flavored, raspberries provide a beautiful pop of red and a tart counterpoint to the cream.
- Blackberries: With their deep purple color and earthy sweetness, blackberries add sophistication and a slight chewiness.
- Blueberries: Small but mighty, these antioxidant-rich berries offer bursts of juicy sweetness and a stunning blue contrast.
- Mango: For a tropical twist, ripe mangoes deliver a buttery texture and exotic sweetness. Dice or thinly slice them for placement.
- Peaches or Nectarines: In season, these stone fruits offer soft, juicy flesh and a delightful sweetness. Slice them thinly.
- Green Apples: For a touch of crispness and a tart bite, thin slices of green apple can be a surprising and refreshing addition. Brush with lemon juice to prevent browning.
- Plums: Red or black plums, when ripe, offer a beautiful deep color and a sweet-tart flavor profile. Slice them into wedges.
- Pomegranate Seeds: Sprinkled over the top, these ruby-red jewels add a festive sparkle and a delightful crunch.
- Oranges (Segments): Peeled and segmented, oranges provide a bright, citrusy burst and a juicy texture.
Consider the aesthetic balance of your tart. Arrange fruits in patterns, concentric circles, or a free-form mosaic. The visual appeal is nearly as important as the taste, so let your creativity shine! Remember to gently wash and thoroughly dry all fruits before arranging them to ensure they adhere well and the glaze sets properly.
Mastering the Art of Homemade Pastry Cream
Creating a velvety smooth, perfectly set pastry cream is a hallmark of skilled baking, and once you’ve mastered this technique, a world of dessert possibilities opens up. This versatile custard is a culinary workhorse, serving as the rich base for countless sweet treats. Follow these detailed tips and tricks to ensure your homemade pastry cream is nothing short of perfection:
- Scalding the Milk: Begin by gently heating the milk in a heavy-bottomed saucepan over medium heat. The goal is to scald the milk, meaning to bring it to just below a boil. You’ll see small bubbles forming around the edges, but do not let it come to a rolling boil. This step helps infuse any aromatics (like vanilla bean) and prepares the milk for tempering.
- Combining Dry Ingredients and Yolks: In a separate medium-sized bowl, whisk together the sugar, cornstarch (or flour, if preferred), and a pinch of salt. This pre-mixing of dry ingredients is crucial as it prevents the cornstarch from clumping when the egg yolks are added, ensuring a smooth custard. Next, whisk in the egg yolks until the mixture is thick, pale yellow, and resembles a paste. The vigorous whisking aerates the yolks and sugar, creating a stable base.
- Tempering the Egg Yolks: This is a critical step to prevent the egg yolks from scrambling. Gradually remove the scalded milk from the heat. Slowly add a small amount of the warm milk, about a quarter cup at a time, to the egg yolk mixture while continuously whisking. This gradual addition slowly raises the temperature of the egg yolks without cooking them. Once you’ve incorporated about half of the milk, you can pour the egg mixture back into the remaining warm milk in the saucepan, still whisking constantly.
- Thickening the Cream: Return the entire mixture to the saucepan and place it over medium heat. Continue to whisk vigorously and constantly for 3-4 minutes. You will feel the mixture gradually thicken as it heats. Consistent whisking is essential here to prevent lumps from forming and to ensure an impeccably smooth pastry cream. As the cream thickens, it will begin to bubble. Allow it to boil gently for about 10-15 seconds. This short boil is important for fully activating the cornstarch, which eliminates any starchy flavor, but avoid boiling for too long (more than 10-15 seconds) as it can cause the cream to become grainy or break.
- Adding Flavor and Straining: Immediately remove the thickened pastry cream from the heat. For an extra smooth finish, you can strain the pastry cream through a fine-mesh sieve into a clean bowl; this step ensures the removal of any tiny lumps or cooked egg bits, resulting in a silky texture. Stir in the vanilla extract or, for an even richer, more authentic flavor, the scraped seeds of a vanilla bean or vanilla bean paste. The heat of the cream will beautifully release the vanilla’s aroma.
- Chilling and Setting: Pour the warm pastry cream into a clean bowl. To prevent a “skin” from forming on the surface (which can lead to lumps), immediately cover the bowl with plastic wrap, pressing the wrap directly onto the surface of the cream. This creates an airtight seal. Refrigerate the pastry cream for at least 2-4 hours, or until it is thoroughly chilled and firmly set. This chilling period is crucial for the cream to reach its optimal consistency for filling your tart.
Expert Tips to Prevent a Soggy Fruit Tart
One of the most common concerns when making a fruit tart is preventing a soggy crust, especially when dealing with moisture-rich fruit and cream fillings. Fortunately, a few clever techniques can ensure your homemade fruit tart remains delightfully crisp and firm, even after days in the refrigerator. The secret lies in strategic preparation and assembly.
Firstly, while you can prepare many components of the fruit tart ahead of time, it’s highly recommended to perform the final assembly on the day you plan to serve it. This allows each element to retain its optimal texture. You can pre-bake the tart crust several days in advance, storing it in an airtight container at room temperature. Similarly, the homemade pastry cream can be whipped up days ahead and kept chilled in the refrigerator, ready for use.
When it’s time to assemble your beautiful fruit tarts, consider creating a protective barrier between the baked tart crust and the moist pastry cream custard. One effective method is to brush a thin, even layer of melted white chocolate onto the interior of the pre-baked tart crust. Allow the chocolate to harden and set completely before spooning in the pastry cream. This creates an impermeable shield that prevents moisture from the cream from seeping into and softening the crust. Alternatively, you can brush a layer of the same fruit glaze you intend to use on the fruit directly onto the crust. This glaze acts as a sealant, forming a protective barrier against moisture migration.
Another crucial tip is to ensure your pastry cream is sufficiently thick and stable. A well-made pastry cream, like the one in this recipe, should be robust enough to hold its structure without breaking down or releasing excess moisture. My recipe is specifically designed to produce a thick, rich pastry cream that prevents sogginess, allowing the tart to maintain its integrity for days in the refrigerator. This stable custard is key to a long-lasting, delicious fruit tart experience, ensuring every bite is as satisfying as the first.
Assembling Your Exquisite Fruit Custard Tart
Once you have successfully blind-baked your pie crust and allowed it to cool completely, and your homemade pastry cream has been lovingly prepared and chilled to a firm, luscious consistency, you are ready for the most satisfying step: assembly. This is where your individual creativity can truly shine, transforming simple components into a stunning dessert.
Begin by carefully filling the cooled tart crust with the vanilla pastry cream. If you’ve chosen to implement one of our anti-sogginess tips, remember to first brush a layer of melted white chocolate or fruit glaze onto the crust and allow it to set before adding the cream. Use an offset spatula or the back of a spoon to evenly spread the pastry cream across the bottom of the tart crust, creating a smooth and appealing base.
Next, it’s time to arrange your chosen array of sliced fresh fruits. This is your opportunity to play with colors, patterns, and textures. You can create concentric circles with alternating fruits, arrange them in neat rows, or design a beautiful free-form mosaic. Let your imagination be your guide, making each tart uniquely beautiful.
Once your fruits are artfully arranged, gently brush them with the prepared fruit glaze. This step is twofold: it provides a stunning, glossy sheen that makes the fruits appear even more vibrant and appealing, and it adds an extra layer of subtle sweetness while helping to seal in the freshness of the fruit. The glaze will also act as a protective layer, preventing the fruits from drying out.
Finally, return the assembled fruit tart to the refrigerator to chill for at least 30 minutes, or until you are ready to serve. This allows all the flavors to meld beautifully and ensures the pastry cream is perfectly set for easy slicing. A chilled fruit tart is not only refreshing but also maintains its structural integrity when cut.
For detailed instructions on crafting the perfect tender, flaky pie crust, you can refer to our comprehensive guide: All Butter Pie Crust.
Essential Tools for Crafting Your Perfect Fruit Tart:
To ensure success in your fruit tart endeavors, having the right equipment can make all the difference. Here are a few essential tools that will assist you in creating a flawless and delicious dessert:
- Round Tart Pan: A tart pan with a removable bottom is indispensable for easily releasing your finished tart and achieving those beautiful fluted edges.
- Mini Tart Pans: Perfect for individual servings, these smaller pans allow for charming, personalized fruit tarts.
- Rectangular Tart Pan: For a modern aesthetic and easier slicing into uniform bars, a rectangular tart pan is a great alternative.
- Marble Rolling Pin and Base: A heavy, cold marble rolling pin helps keep your dough cool and prevents sticking, making it easier to roll out a perfectly thin crust.
- Ceramic Pie Crust Weights: Essential for blind baking, these weights prevent the crust from bubbling up and shrinking, ensuring a flat, even base for your filling.
This post was updated on March 24, 2022, with fresh content and enhanced details, building upon the original recipe and insights from 2017.
Fresh Fruit Tart with Vanilla Pastry Cream
By: Melissa Stadler, Modern Honey
A timeless French dessert featuring a delicate, buttery crust, luscious homemade vanilla bean pastry cream, and an vibrant array of fresh, ripe fruits.
Prep Time: 20 minutes
Cook Time: 18 minutes
Total Time: 38 minutes
Servings: 8
Equipment
- Food Processor
- Marble Rolling Pin
- Whisk
Ingredients
Tart Dough:
- 1/2 cup Cold Butter (1 stick, sliced into small pieces)
- 1 1/3 cups Flour
- 1/2 teaspoon Salt
- 1/4 cup Ice Cold Water
- 1/2 teaspoon Vinegar
Vanilla Bean Pastry Cream:
- 1 cup + 2 Tablespoons Sugar
- 4 Tablespoons Cornstarch
- 1/4 teaspoon Salt
- 2 1/2 cups Whole Milk
- 6 Egg Yolks
- 2 teaspoons Vanilla or 1 Vanilla Bean scraped
Fresh Fruits:
- Raspberries
- Strawberries
- Blackberries
- Blueberries
- Kiwi
- Mangoes
- Peaches or Nectarines
- Red Plums
- Oranges
- Green Apple
Fruit Glaze:
- Strawberry or Apricot Jelly
Instructions
Tart Crust:
- To make pie crust: Stir together flour and salt. Slice cold butter into tiny shreds and add to bowl or food processor. Pulse until coarse meal or small peas form.
- Slowly add ice cold water, 1-2 tablespoons at a time to butter-flour mixture. Add vinegar and pulse until it starts to form together.
- Press dough into a ball. Pat each ball into a disk, tightly wrap in plastic wrap and let it chill in the refrigerator for at least 30 minutes. 2 hours is preferred.
- Unwrap the dough, turn the dough onto a lightly floured work surface and roll it out, using a rolling pin. Don’t overwork the dough. The key is to work quickly to keep the dough as cold as possible. Keep the tart pan nearby so you can check the size.
- Fold the dough in half and gently lift and position it over the tart pan. Unfold. Press the dough against the sides and bottom of the pan.
- Line the crust with foil or parchment paper. Fill it with pie weights, rice, or beans and press against the sides of the crust. You can double line the crust with parchment paper to ensure that the rice doesn’t get stuck in the dough.
- Bake at 400 degrees F (200 degrees C) for 10-12 minutes. Remove parchment paper and pie weights and return to oven and cook for an additional 6-8 minutes (for a total of 16-20 minutes cooking time), until golden brown.
Pastry Cream:
- In a heavy-bottomed pot, heat milk over medium heat until warmed but not boiling (scalding).
- In a large bowl, add sugar, cornstarch, and salt. Whisk vigorously. Then, whisk in the egg yolks until the mixture is thick and pasty.
- Remove the milk from heat. Slowly add a little of the warm milk at a time to the egg-cornstarch mixture while whisking constantly. This tempers the egg yolks, preventing them from scrambling. Once about half of the milk is incorporated, pour the egg mixture back into the remaining milk in the saucepan.
- Return the mixture to the saucepan and heat over medium heat. Whisk vigorously for 3-4 minutes as the mixture begins to thicken. Continue whisking until the mixture starts to bubble gently. Allow it to boil for about 10-15 seconds to remove any starchy flavor, but no longer to prevent graininess.
- Remove from the heat. If desired, strain the pastry cream into a fine mesh sieve to remove any lumps, ensuring a silky texture. Stir in the vanilla extract, vanilla bean paste, or scraped vanilla bean seeds.
- Pour into a clean bowl and cover immediately with plastic wrap, pressing it directly onto the surface of the pastry cream to prevent a skin from forming. Refrigerate for about 2-4 hours, or until thoroughly chilled and firmly set.
- Prepare your fruits: Wash, dry, cut, and slice your chosen fresh fruits. To make fruit glaze, heat jelly (strawberry or apricot works well) in a microwave-safe bowl for 20-30 seconds, or until melted and smooth. This glaze will be brushed over the fresh fruit for shine.
Assemble Tart:
- Once your blind-baked pie crust is completely cool and your homemade pastry cream is chilled and set, you are ready to assemble your beautiful tart.
- Begin by filling the tart crust with the vanilla pastry cream. (Refer to the tips above if you chose to brush a protective layer of melted chocolate or glaze onto the crust before adding the pastry cream.) Use an offset spatula or the back of a spoon to evenly spread the pastry cream across the tart crust.
- Artfully arrange your sliced fresh fruits on top of the pastry cream. Create patterns, concentric circles, or a vibrant mosaic.
- Gently brush the arranged fruits with the prepared fruit glaze for a brilliant shine and a touch of extra sweetness.
- Return the assembled tart to the refrigerator to chill for at least 30 minutes before serving. Enjoy this delightful classic French dessert!
Nutrition information is automatically calculated, so should only be used as an approximation.
Additional Info
Course: Dessert
Cuisine: American, French
Servings: 8
Keyword: fruit custard tart, fruit tart, fruit tart with custard, fruit tart with pastry cream, fruit tart with pie crust, French dessert
We truly hope you adore this Fresh Fruit Tart with Vanilla Pastry Cream as much as we do. It’s a labor of love that rewards with every bite. We’d love to see your creations! Share your pictures and thoughts with us on Instagram at @modern_honey. Wishing you a wonderful day, my friends! xo
Happy Baking!