
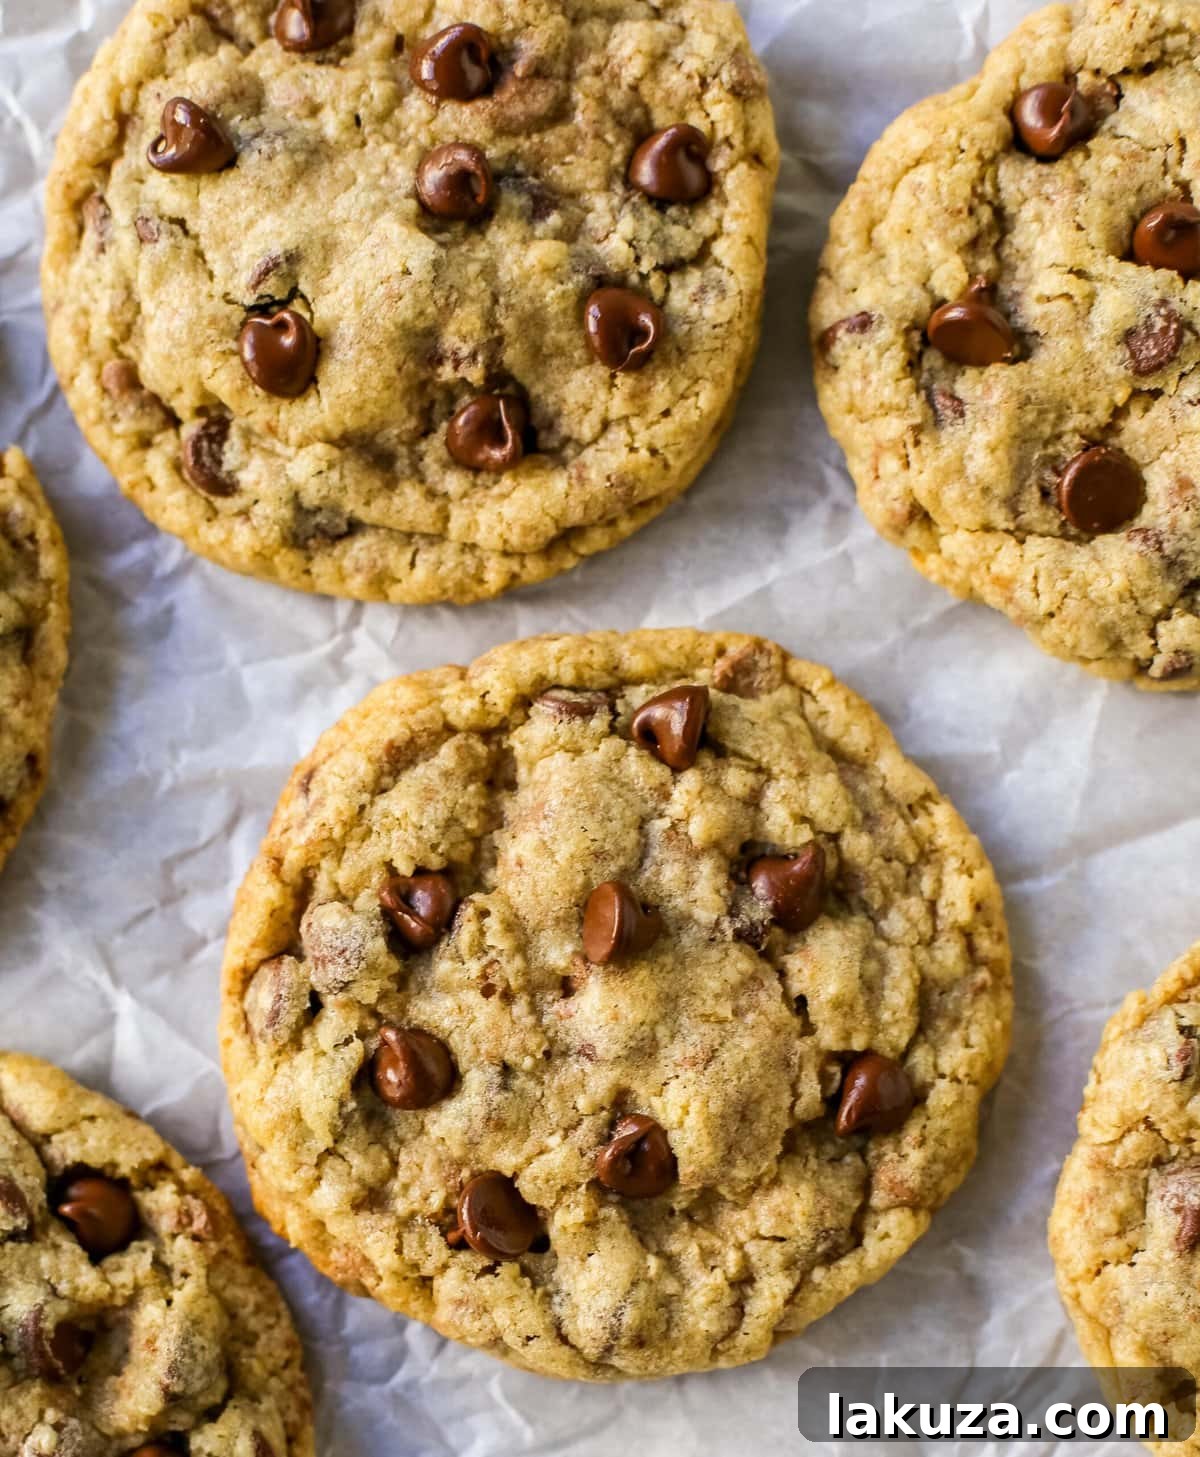
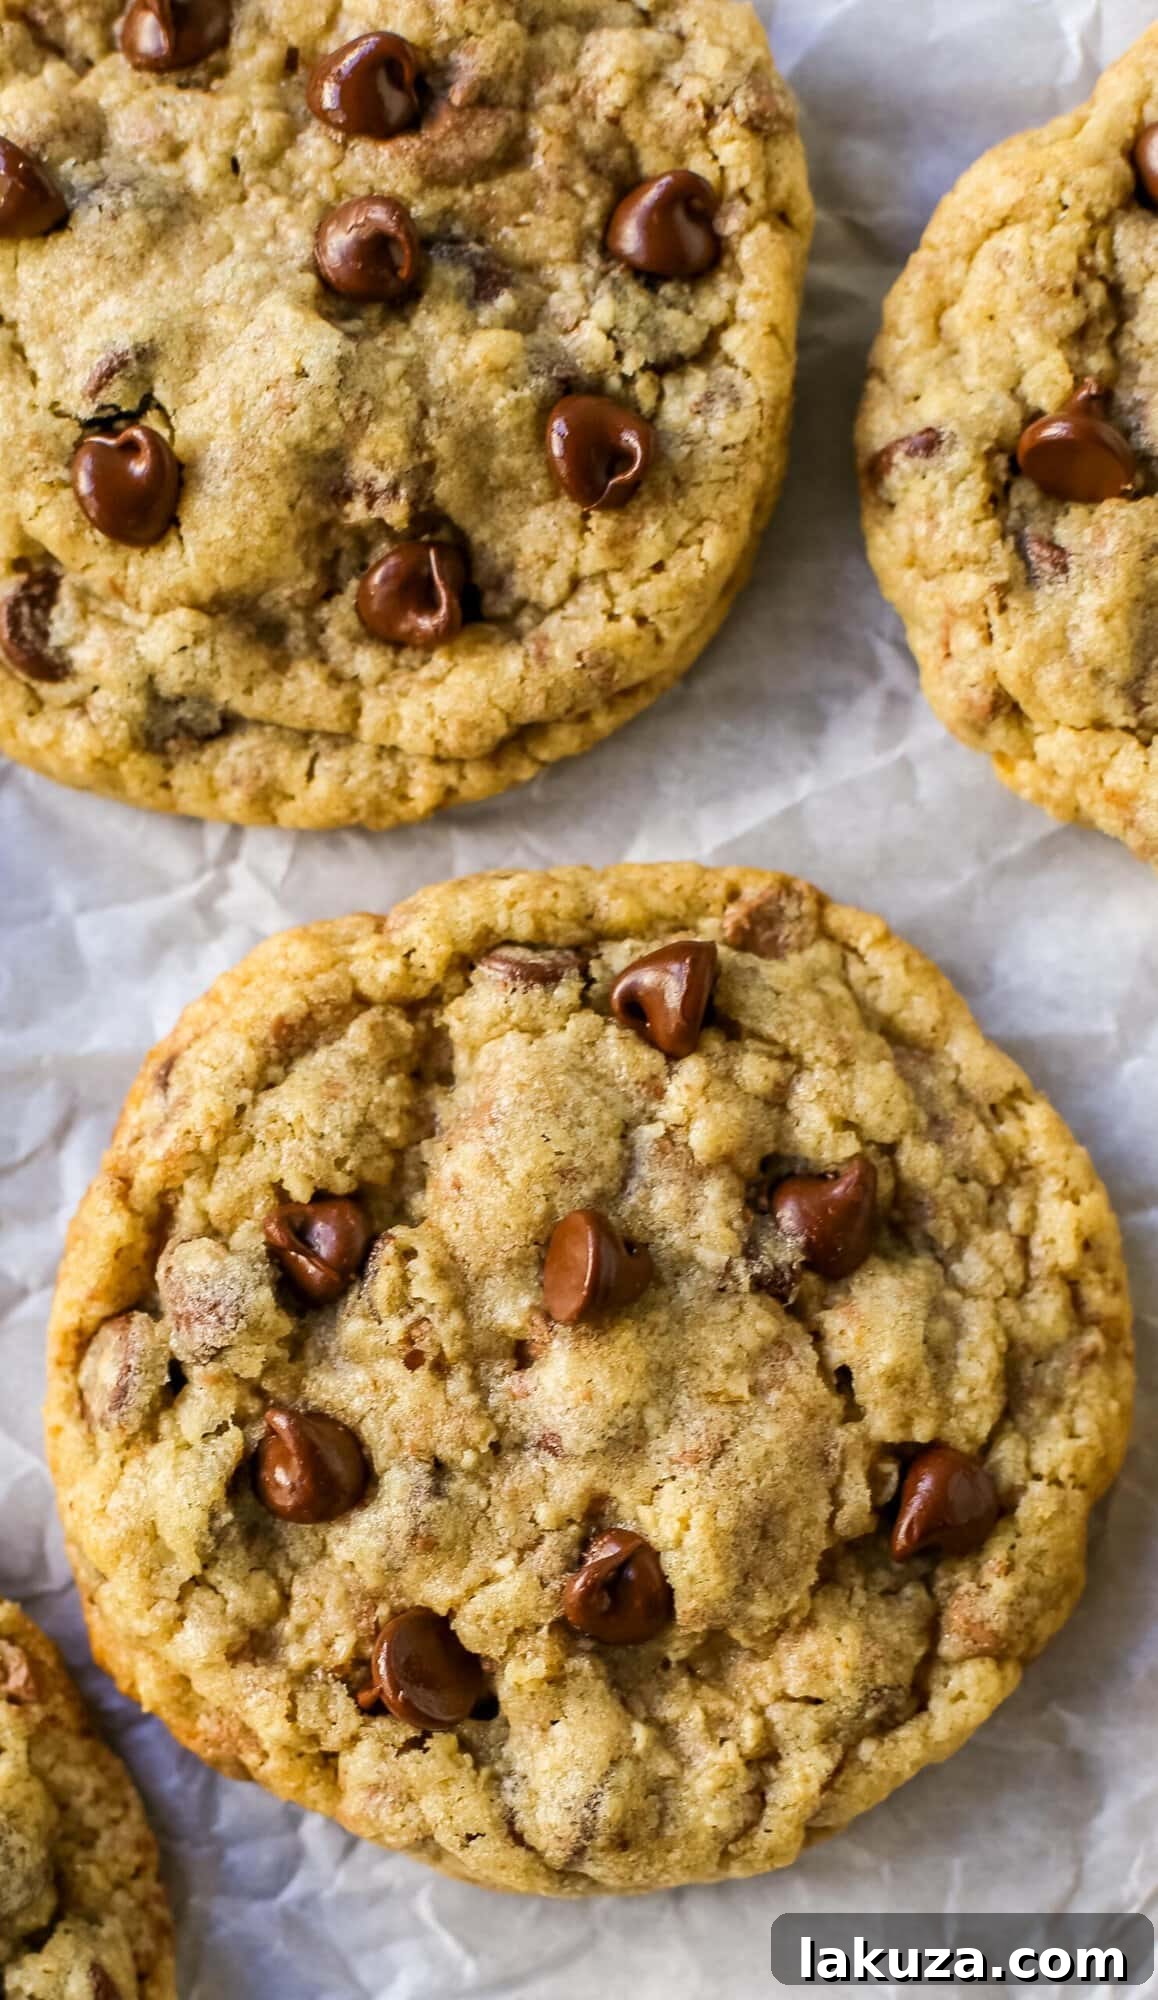
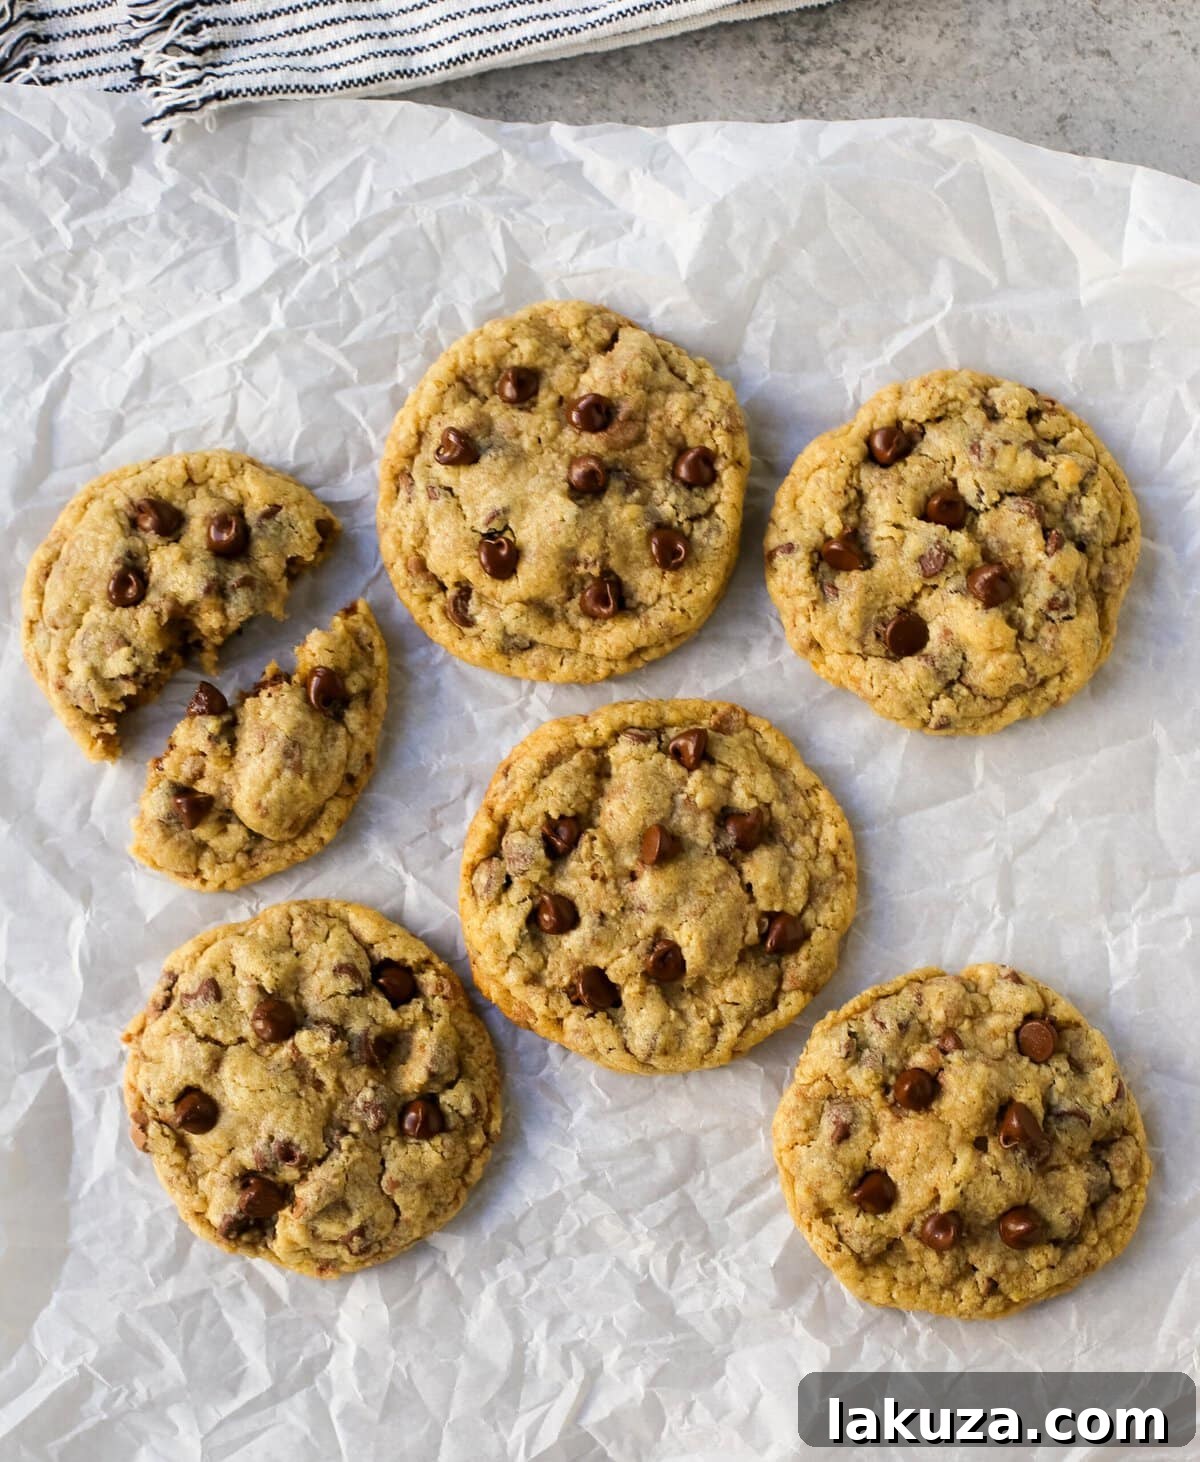
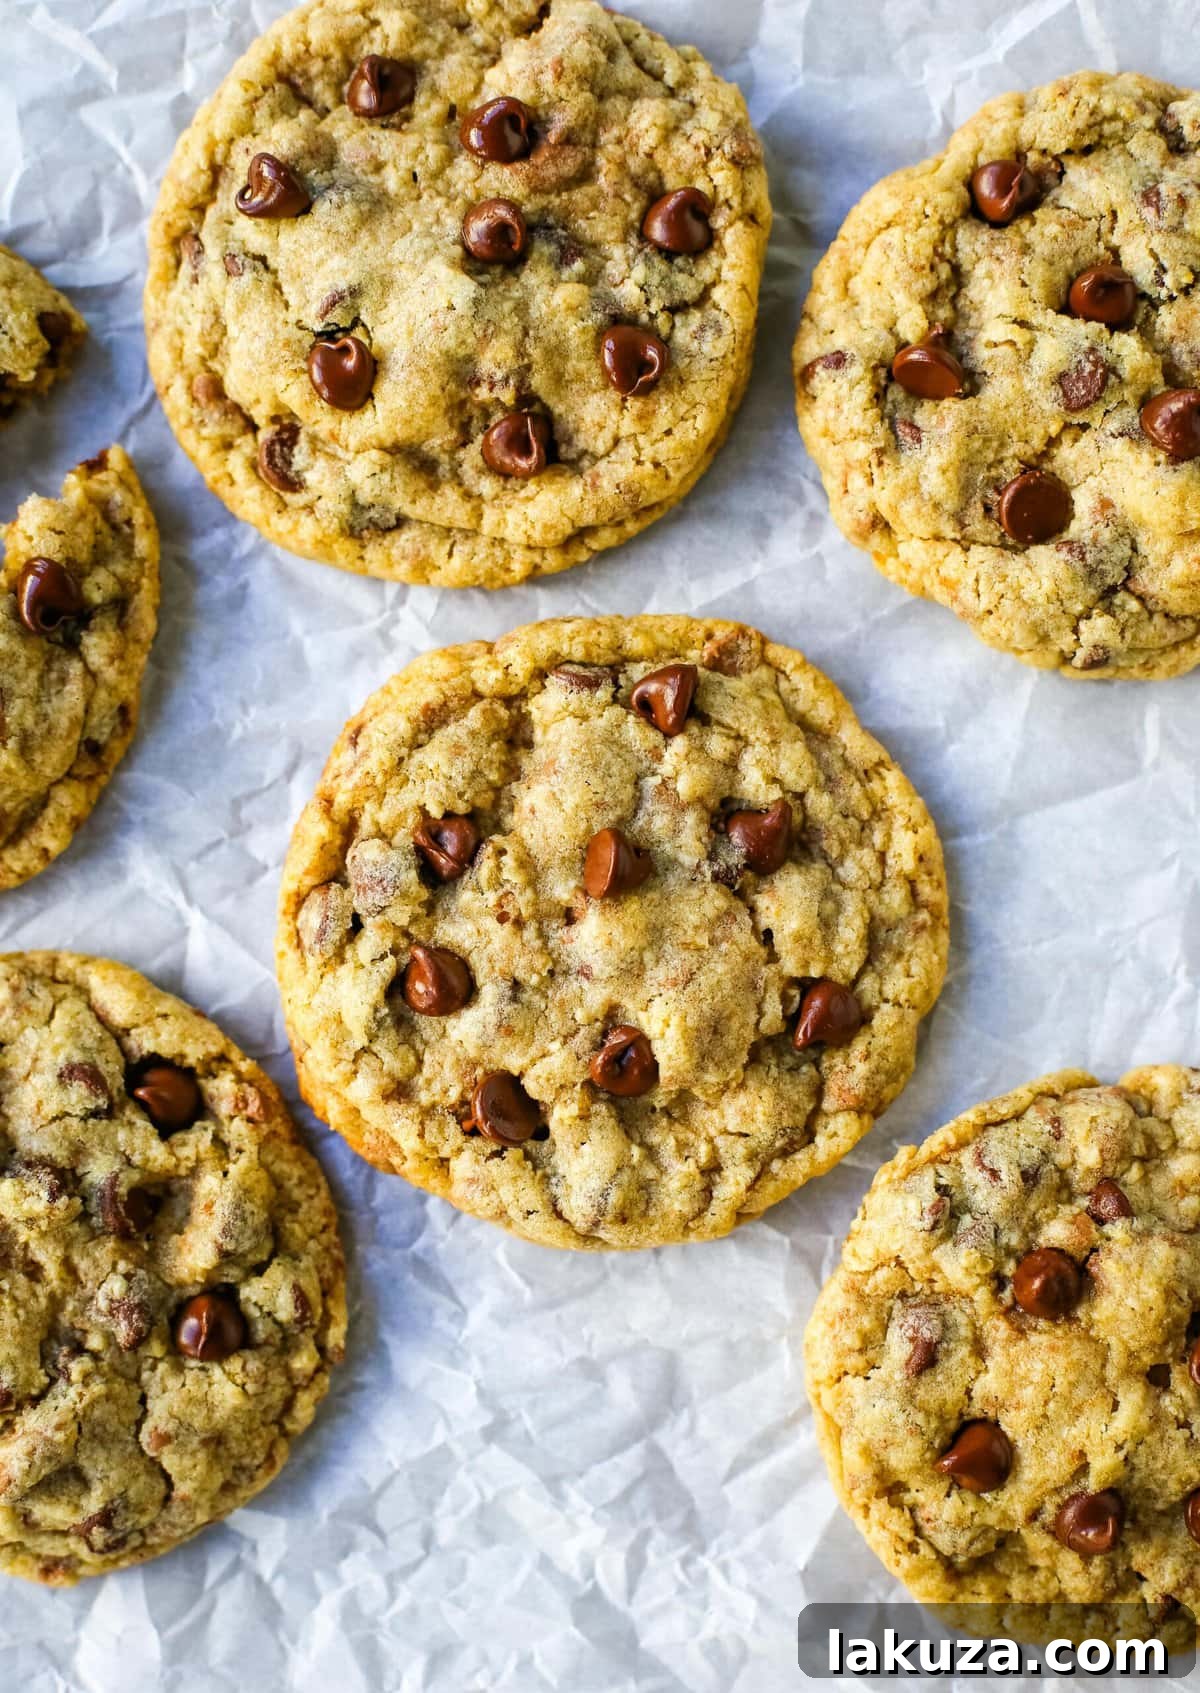
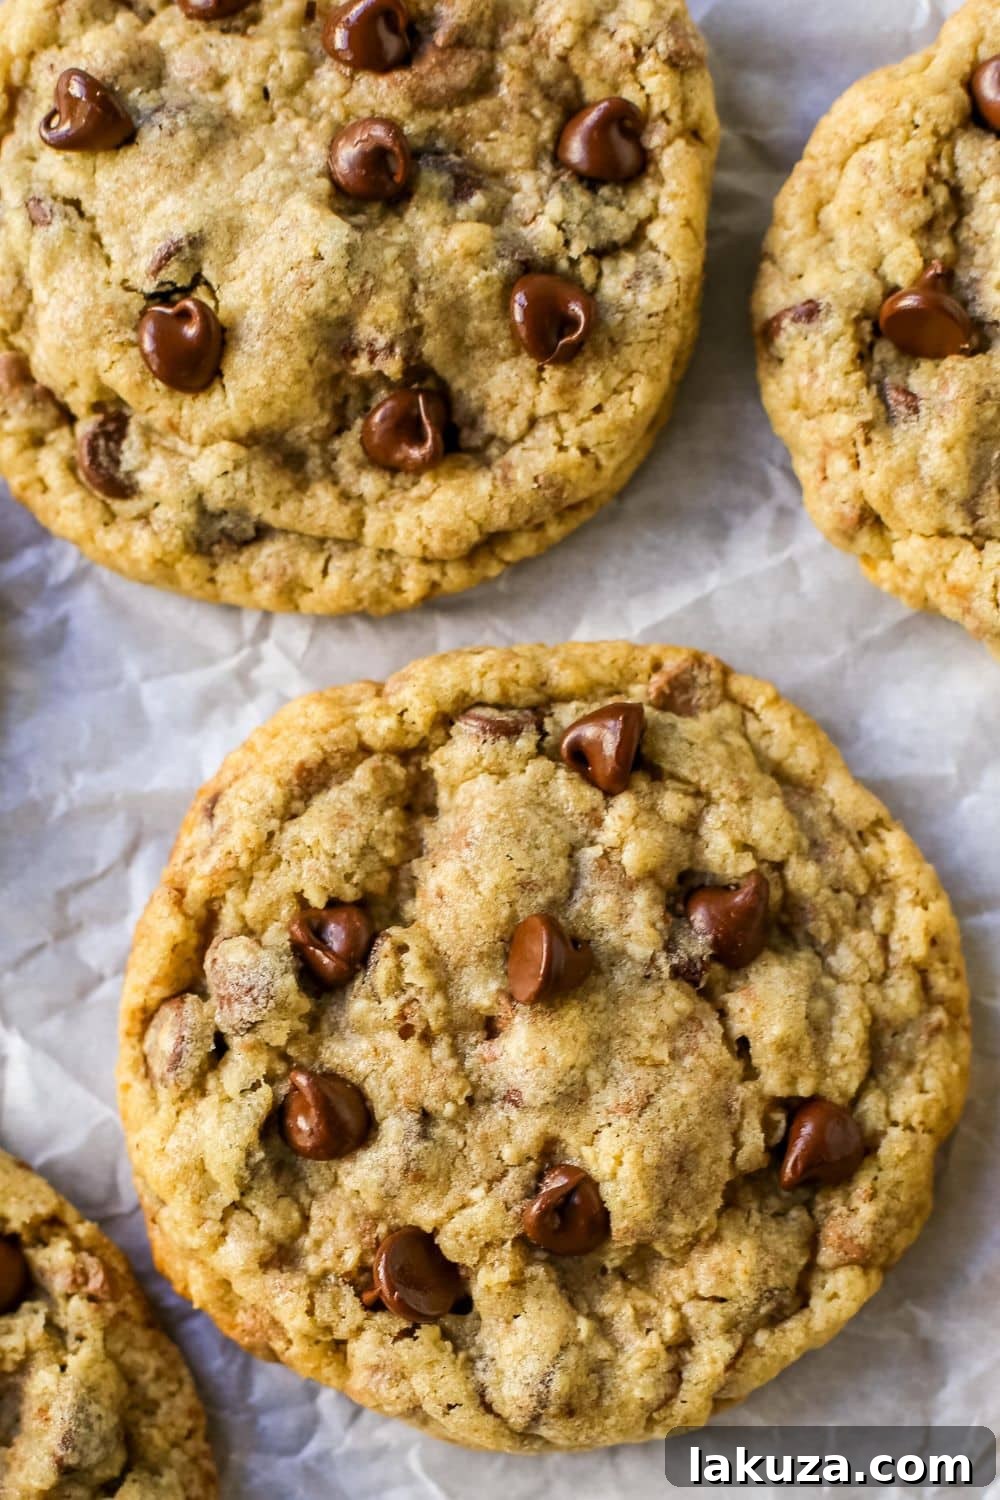
Indulge in the ultimate cookie experience with this beloved Chocolate Chip Oatmeal Cookie recipe, famously inspired by the renowned Milk & Cookies Bakery in New York City. These cookies boast an irresistible texture: perfectly soft and chewy centers, delightfully crisp edges, and a unique character from finely ground oats. Prepare for a batch of cookies that will disappear as quickly as they’re baked!
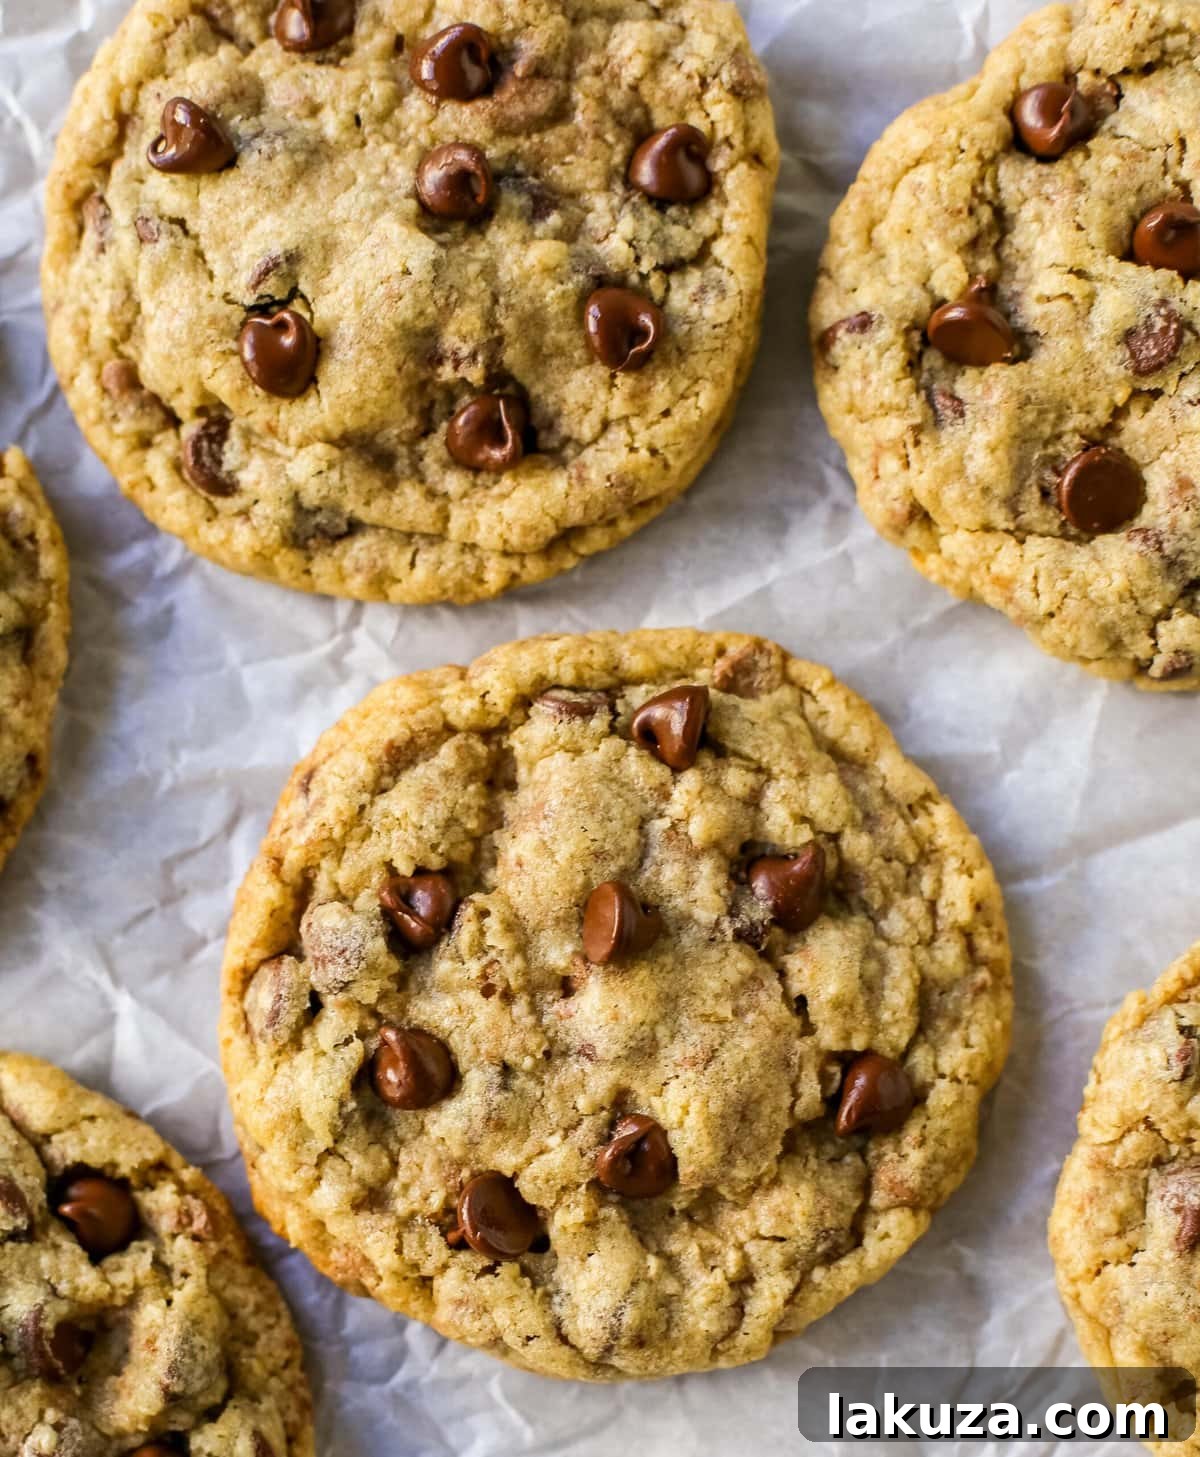
There’s no better way to celebrate any day than with a classic chocolate chip cookie, and today, we’re taking it up a notch. We’re diving into the world of an exceptional chocolate chip oatmeal cookie, where the magic lies in a secret ingredient: finely ground oats. This ingenious technique allows us to “sneak in” the wholesome goodness of oatmeal, transforming a simple cookie into something truly extraordinary without the typical chunky texture of traditional oatmeal cookies.
When I first introduced these chewy oatmeal chocolate chip cookies to my husband, his reaction was nothing short of ecstatic. He couldn’t stop raving about them, repeatedly asking when I’d bake another batch and wondering why on earth I hadn’t shared this incredible recipe sooner. Rest assured, the wait is over, and this recipe is finally here to delight your taste buds!
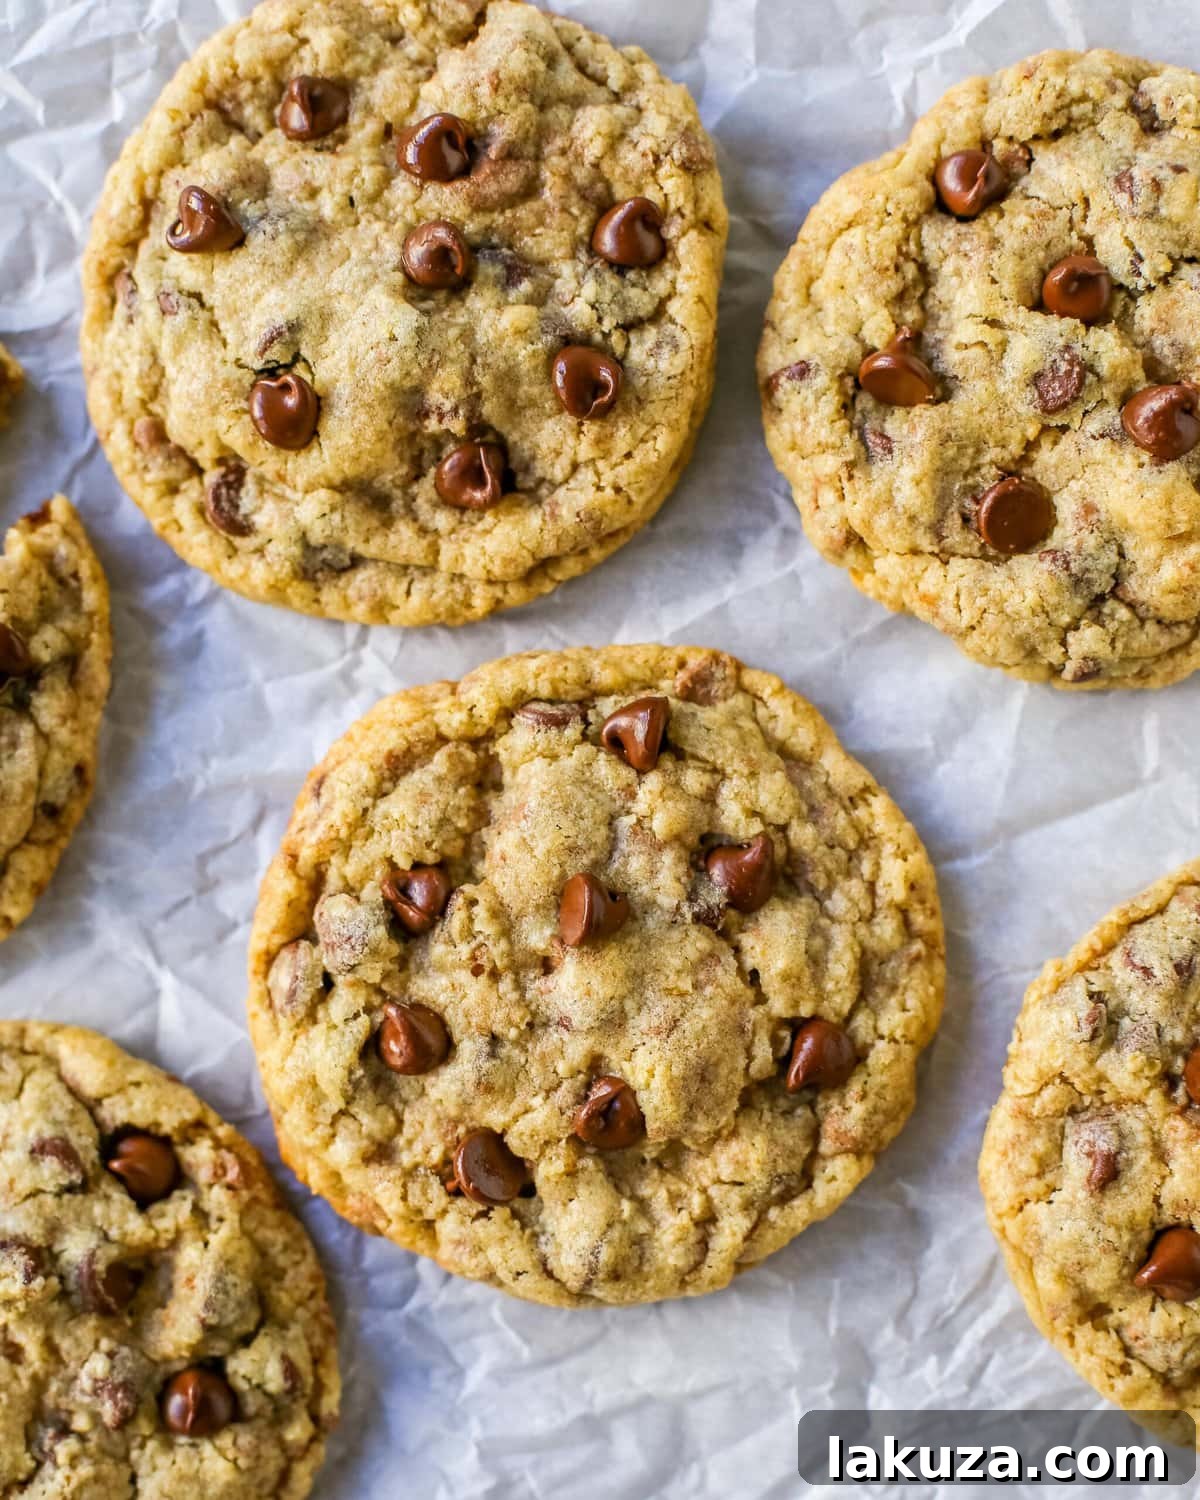
What truly sets this recipe apart is its surprising nature. Unlike a conventional oatmeal cookie, the ground oats subtly integrate into the dough, creating a wonderfully complex texture. You get a delightful blend of chewiness and crispiness that keeps you guessing and reaching for another cookie. It’s a culinary game of hide-and-seek where the ground oats are the champion, ensuring these chocolate chip oatmeal cookies are quickly climbing the ranks as a new favorite in many households, including mine!
Unlocking the Secret to the Best Chocolate Chip Oatmeal Cookies
The magic of these bakery-style chocolate chip oatmeal cookies lies not just in the ingredients themselves, but in how they are combined and treated. We’ll explore each component, highlighting why they are essential for achieving that perfect balance of flavor and texture that makes these cookies so unforgettable.
Essential Ingredients for Your Bakery-Style Oatmeal Cookies:
- Butter: Softened, unsalted butter is crucial for creaming, which incorporates air and contributes to the cookie’s light, tender crumb.
- Granulated Sugar: Provides sweetness and helps with crispness around the edges.
- Brown Sugar: Adds a deeper, molasses-rich flavor and ensures a wonderfully chewy texture. The moisture in brown sugar is key!
- Egg: Acts as a binder, adding structure and richness to the dough.
- Vanilla Extract: A splash of pure vanilla extract enhances all the other flavors, giving the cookies a warm, inviting aroma.
- Rolled Oats (Ground): The star ingredient! Old-fashioned rolled oats, finely ground in a food processor, create the unique texture that defines these cookies. This is what makes them “hide-and-seek” oatmeal cookies.
- All-Purpose Flour: The structural backbone of the cookie. It’s important not to overmix it.
- Baking Powder & Baking Soda: These leavening agents work in tandem to give the cookies their perfect rise and spread. Baking soda, activated by the brown sugar’s acidity, contributes to the soft interior and golden-brown exterior.
- Salt: Essential for balancing the sweetness and enhancing the overall flavor of the chocolate.
- Semisweet Chocolate Chunks or Chips: Provides delightful pockets of melted chocolate. Chunks offer a more rustic, varied melt.
- Semisweet Chocolate Shavings: This is another secret weapon! Chocolate shavings melt beautifully into the dough, creating luxurious ribbons of chocolate throughout each cookie, elevating both flavor and appearance.
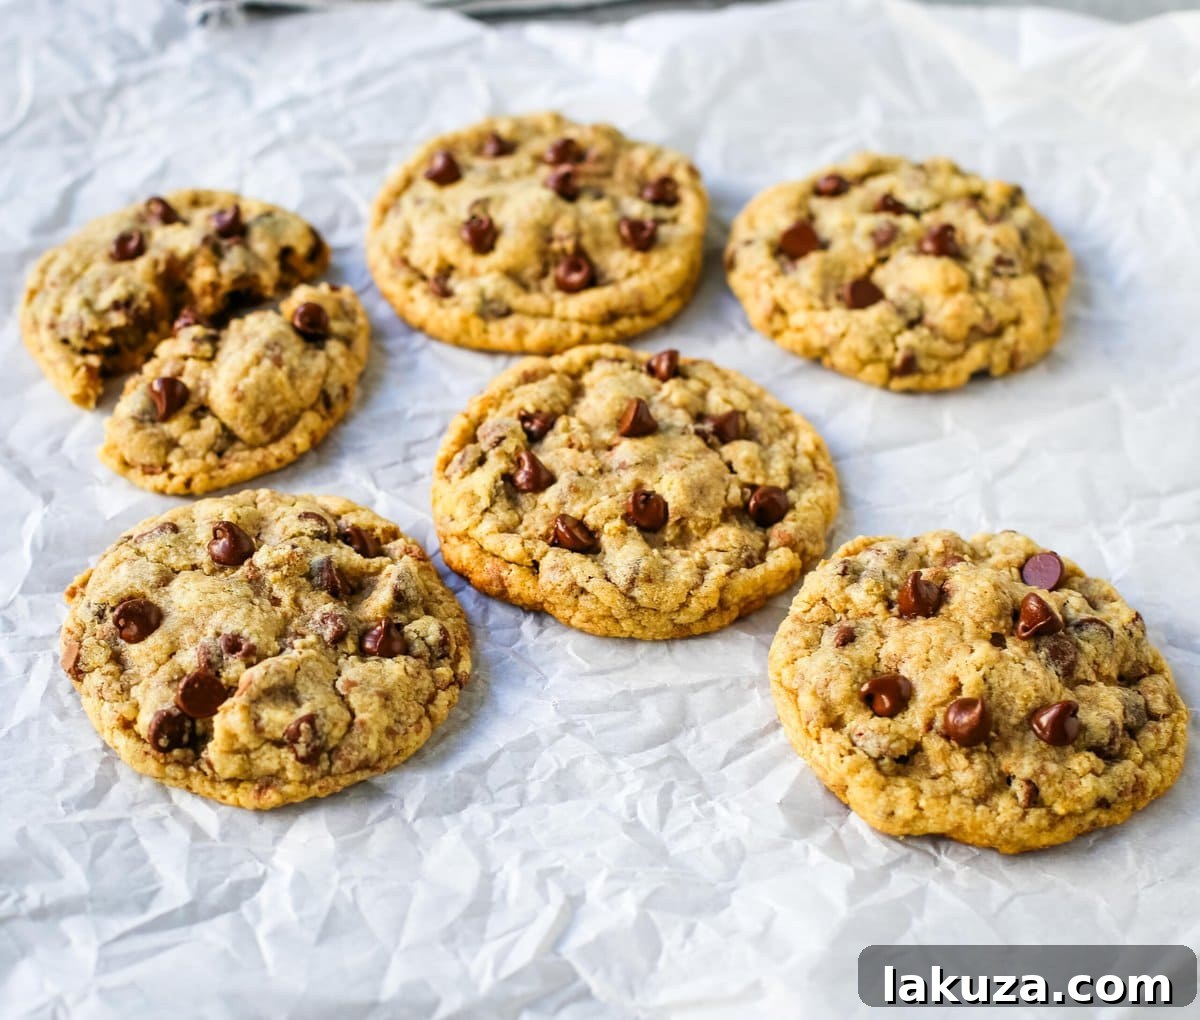
Crafting the Perfect Chocolate Chip Oatmeal Cookies: A Step-by-Step Guide
Making these incredible cookies is a rewarding process, and following these steps carefully will ensure a batch of bakery-quality treats every time. Pay attention to the details, and you’ll be enjoying these delightful cookies in no time.
- Prepare Your Workspace and Ingredients: First, preheat your oven to 350 degrees Fahrenheit (175 degrees Celsius). Ensure all your ingredients, especially the butter and egg, are at room temperature. This is vital for proper emulsification and a smooth dough. In a large mixing bowl, begin by creaming the softened butter for about 3 minutes until it becomes notably light and fluffy. This step incorporates air, which contributes to the cookies’ final texture. Then, add both granulated sugar and brown sugar, beating for another 2 minutes until the mixture is smooth, creamy, and well combined.
- Incorporate Wet Ingredients: Add the egg to the sugar-butter mixture. After adding the egg, use a rubber spatula to frequently scrape down the sides of the bowl. This ensures that all ingredients are thoroughly incorporated and prevents uneven mixing, which can lead to inconsistencies in your cookies. Finally, stir in the vanilla extract, blending until fragrant.
- The Ground Oat Secret: This is where the unique texture of our cookie comes to life! Place the old-fashioned rolled oats into a food processor or a high-speed blender. Process until the oats are finely ground, resembling a coarse flour. This crucial step is what gives these cookies their characteristic chewy, yet hearty texture without the prominent chewiness of whole oats.
- Combine Dry Ingredients (Carefully!): In a separate bowl, whisk together the finely ground oats, all-purpose flour, baking powder, baking soda, and salt. Gradually add this dry mixture to the wet ingredients, mixing only until just combined. The key here is not to overmix. Overworking the flour can develop too much gluten, resulting in tough, dense cookies. We want tender, delightful cookies, so stop mixing as soon as no dry streaks of flour remain.
- Fold in the Chocolate: Now for the best part – the chocolate! Stir in your semisweet chocolate chunks or chips and the chocolate shavings. If possible, using both chunks and chips creates a more dynamic chocolate experience. The chips maintain their shape, providing distinct chocolate morsels, while the shavings melt more readily, creating decadent “ribbons” of chocolate throughout the cookie, adding an extra layer of gourmet appeal.
- Chill for Enhanced Flavor and Texture: For optimal results, chill your cookie dough. Ideally, aim for 24-48 hours, but even a minimum of 30 minutes can make a significant difference. Chilling allows the flavors to meld, the flour to fully hydrate, and the fats to solidify, resulting in thicker, chewier, and more flavorful cookies.
- Portion and Bake: Once chilled, roll the dough into uniform balls or use a small ice cream scoop or cookie scooper for consistent sizing. Place them on your prepared baking sheets. Bake for 12-15 minutes, or until the edges are golden brown and the centers are still slightly soft.
- Cooling is Key: After baking, let the cookies cool on the cookie sheet for several minutes. This allows them to set up and prevents them from breaking apart when transferred. Then, carefully move them to wire racks to cool completely.
Selecting the Best Cookie Sheets for Perfect Baking
The right tools can make all the difference in baking, and cookie sheets are no exception. Over the years, I’ve amassed quite a collection, and I’ve learned a few things about what works best for achieving evenly baked, perfectly golden cookies without burnt bottoms.
One of my top recommendations is the USA Baking Sheet. This light-colored baking sheet is a consistent performer, known for distributing heat evenly across its surface. This even heat distribution is crucial for preventing hot spots that can lead to uneven baking and burnt edges while leaving the center undercooked. Light-colored sheets reflect heat rather than absorbing it, promoting a gentler, more uniform bake.
Another excellent option, especially for value, is the 2-pack baking sheets often found at Costco. These are typically light-colored and robust, offering a great balance of quality and affordability. Always prioritize light-colored baking sheets; dark sheets tend to absorb more heat, which can cause the bottoms of your cookies to brown too quickly or even burn before the tops are fully cooked. This is a common pitfall for many home bakers, and a simple switch in bakeware can vastly improve your results.
To further streamline your baking process and make cleanup a breeze, I highly recommend using parchment paper sheets. Not only do they ensure your cookies never stick to the pan, but they also promote more even baking by creating a slight barrier between the dough and the hot metal. Plus, the ease of cleanup is a huge bonus – simply discard the used paper, and your baking sheet is practically spotless. Less time scrubbing means more time enjoying your delicious cookies, and as any busy parent knows, less cleanup equals a happier you!
The Story Behind These Legendary Chocolate Chip Oatmeal Cookies
Every truly great cookie has a story, a journey from concept to kitchen, and these cookies are certainly no exception. Our tale begins in 2011, a significant time for me, nearly five years before I even dreamed of starting Modern Honey. At that point in my life, I was on a very strict dietary regimen to address some pressing health issues. This included a prolonged period of being entirely gluten-free and dairy-free—a monumental challenge for someone whose passion and livelihood revolve around baking!
Amidst this dietary constraint, I stumbled upon a thrilling announcement: the Cooking Channel was launching a nationwide search for America’s perfect cookie recipe. For a passionate baker like myself, this was more than just a contest; it was a dream come true, perfectly aligned with my culinary aspirations. Despite my dietary limitations, I poured my heart into creating what I believed to be the ultimate cookie, a testament to my enduring love for baking.
Against all odds, I ended up winning the contest for the perfect cookie recipe! The victory brought an incredible opportunity: a trip for my husband, Dean, and me to New York City to film a segment for a show at the prestigious Food Network Studios. The excitement was overwhelming! I couldn’t wait to experience the vibrant energy of NYC, and, more importantly, to eat my way through its legendary culinary scene. However, there was a catch – I was still adhering to my strict diet, which meant no gluten and no dairy. This put a damper on my bakery exploration plans. I was scheduled to film the following afternoon, so I resolved to withstand temptation for just one more day. I thought I could manage it, right? My resolve, however, began to waver the moment I watched Dean enthusiastically devour two slices of authentic New York cheese pizza. It was then that I experienced coveting at its absolute finest, a true test of my willpower.
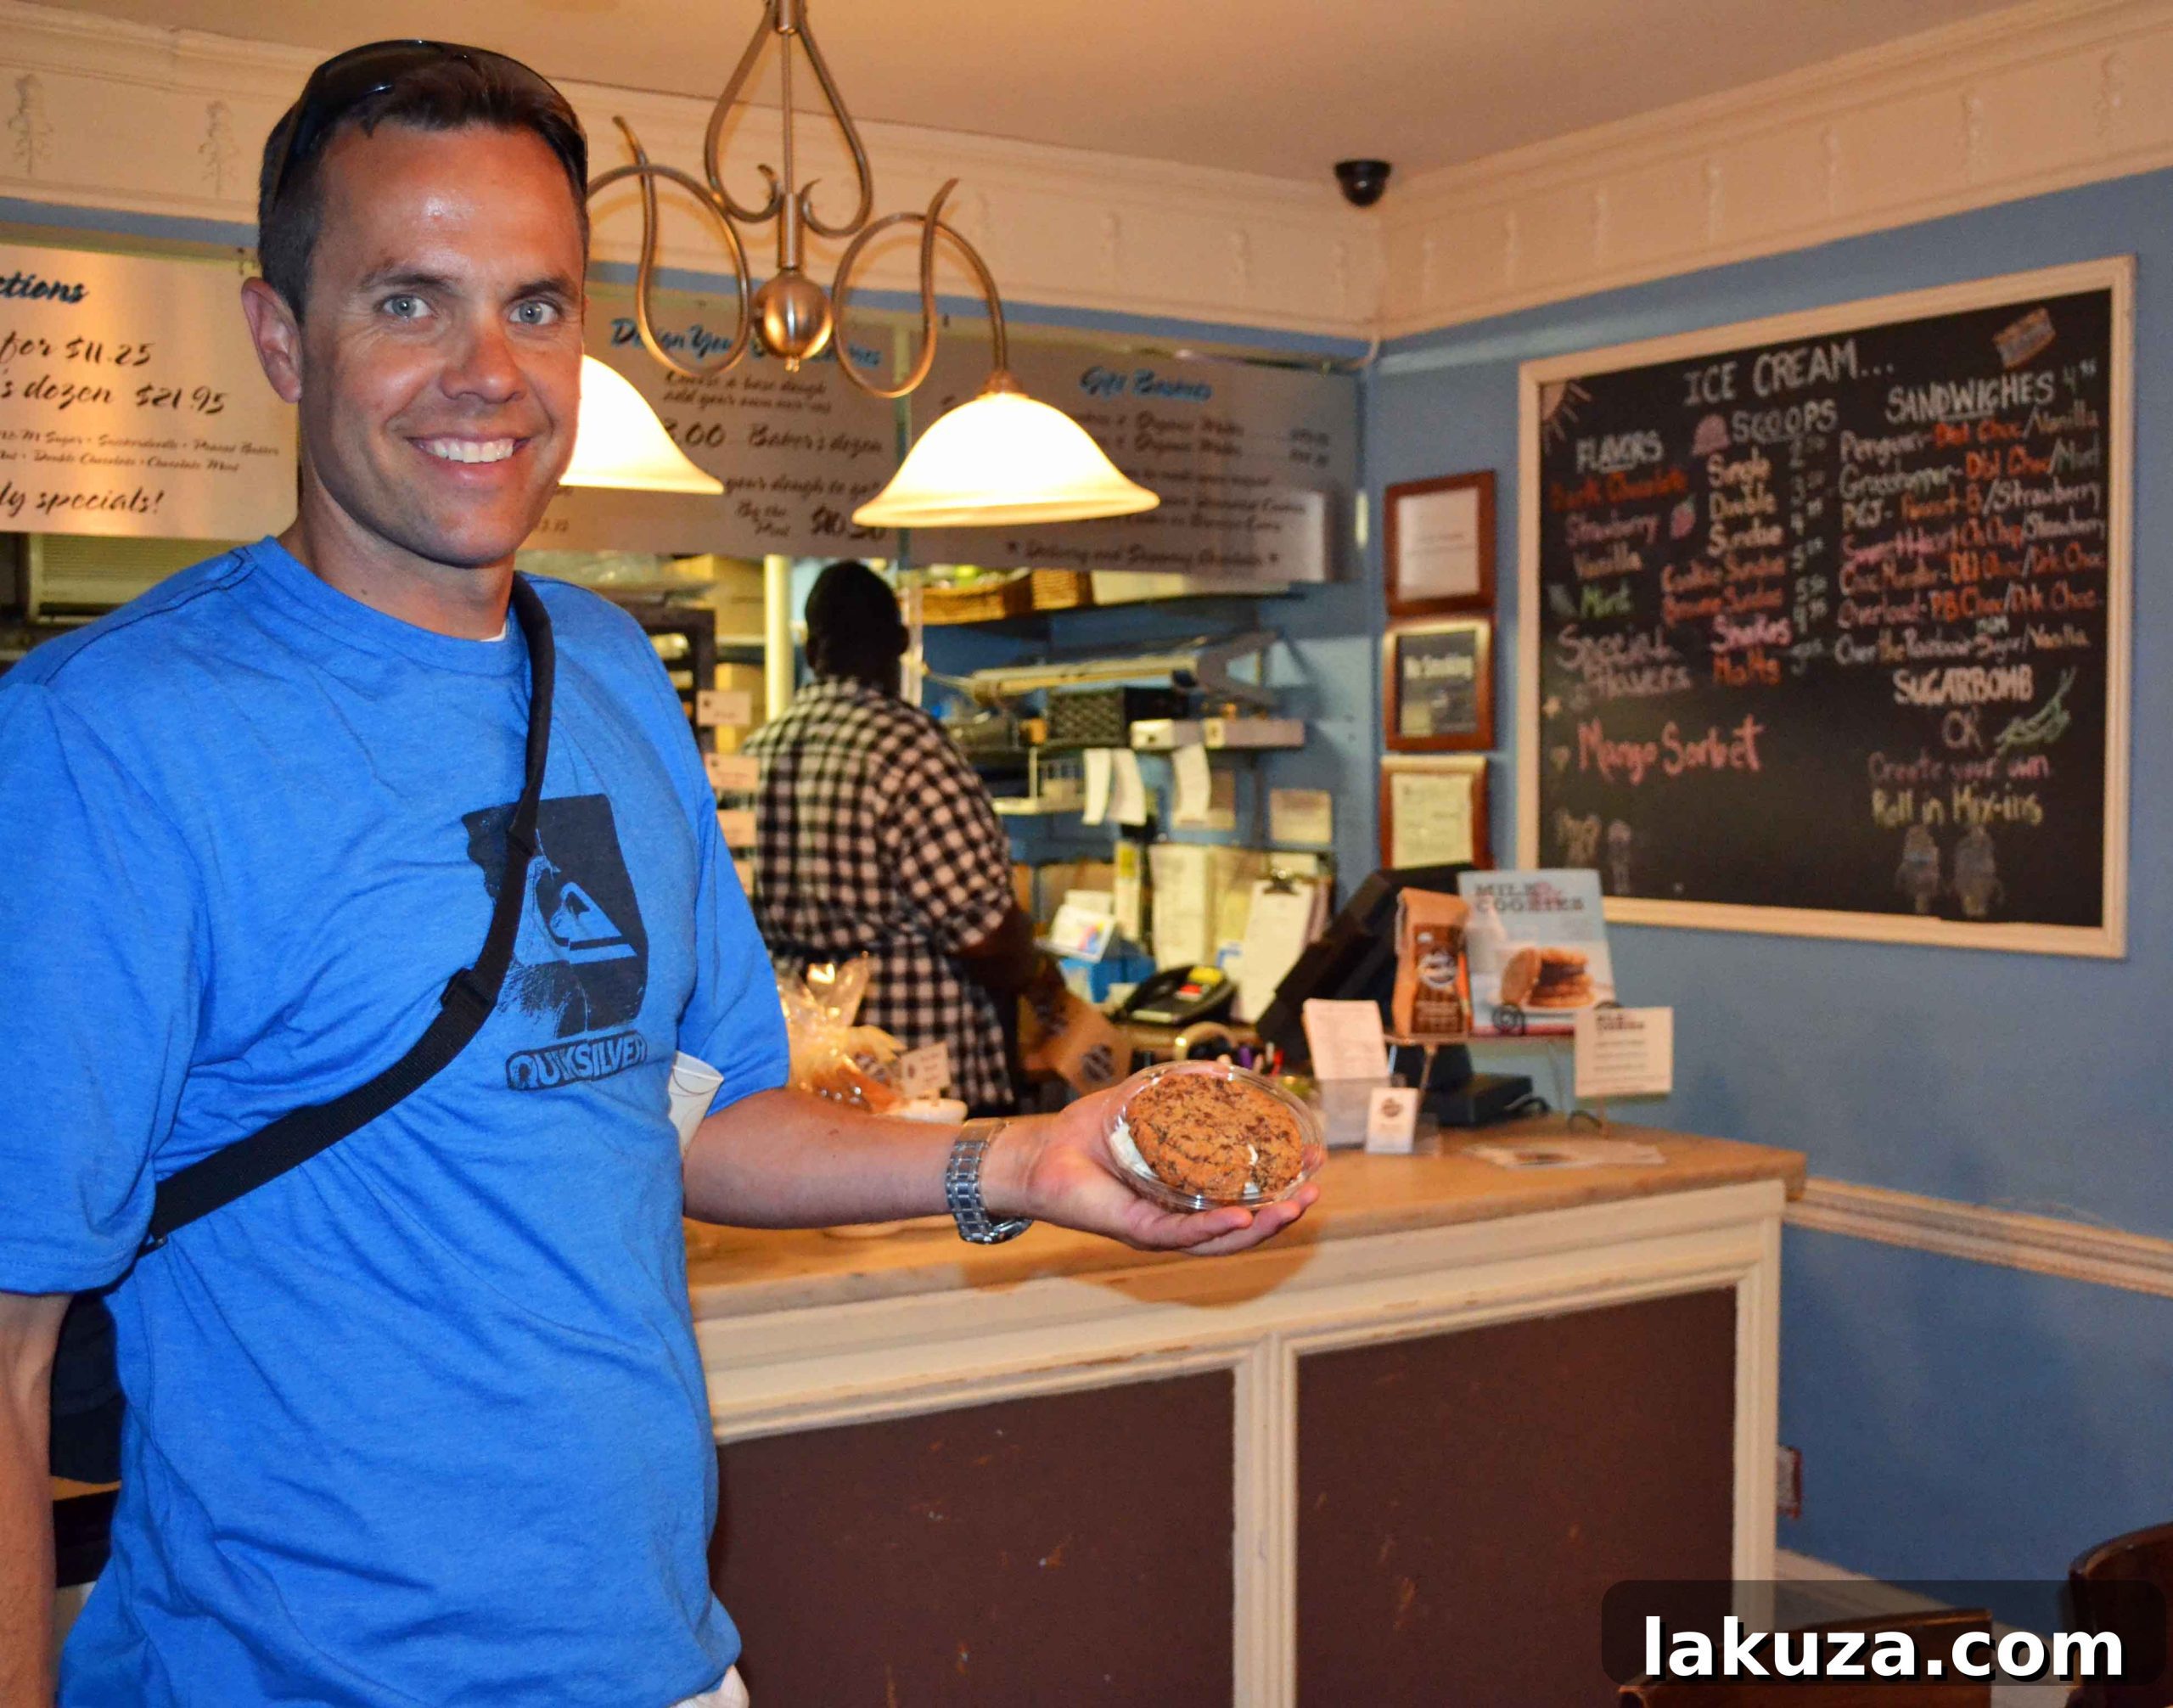
The real challenge, however, was yet to come. We soon stumbled upon a charming little bakery I had heard whispers about for a long time: Milk & Cookies. Specializing solely in cookies, this place was, quite literally, a direct path to my heart. Despite my diet, I felt an undeniable pull to enter, to simply soak in the aroma, gaze at the beautifully crafted cookies, and at least dream of tasting them. I knew I was walking into the very den of temptation. Could I truly withstand the intoxicating scent of butter, rich chocolate, and sweet sugar all wrapped into one glorious package? I wasn’t entirely sure it was the smartest decision, but curiosity (and cookie-love) won out.
I convinced Dean it was absolutely fine for him to indulge in a cookie or two. He, of course, opted for the ultimate treat: two of Milk & Cookies’ famous chocolate chip cookies, generously sandwiched together with creamy vanilla ice cream in the middle. Was I jealous? Not at all! (Okay, maybe a little, or a lot.) I literally stood there, camera in hand, taking pictures of him enjoying every single bite. I was living vicariously through his sheer delight, absorbing the experience through his happy expressions.
I made myself a solemn promise: after all the filming was complete, on the very last day of our trip, I would return to Milk & Cookies and finally get my very own cookie. This pact became my driving force, keeping my cravings at bay. And oh, the wait was exquisitely worth it! When I finally bit into this legendary NYC cookie, it was everything I had imagined and more: perfectly chewy, with just the right amount of crispness, bursting with rich chocolate flavor. I absolutely loved it!
Years later, when I discovered that Milk & Cookies had released their very own cookbook, you can bet I immediately thumbed through it, eager to find the fabled oatmeal chocolate chip cookie recipe. This recipe I’m sharing with you today is my adaptation of their classic chocolate chip cookies, infused with the unique texture of ground oats. My hope is that I’ve done justice to their incredible original. I am confident you will adore this recipe just as much as I do!
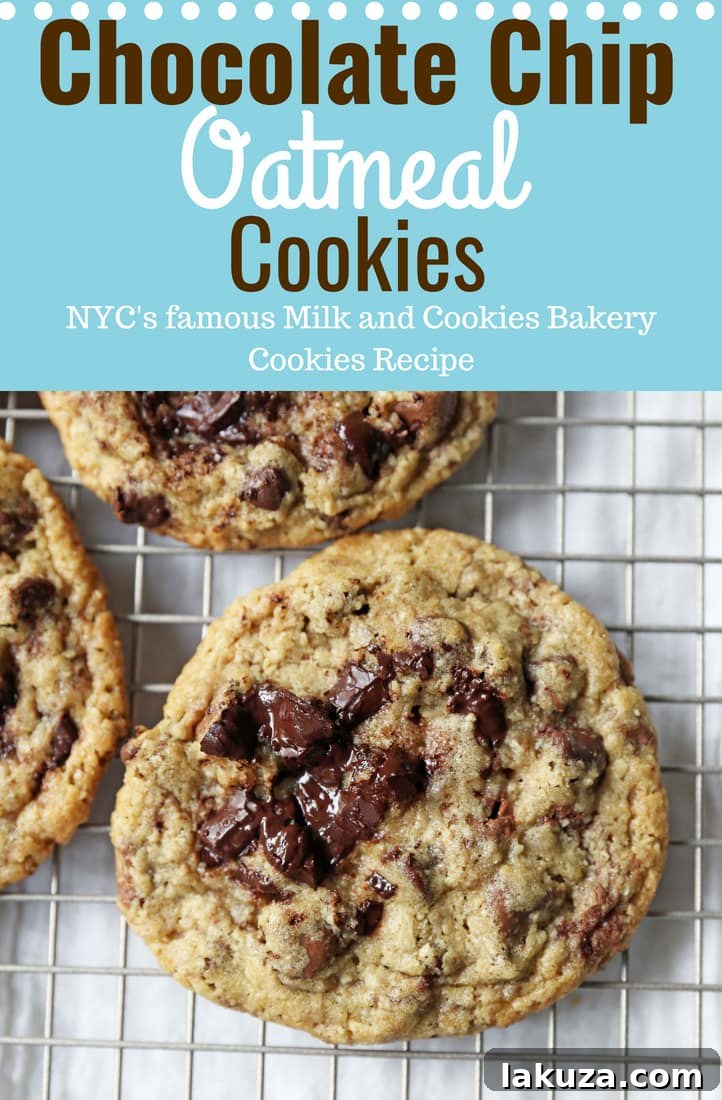
Pin this recipe to your favorite board on Pinterest!
More Delicious Cookie Recipes to Explore:
Bakery Style Oatmeal Chocolate Chip Cookies
Classic Oatmeal Chocolate Chip Cookies
The Best Oatmeal Raisin Cookies
Levain Bakery Oatmeal Raisin Cookies
You might also love my popular recipe for the Best Monster Cookies!

Chocolate Chip Oatmeal Cookies
Equipment
-
Stand Mixer (or large mixing bowl and hand mixer)
-
Baking Sheets (light colored recommended)
-
Parchment Paper Baking Sheets
-
Measuring Cups and Spoons
-
Spatula/Turner
-
Rubber Spatula Set
-
Cookie Scoop
-
Food Processor or Blender (for grinding oats)
Ingredients
- 3/4 cup Butter softened
- 1/2 cup Granulated Sugar
- 1/2 cup Brown Sugar
- 1 Large Egg
- 2 teaspoons Vanilla Extract
- 1 1/4 cup Old-Fashioned Rolled Oats finely ground in a food processor
- 1 cup All-Purpose Flour
- 1/2 teaspoon Baking Powder
- 1/2 teaspoon Baking Soda
- 1/2 teaspoon Salt
- 1 cup Semisweet Chocolate Chunks or Chips
- 1 cup Semisweet Chocolate Shavings
- *Recipe adapted from Milk & Cookies Bakery Classic Chocolate Chip Cookies
Instructions
-
Preheat oven to 350°F (175°C). In a large mixing bowl, cream the softened butter for 3 minutes until light and fluffy. Add both sugars and beat for 2 minutes longer until smooth and creamy.
-
Add the egg, mixing until just combined. Using a spatula, scrape down the sides of the bowl often to ensure even mixing. Stir in the vanilla extract.
-
Place the rolled oats in a food processor or blender and process until finely ground. This creates the unique chewy, hearty texture of these cookies.
-
In a separate bowl, whisk together the ground oats, flour, baking powder, baking soda, and salt. Gradually add this dry mixture to the wet ingredients, mixing only until just combined. Avoid overmixing to keep the cookies tender.
-
Stir in the semisweet chocolate chunks (or chips) and chocolate shavings. The combination of both creates delightful pockets and ribbons of melted chocolate throughout the cookies.
-
If possible, chill the cookie dough for at least 30 minutes. For an even richer flavor and chewier texture, chill for 24-48 hours.
-
Roll the dough into uniform balls or use a small ice cream scoop/cookie scooper and place them on your prepared baking sheets.
-
Bake for 12-15 minutes, or until the edges are golden brown and the centers are still slightly soft. Let cool on the cookie sheet for several minutes before transferring to wire racks to cool completely.
Nutrition information is automatically calculated, so should only be used as an approximation.
Additional Info
I genuinely hope you adore these Chocolate Chip Oatmeal Cookies as much as my family and I do! They are truly a treat for any occasion, from a simple afternoon snack to a special dessert. If you bake a batch, please share your creations with me on Instagram by tagging @modern_honey and using the hashtag #modernhoney. I absolutely love seeing your delicious bakes on your Instagram stories!
Happy Baking, my friends – may your kitchens be filled with the wonderful aroma of fresh cookies!