
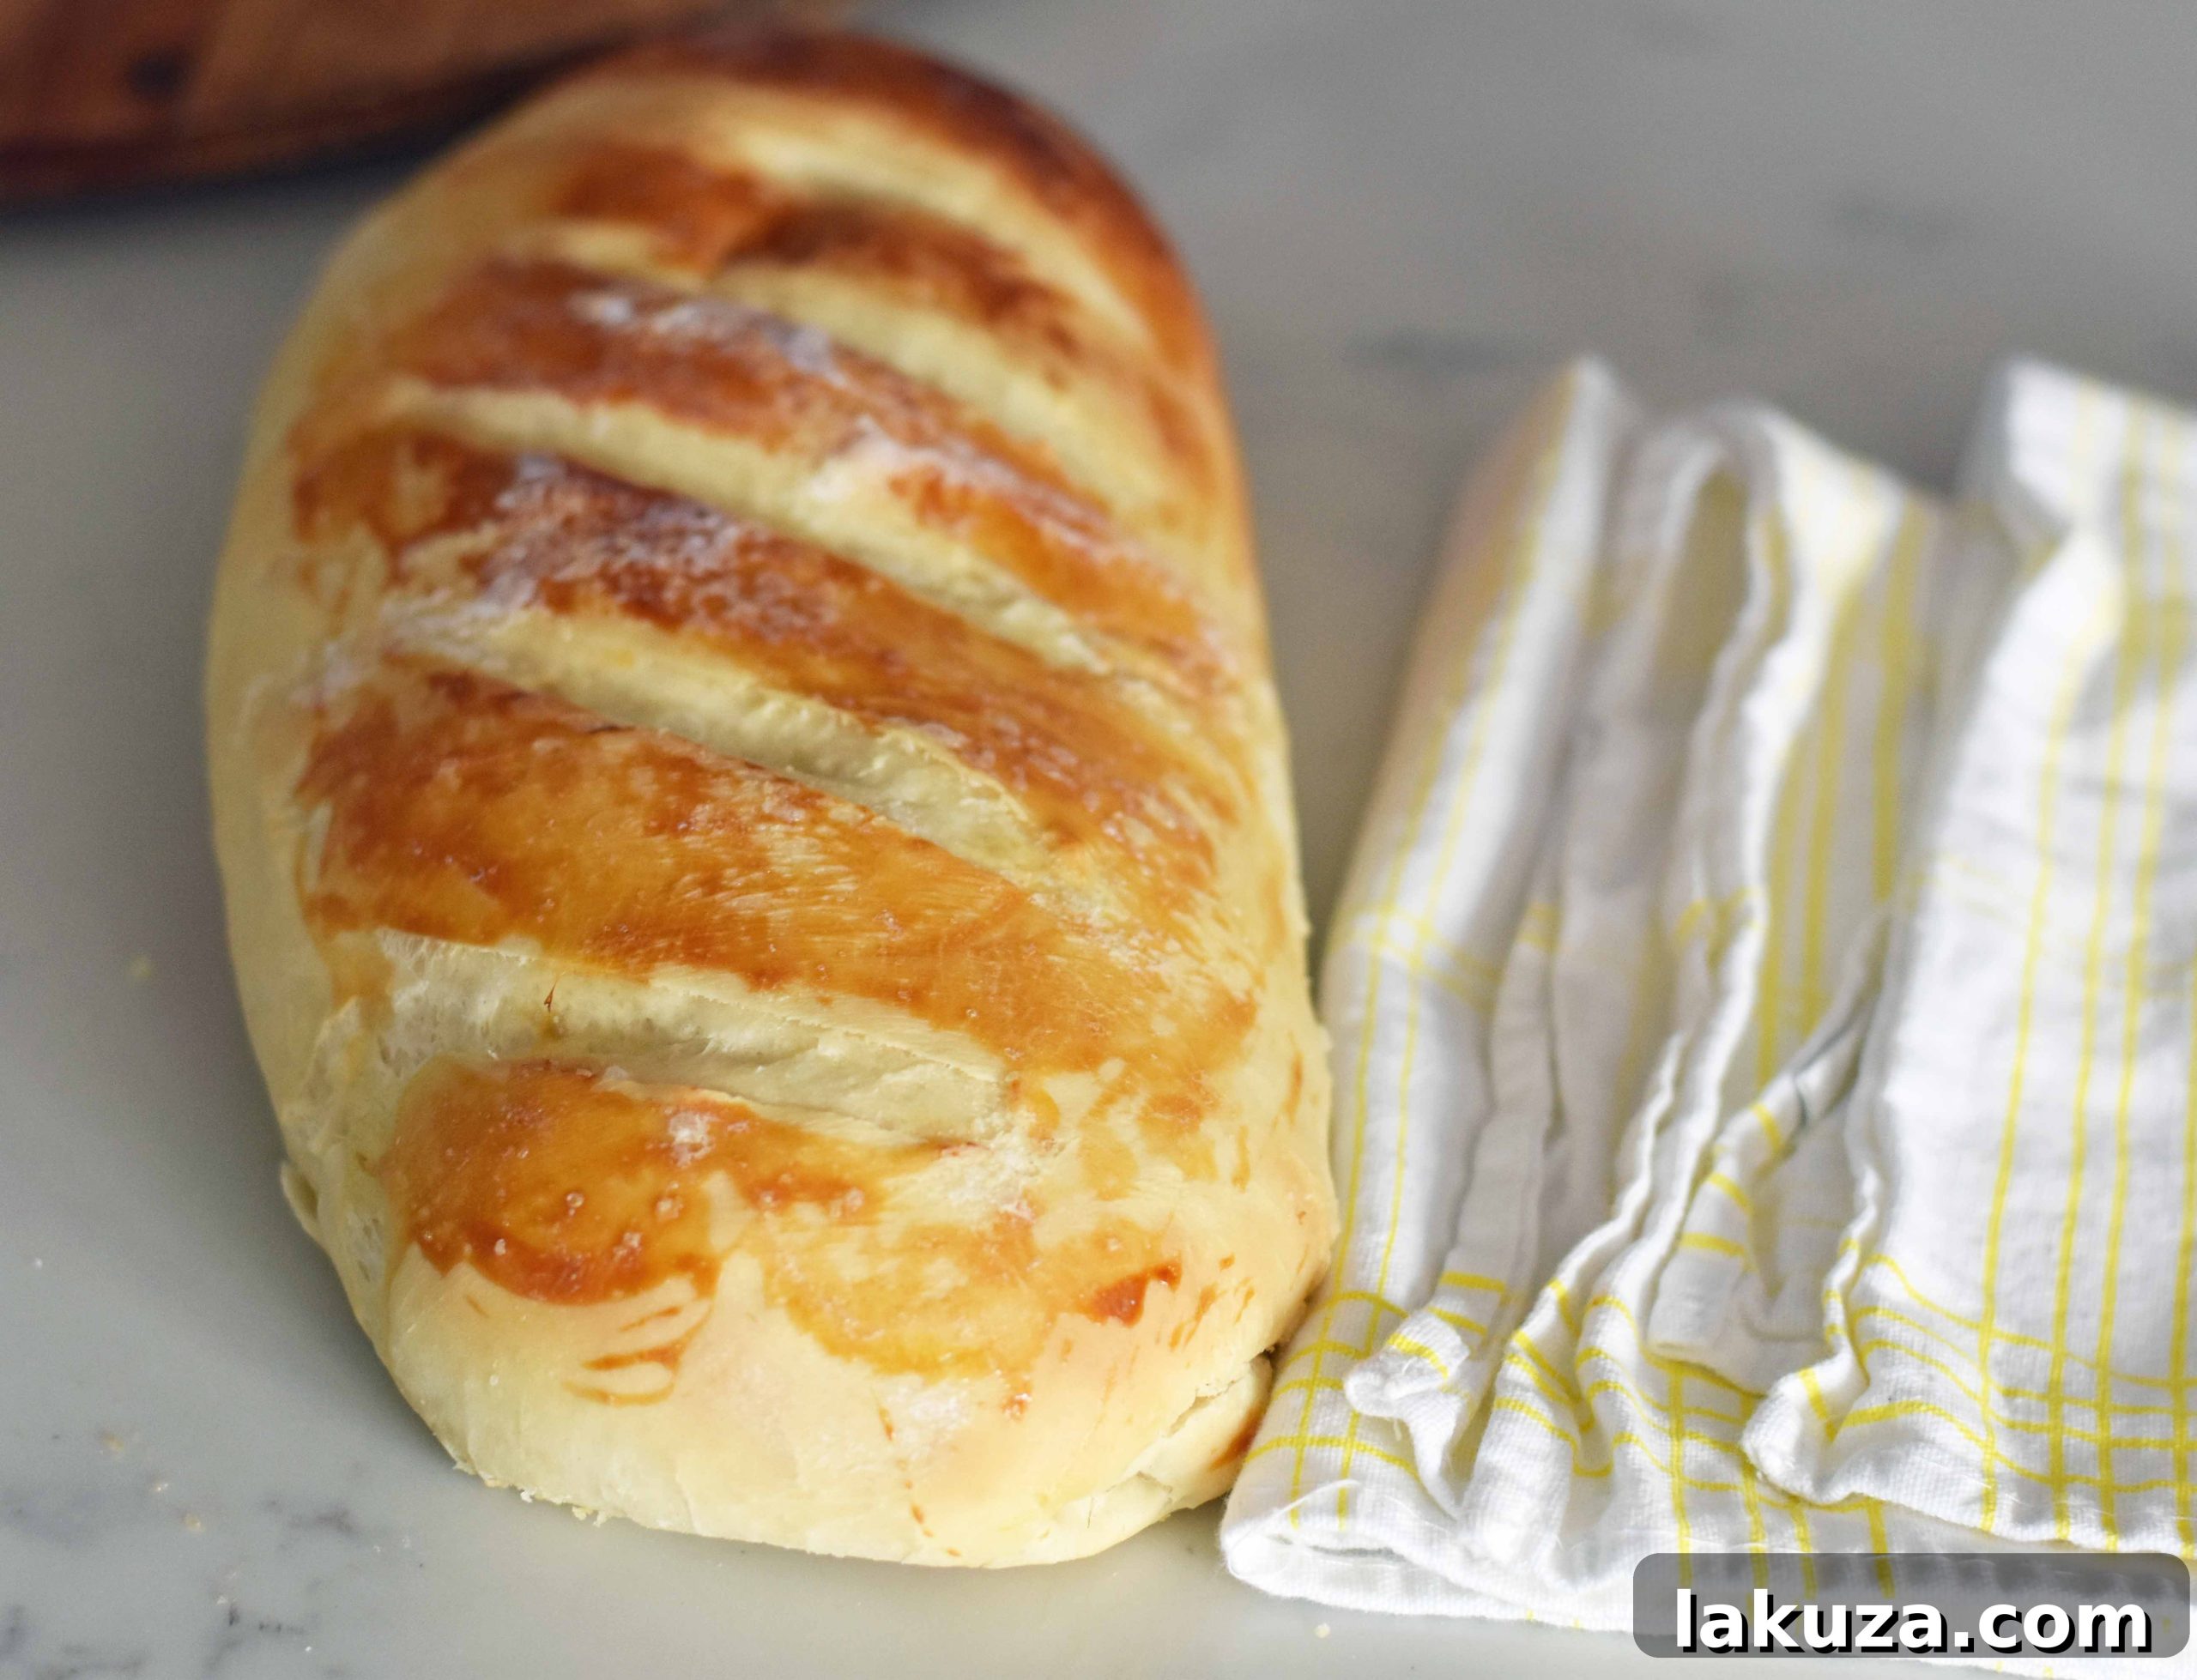
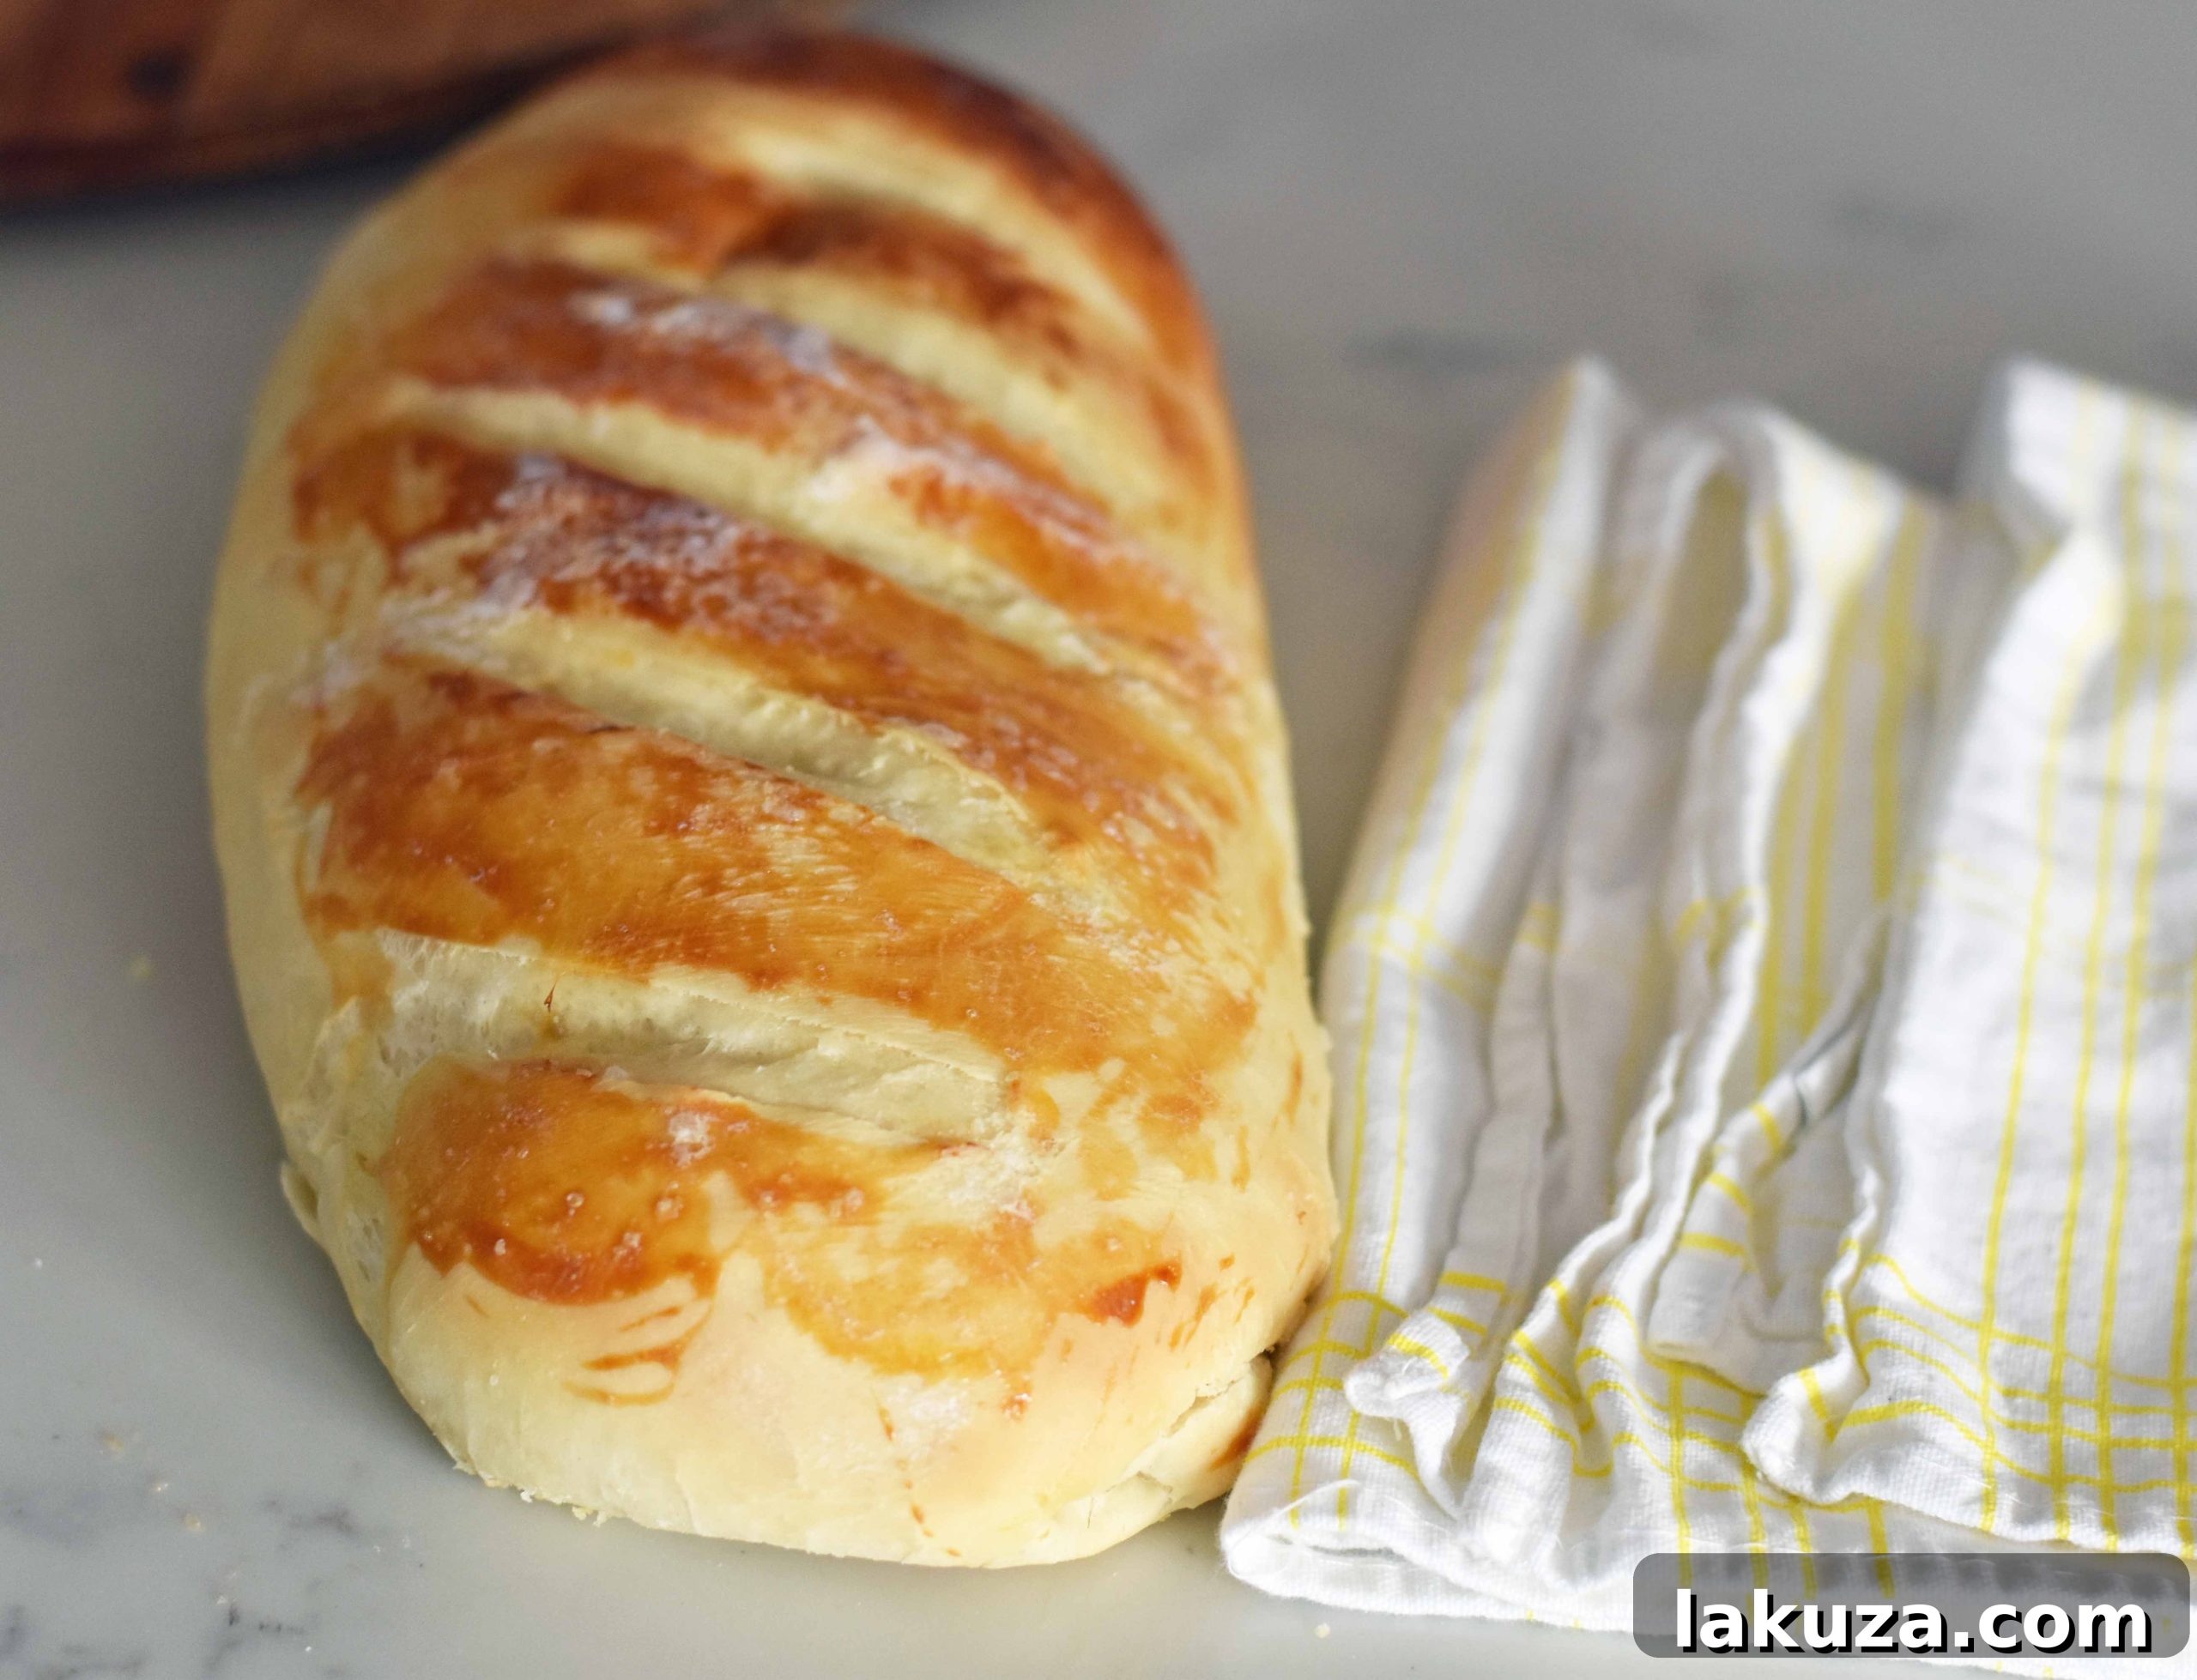
Bake the Perfect Loaf: Effortless Homemade French Bread
Unlock the Secret to Bakery-Quality French Bread at Home – Simple, Quick, and Irresistibly Delicious!
There’s something uniquely comforting and incredibly satisfying about the aroma of freshly baked bread wafting through your home. For many, the thought of baking bread from scratch can feel like a daunting culinary challenge, often reserved for experienced bakers. However, this perception couldn’t be further from the truth, especially when it comes to crafting a classic French bread. We’re here to demystify the process and guide you through creating a masterpiece that tastes like it came straight from an artisan bakery, all from the comfort of your kitchen.
This comprehensive guide will break down every step, ensuring a smooth and enjoyable baking experience. Say goodbye to store-bought loaves and hello to the unparalleled flavor and texture of homemade French bread. Not only will you discover how simple it is, but you might just find a new passion for bread making. Get ready to impress your family and friends with warm, crusty, and tender French bread that will become a staple in your home.
Why This Homemade French Bread Recipe is Your New Favorite
Imagine serving hot, fresh French bread, still warm from the oven, to your family and guests. With this incredibly easy and quick recipe, that dream becomes a reality in just over an hour. Forget the need to rush to the local bakery; your kitchen will soon produce superior loaves in no time flat. This recipe is specifically designed for convenience without compromising on authentic taste or texture.
What makes this recipe truly special is its accessibility. I’ve had the pleasure of teaching culinary classes to children as young as seven years old, and watched them successfully tackle this homemade French bread. The sheer joy and pride in their faces as they presented their golden-brown masterpieces to their families was truly inspiring. This is a testament to how straightforward and foolproof this method is, making it a perfect activity for aspiring young bakers and a fantastic way to introduce kids to the magic of cooking. Baking together creates lasting memories and delicious results.

A Taste of Nostalgia: The Enduring Comfort of Homemade Bread
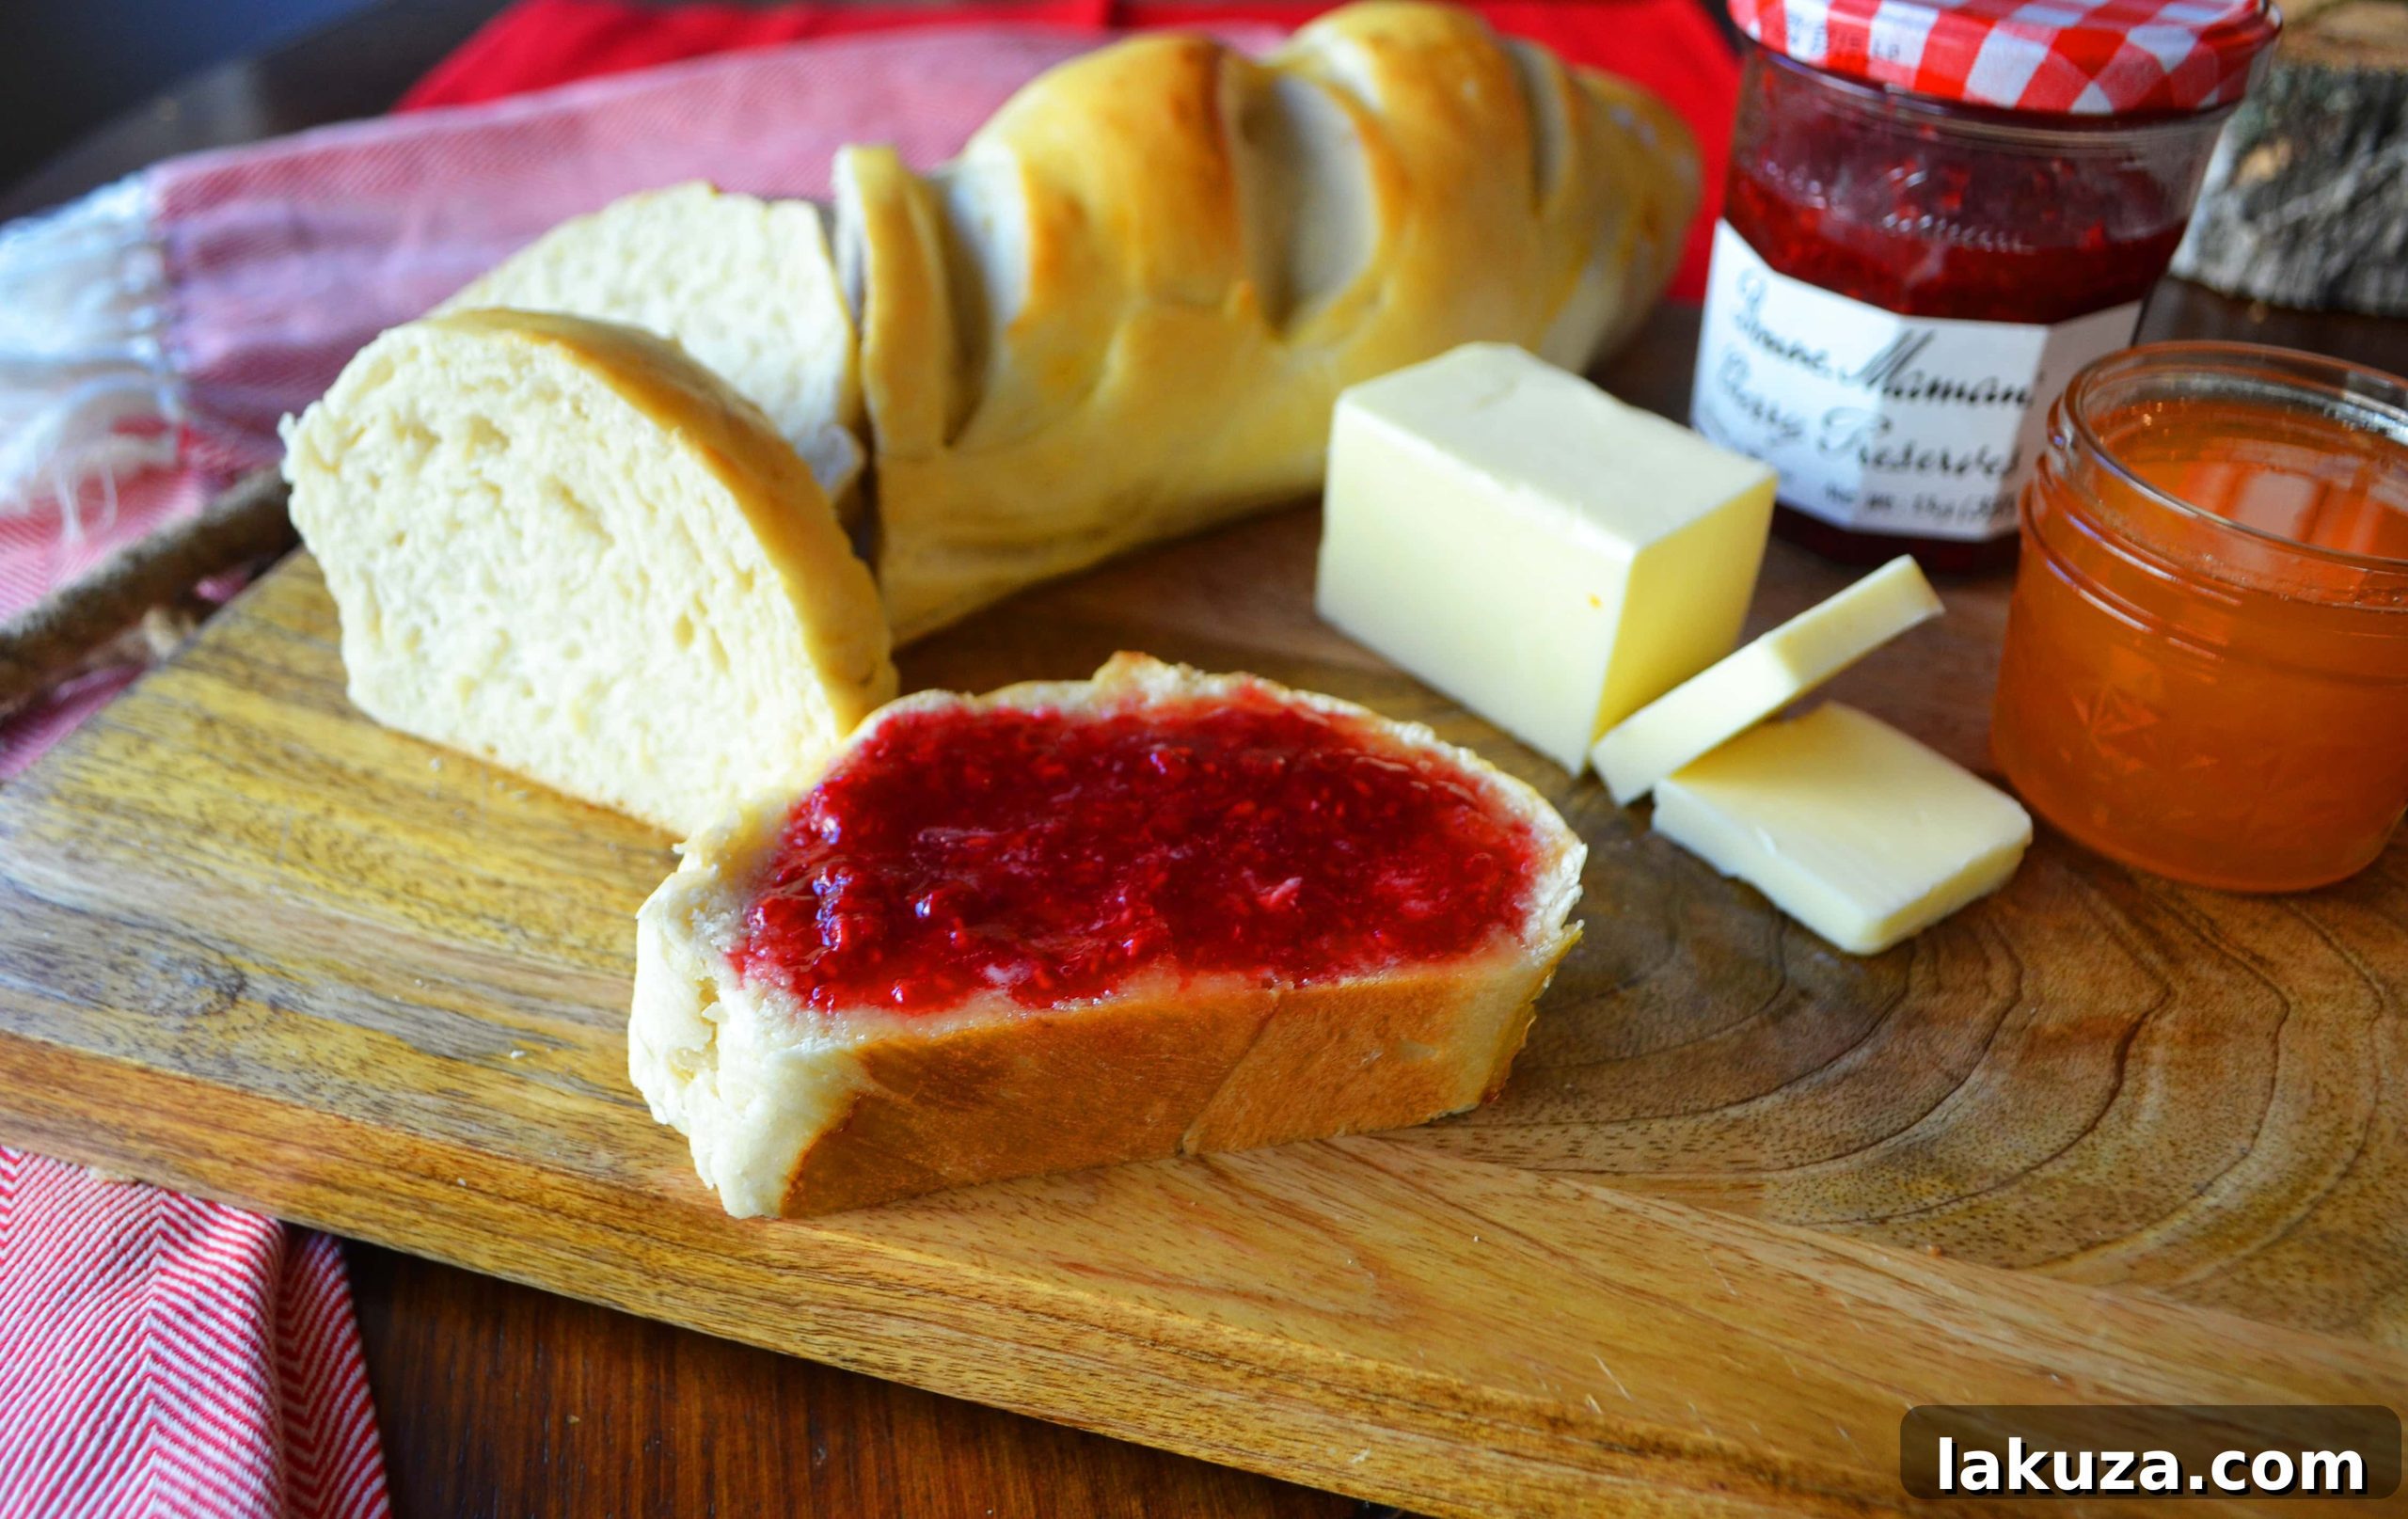
My childhood memories are vividly painted with the comforting scent of homemade bread. I can still recall riding my bike home from school, anticipating the warmth and aroma that greeted me the moment I opened the back door. My mother, a true bread enthusiast, often declared she could happily subsist on bread alone, making it an essential, ever-present element in our home. There is simply no greater comfort than a warm, crusty slice of bread, generously slathered with rich, churned butter and sweet homemade strawberry jam.
This recipe isn’t just about making bread; it’s about recreating those cherished moments, filling your home with inviting scents, and providing a wholesome, delicious centerpiece for any meal. It’s a culinary journey back to simpler times, reminding us of the timeless pleasure derived from simple, high-quality ingredients transformed into something extraordinary with love and care.
Essential Tips for Flawless Homemade French Bread
Embarking on your bread-making adventure should be an exciting and stress-free experience. By following these foundational tips, you’ll gain the confidence to create consistently perfect loaves every time. Let’s dive into the basics that will elevate your baking game and transform you into a master French bread maker.
1. Mastering the Yeast Proof: The Foundation of Great Bread
The first crucial step to successful bread is ensuring your yeast is active and thriving. Always use fresh yeast; old or expired yeast can lead to flat, dense bread. Mix your yeast with warm water – think bathwater temperature, not too hot (which can kill the yeast) and not too cold (which won’t activate it). Yeast also loves sugar, so a pinch added to the mixture will give it a boost. Allow this mixture to sit for approximately 10 minutes. During this time, you should observe a foamy, bubbly layer forming on the surface. This indicates your yeast is alive and ready to work its magic, giving your bread that wonderful airy texture.
2. Achieving the Perfect Dough Consistency
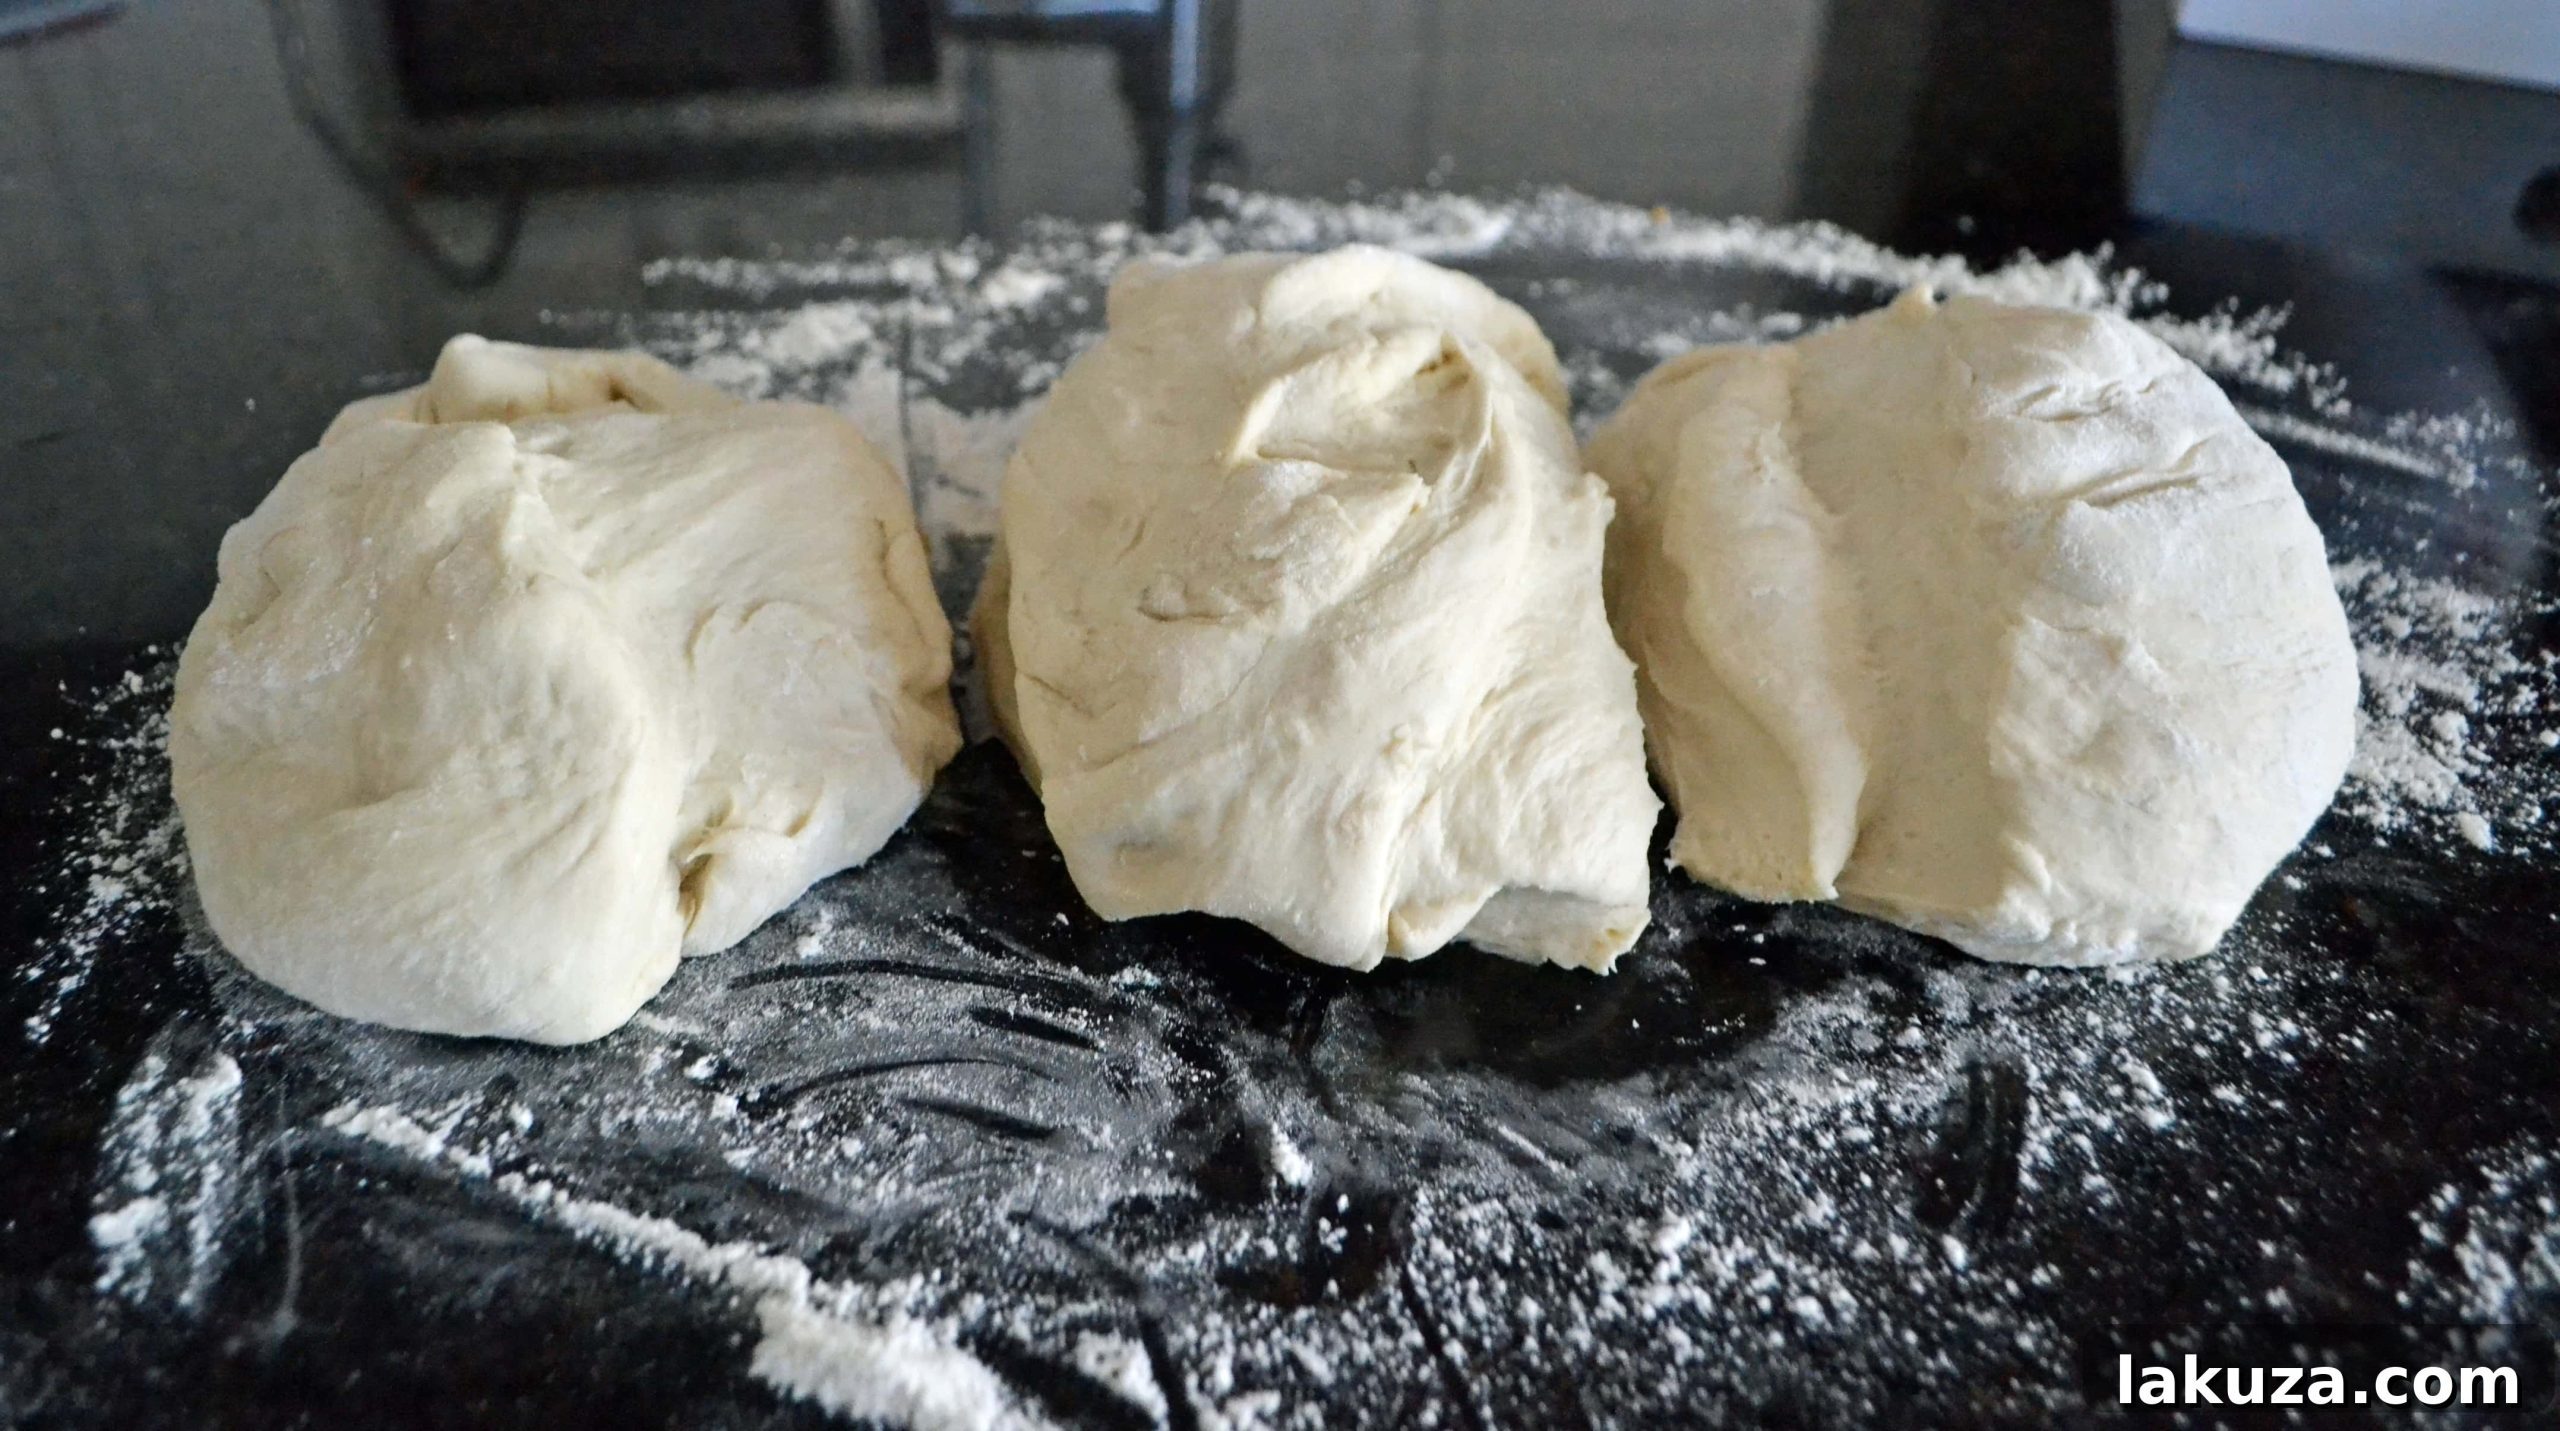
When adding flour, do so one cup at a time. This methodical approach is vital because it allows you to observe the dough’s transformation. As you add flour and mix, watch for the dough to begin pulling away cleanly from the sides of your mixing bowl. This visual cue is your signal that the dough has absorbed enough flour and reached the ideal consistency. If you’re mixing by hand, this means the dough is becoming less sticky and more manageable. If using a stand mixer, like a Bosch mixer, which is a fantastic tool for this purpose, the dough will gather around the dough hook and clean the sides of the bowl. Once ready, lightly flour your counter or work surface to prevent sticking – nobody enjoys wrestling with sticky dough!
3. Shaping Your Loaves Like a Pro
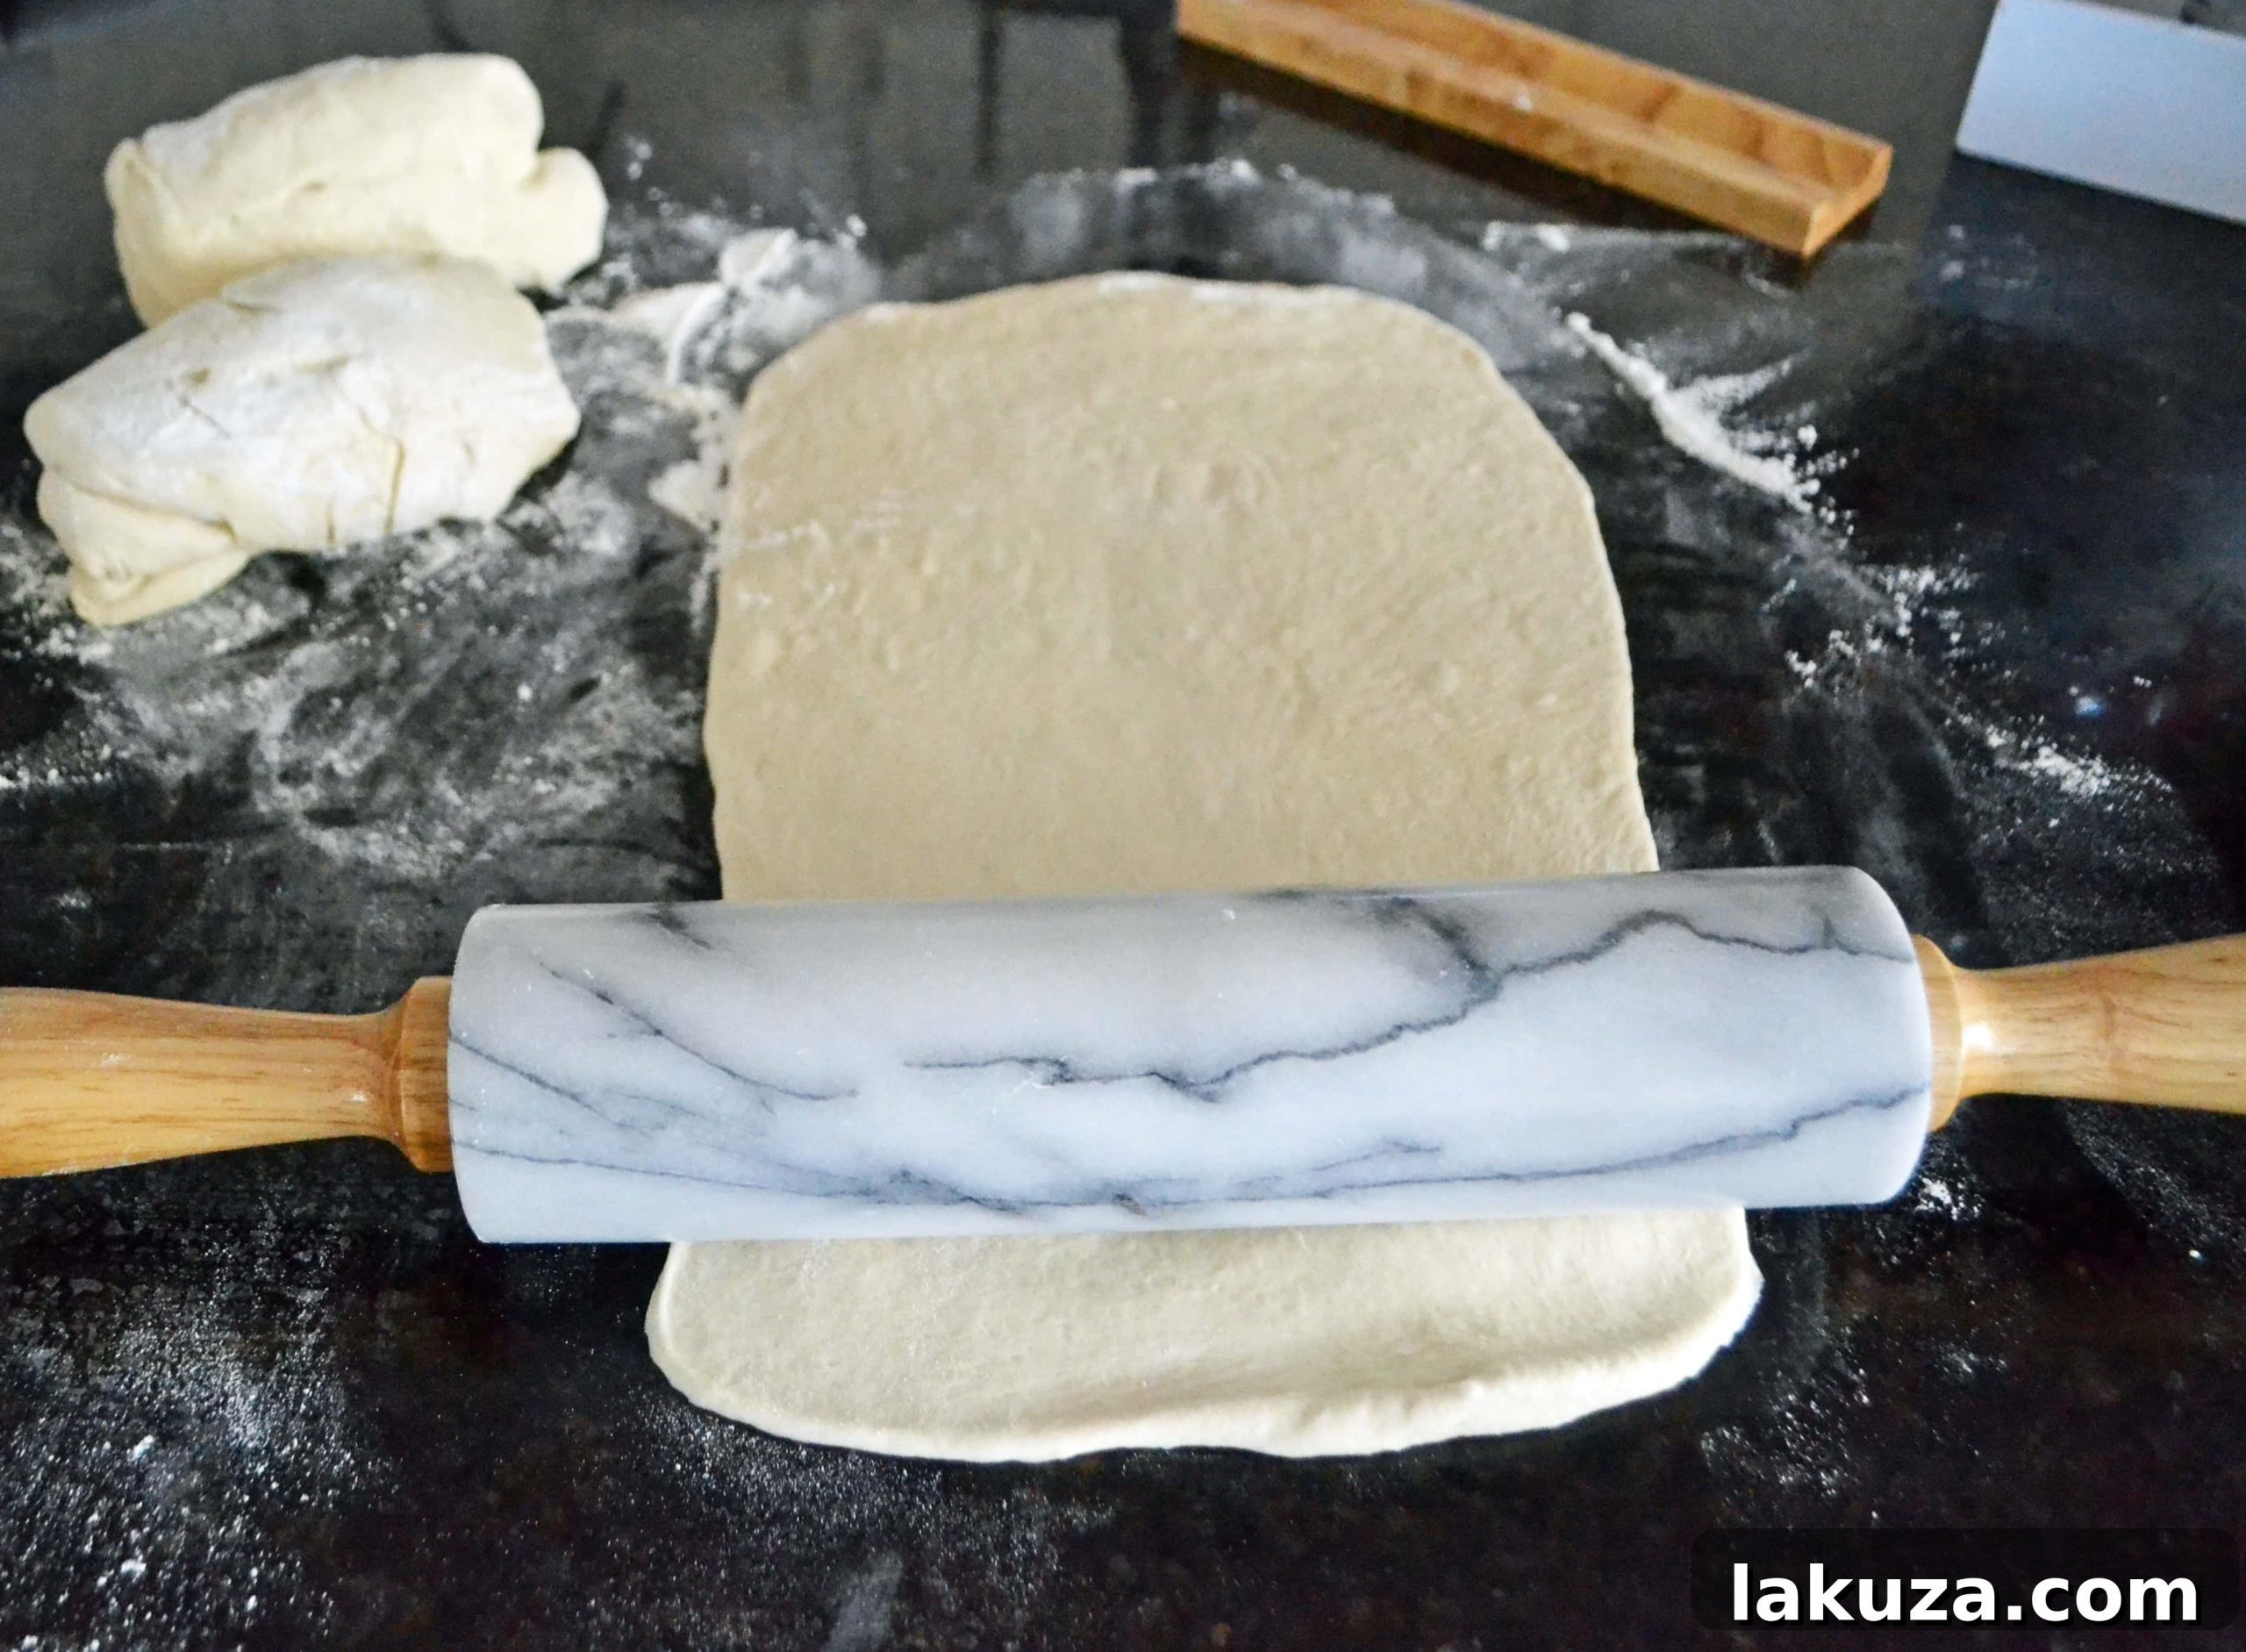
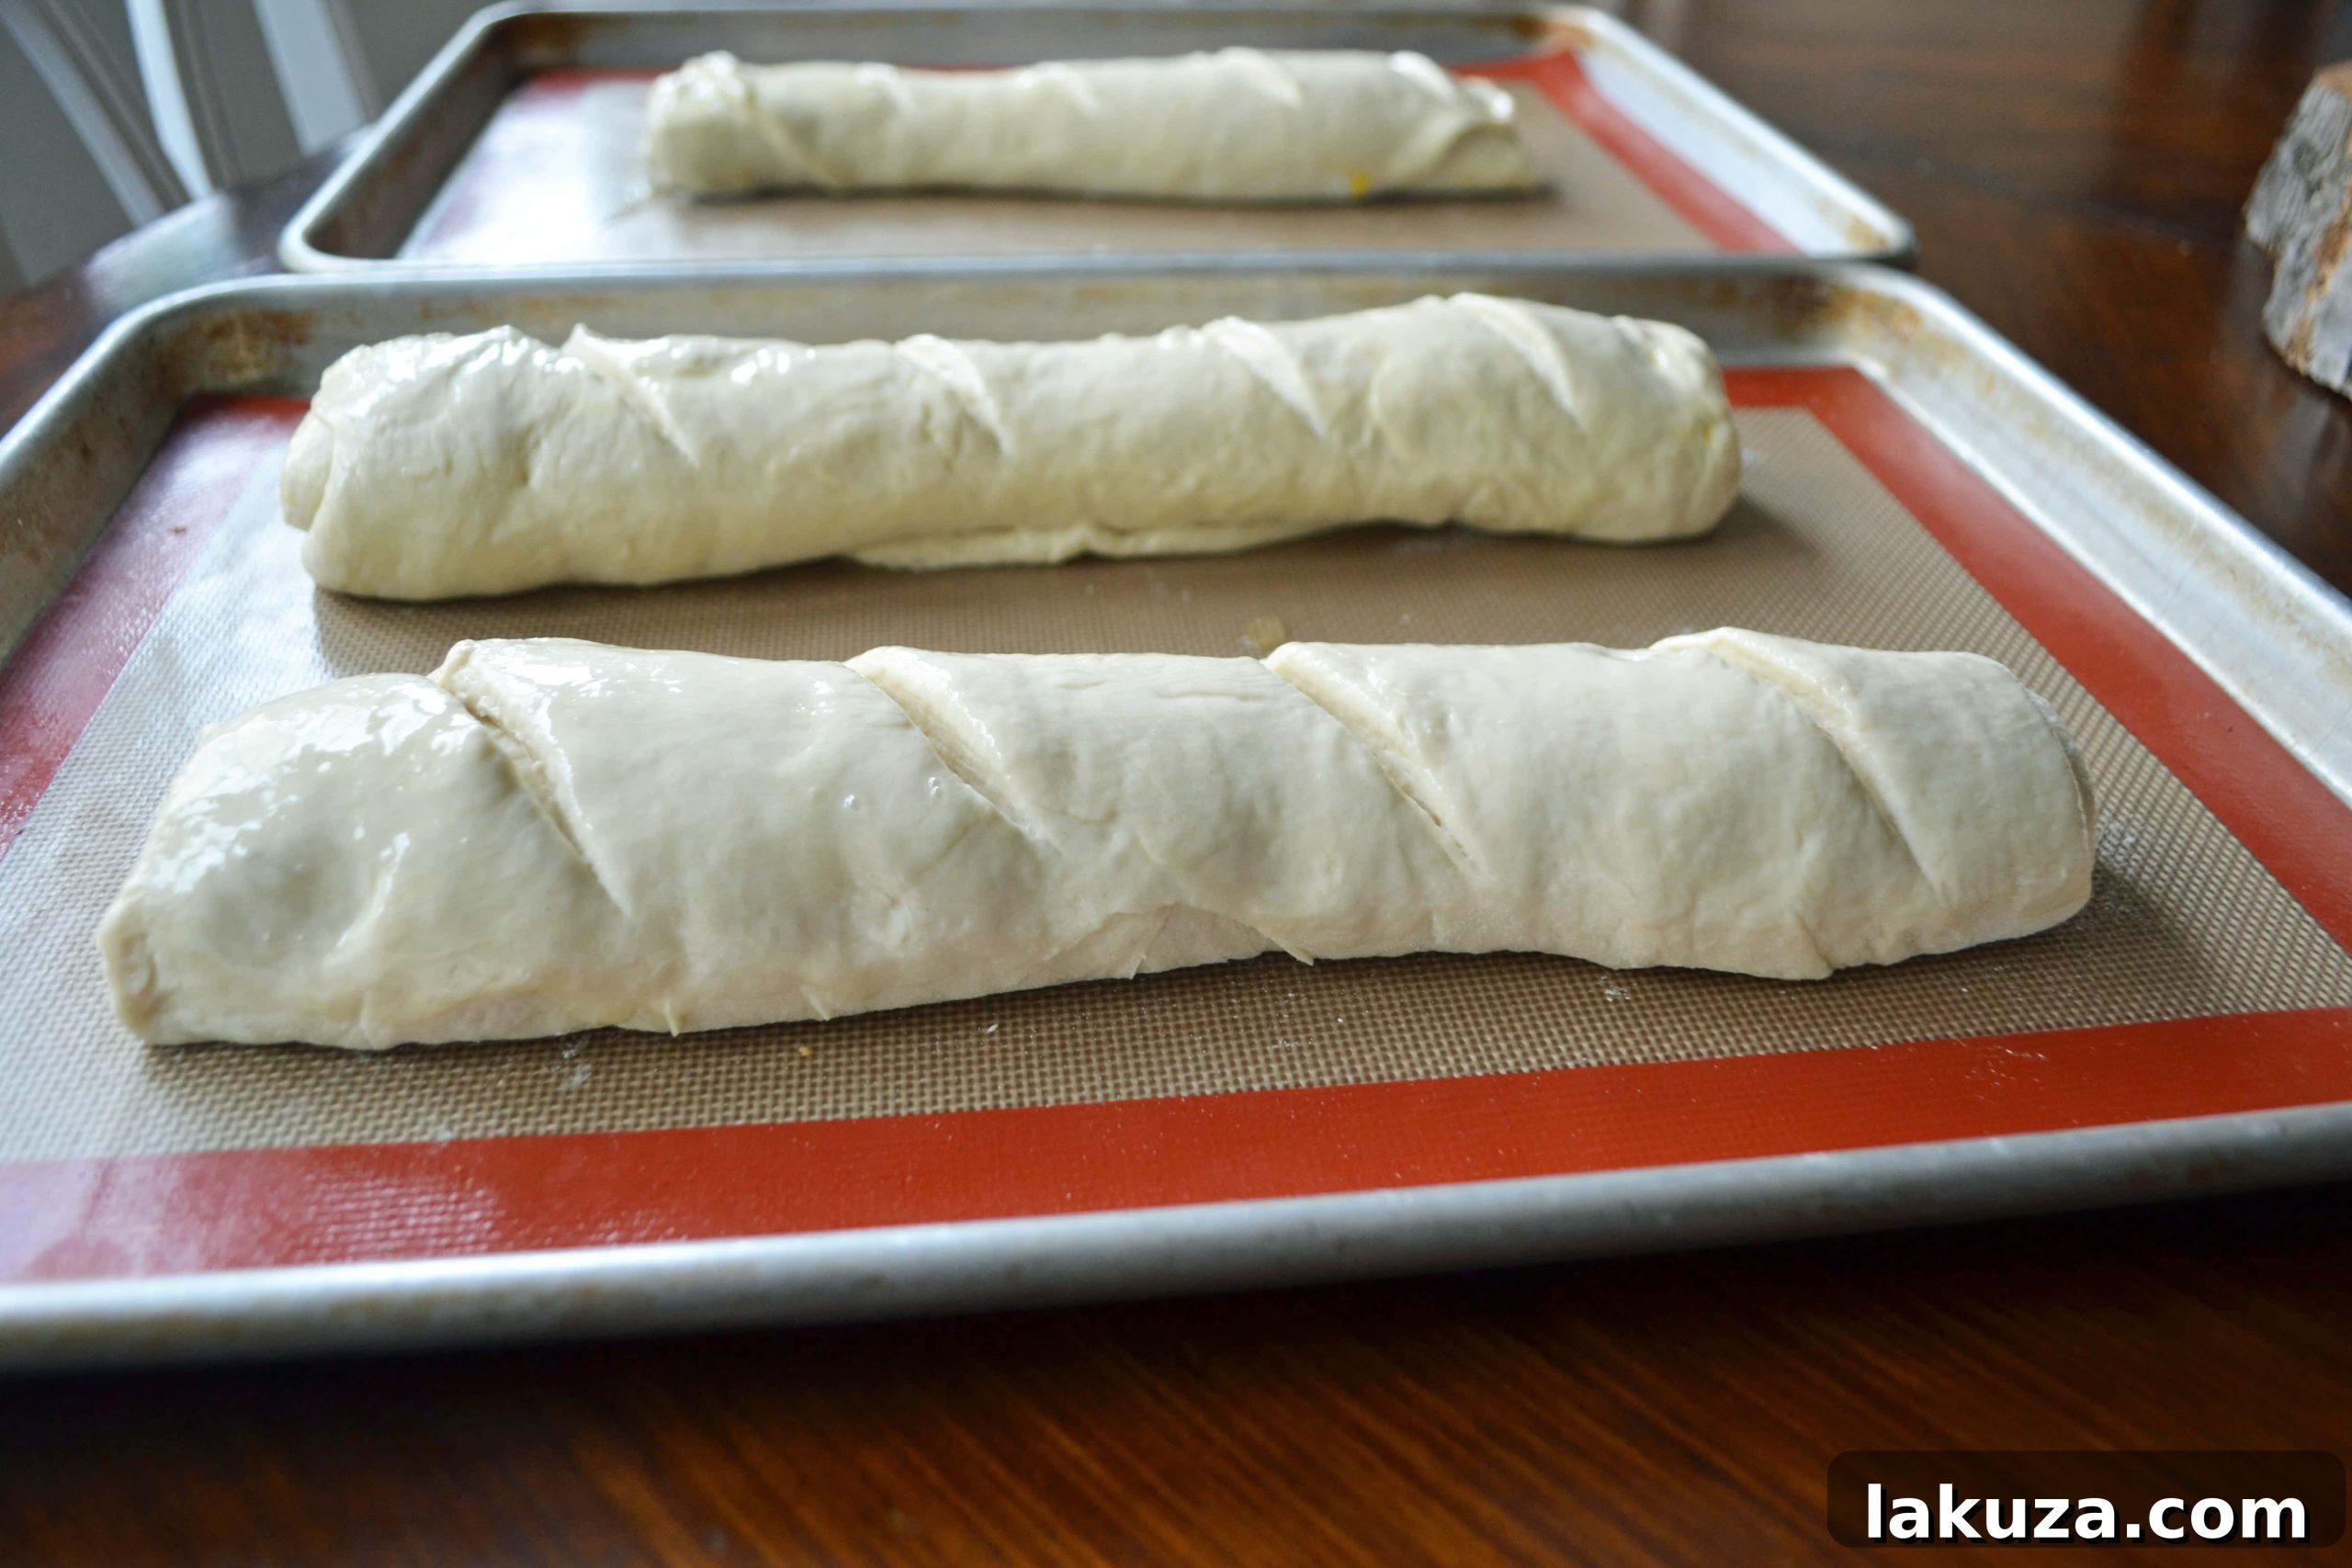
Once your dough has rested, it’s time to shape it into beautiful French loaves. Divide the dough into equal portions. On a lightly floured surface, use a rolling pin to roll each piece into a rectangle, approximately 9×12 inches. Then, starting from one of the longer sides, tightly roll the dough up, much like a jelly roll. Pinch the seam closed and gently mold the ends to form the classic French bread loaf shape. Don’t worry about achieving absolute perfection; homemade bread has its own rustic charm. Before placing them on your baking sheet, make 3-4 diagonal cuts with a sharp knife across the top of each loaf. These cuts allow the bread to expand beautifully in the oven, creating that signature look and texture.
4. The Art of the Rise: Giving Your Bread Time to Shine
After shaping, your loaves need time to rise, a critical step that contributes to their light and airy texture. Place your shaped dough loaves seam-side down on a silicone baking sheet (like a Silpat) or a well-greased cookie sheet. Silicone baking sheets are fantastic for ensuring easy release and even baking. Lightly brush the tops of your loaves with a beaten egg – this will give them a beautiful golden crust. Then, cover them loosely and let them rise in a warm, draft-free spot for 30-40 minutes. The dough should visibly increase in size, becoming plump and soft. This rising period is essential for developing flavor and achieving the perfect crumb structure.
5. Baking to Golden Perfection
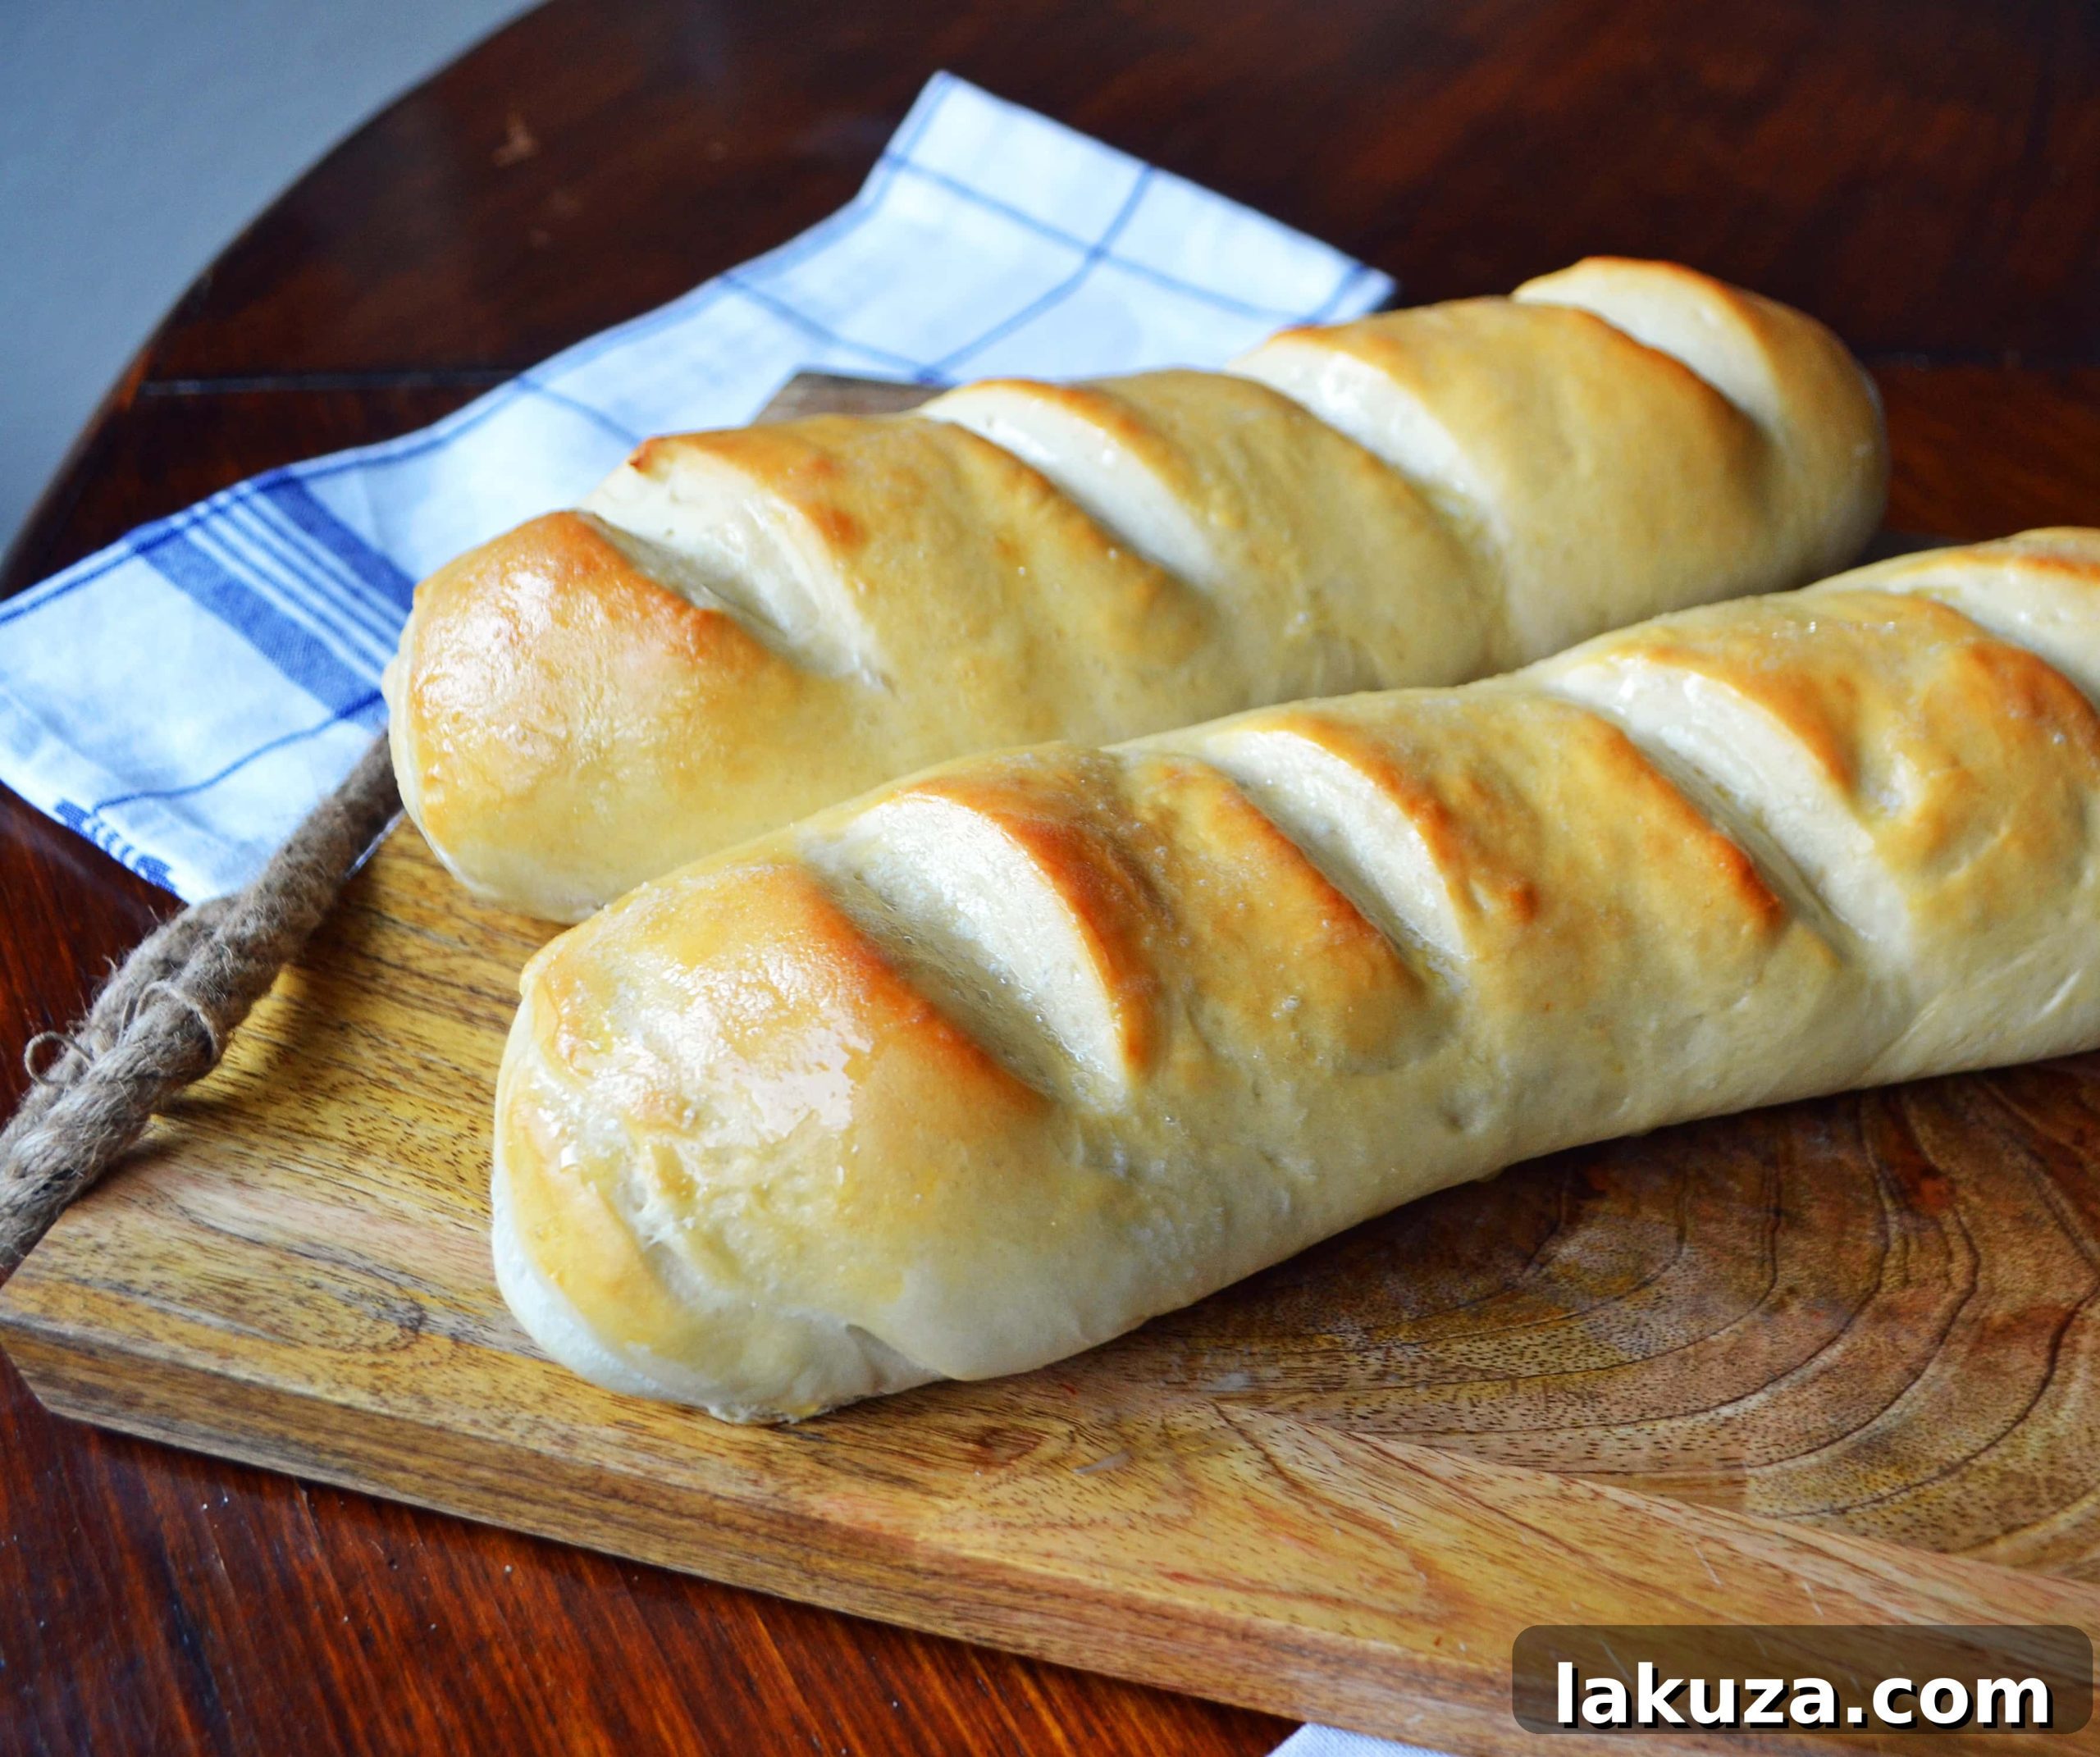
Finally, it’s time to bake your French bread. Preheat your oven to 375 degrees Fahrenheit (190 degrees Celsius). Carefully place your risen loaves in the preheated oven and bake for 18-22 minutes. Keep a close eye on them during this time, as oven temperatures can vary. You’re looking for a beautiful, light golden-brown color on the crust. Once they achieve this perfect hue, your homemade French bread is ready! Remove them from the oven and let them cool slightly on a wire rack before slicing and serving. The waiting is the hardest part, but entirely worth it for that first incredible bite.

Pin Recipe |
Print Recipe
Average Rating: 4.97 from 452 votes
Homemade Bakery French Bread
Equipment
-
Bosch Mixer
-
KitchenAid Mixer
-
Measuring Cups and Spoons
-
Baking Sheet
Ingredients
- 2 Tablespoons Yeast
- 1/2 cup Warm Water
- 2 cups Hot Water
- 3 Tablespoons Sugar
- 2 1/2 teaspoons Salt
- 1/3 cup Oil
- 6 1/2 cups Flour
- 1 Egg for brushing on bread
Instructions
-
In a small bowl, dissolve your yeast in ½ cup warm water. Ensure the water is warm (like bathwater) – not too cold to activate, and not too hot to kill the yeast. Let proof for 10 minutes until foamy.
-
In a separate large mixing bowl, combine the hot water, sugar, salt, oil, and 3 cups of the flour. Mix these ingredients thoroughly. Then, add the proofed yeast mixture to this bowl and mix well.
-
Gradually add the remaining 3 1/2 cups of flour, one cup at a time, mixing after each addition. Continue until the dough begins to pull away from the sides of the bowl. Once all the flour is incorporated and the dough is formed, let it rest for 10 minutes.
-
Separate your dough into 3 equal pieces. On a floured surface, roll each piece into a rectangle approximately 9×12 inches. Roll it up tightly lengthwise, similar to a jelly roll. Gently shape it into a French bread loaf and smooth out the edges.
-
Place the shaped dough loaves on a greased baking pan or a silicone baking sheet (seam side down). Using a sharp knife, make 3-4 diagonal cuts about 1/4 inch thick on the top of each loaf. Brush the tops with your lightly beaten egg for a golden crust.
-
Let the dough rise, uncovered, in a warm place for 30-40 minutes. The loaves should visibly expand and become plump.
-
Bake in a preheated oven at 375°F (190°C) for 18-22 minutes, or until the bread is a beautiful golden brown color.
Video Overview
For a visual guide on crafting this delicious bread, you can watch a step-by-step video. This helpful resource demonstrates how to make soft, fluffy French bread at home, sharing essential tips and tricks for achieving perfect results every time.
Watch the Soft Bakery French Bread video here.
Nutrition information is automatically calculated and should only be used as an approximation.
Additional Info
Like this recipe? We’d love to hear your thoughts! Jump to Comments
Serving Suggestions and Storage Tips for Your Homemade French Bread
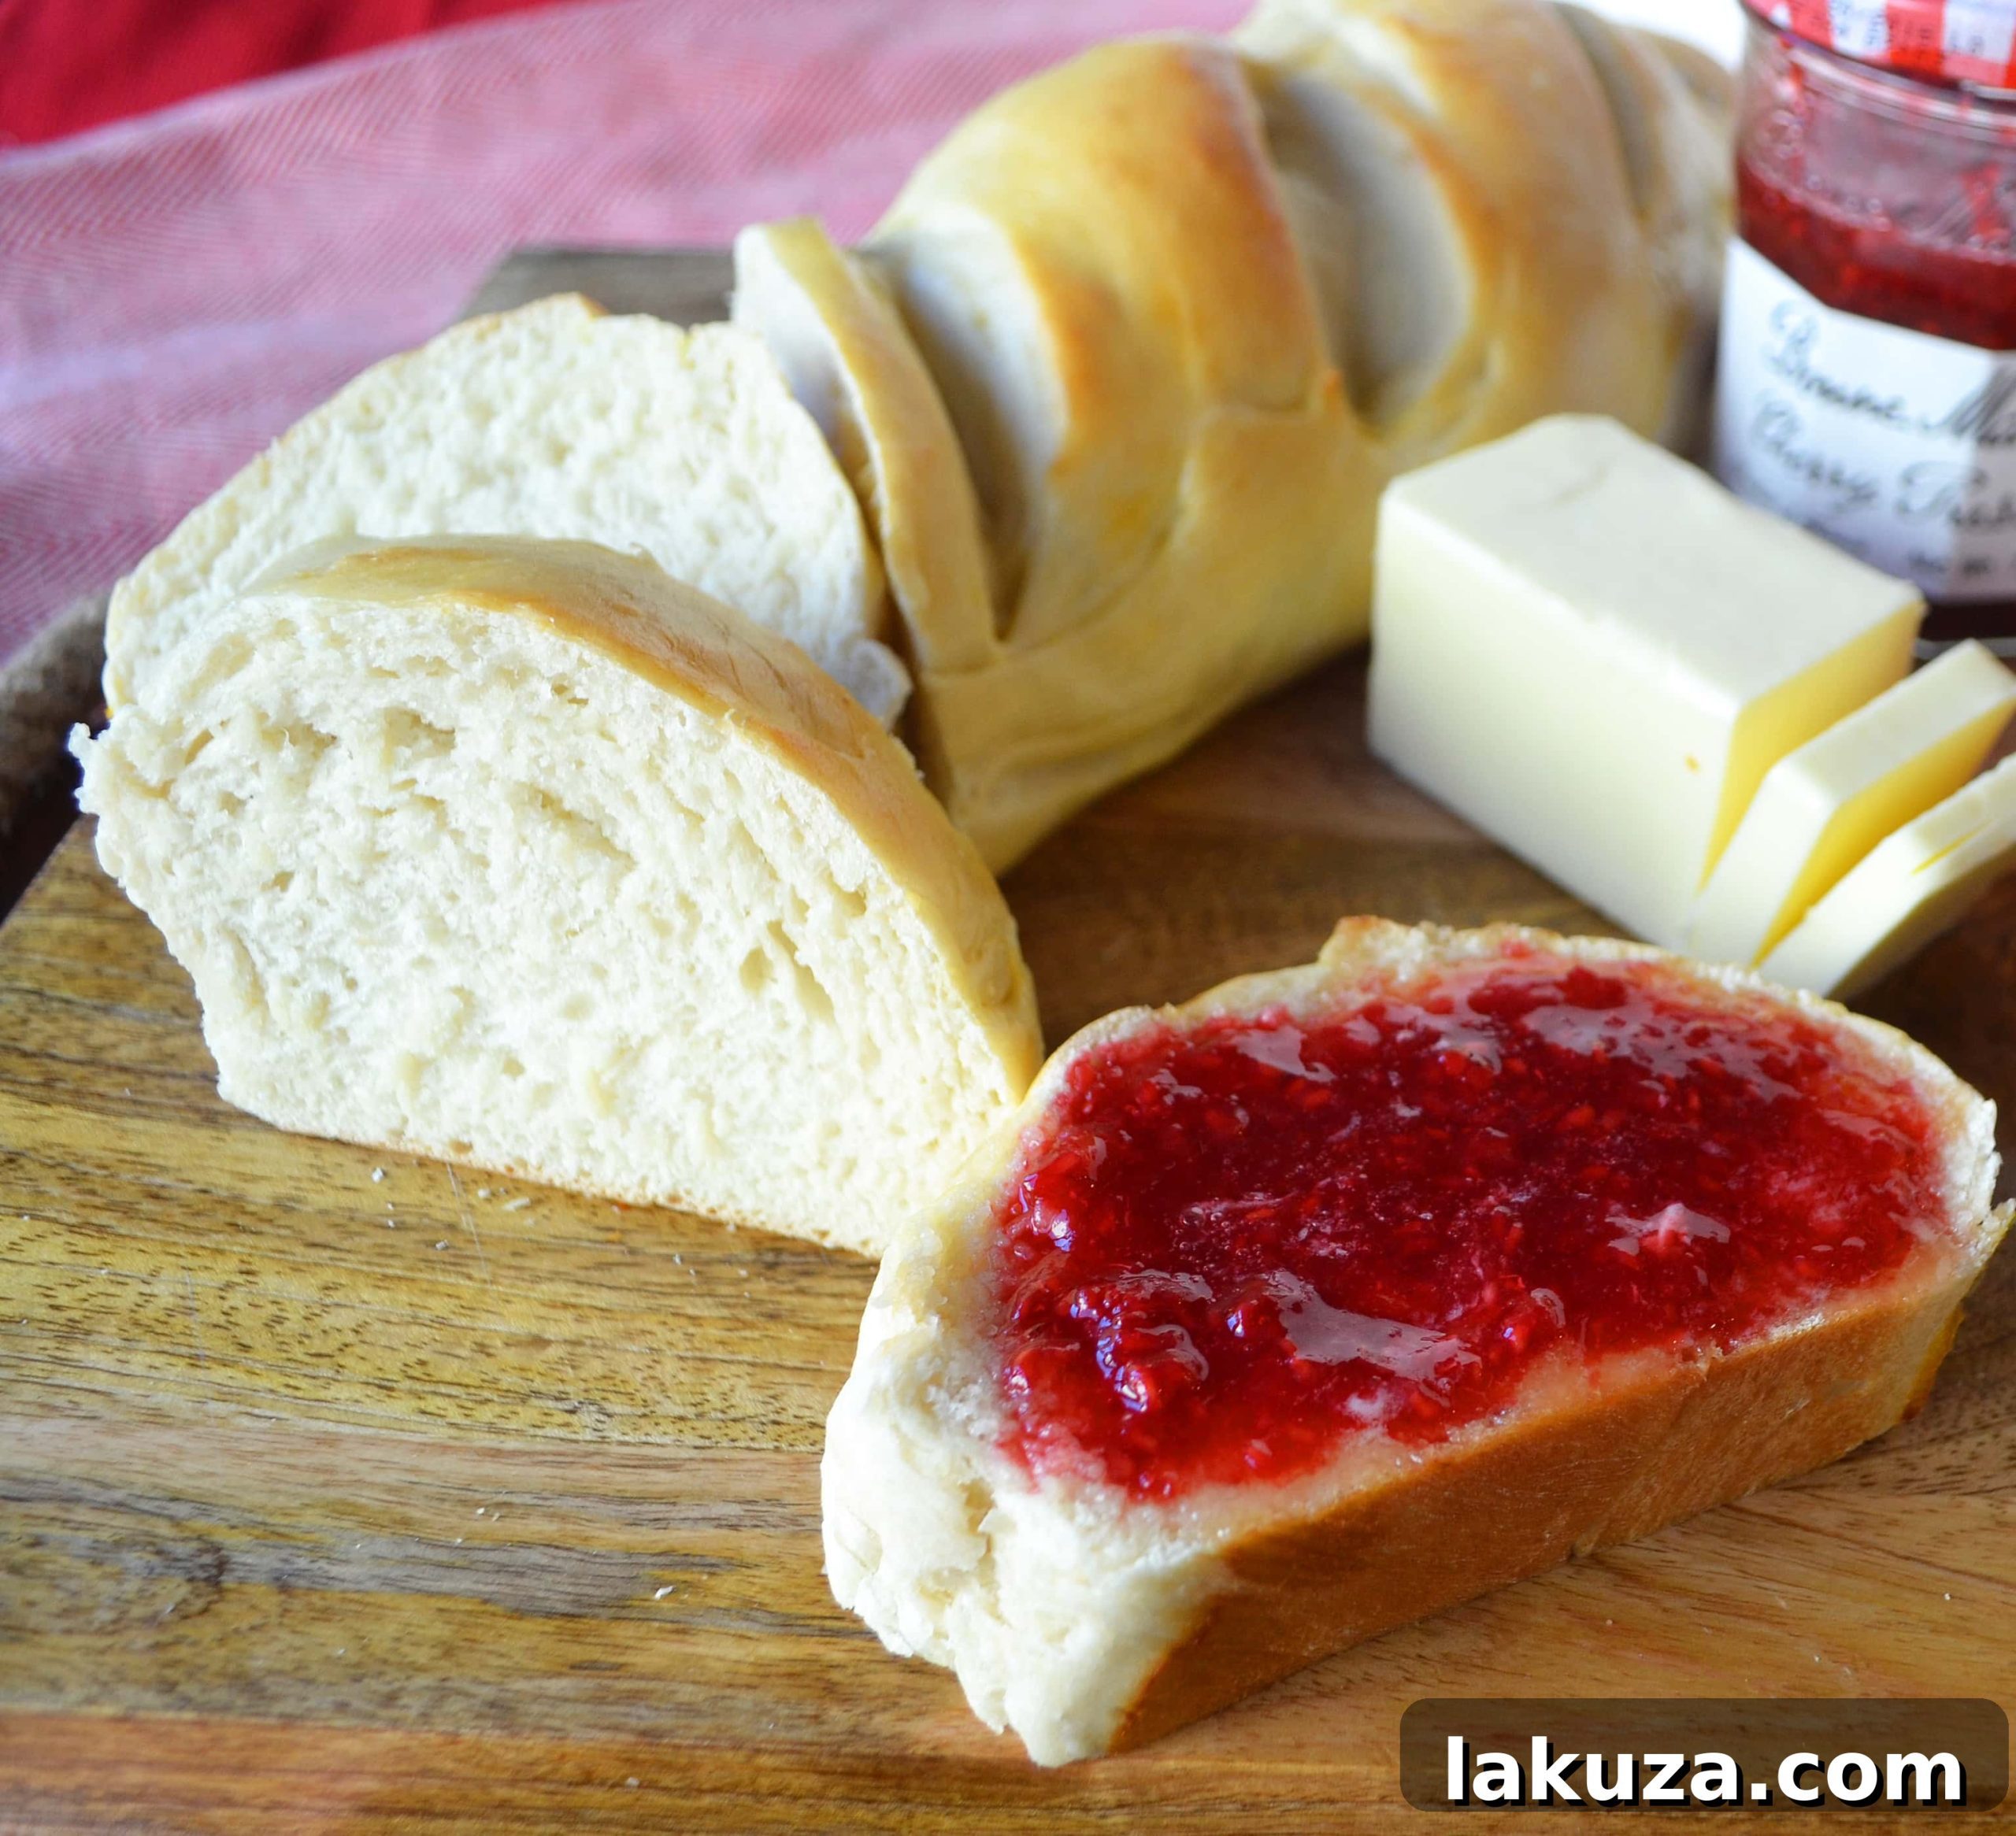
Once your glorious French bread emerges from the oven, the possibilities for enjoyment are endless. It’s a versatile foundation for countless culinary delights. Serve it simply with good quality butter, a drizzle of olive oil, or a balsamic reduction. It’s the perfect accompaniment to hearty soups and stews, soaking up every last drop of flavorful broth. Transform leftovers into amazing garlic bread, bruschetta, or croutons for salads. French bread also makes an excellent base for gourmet sandwiches, turning a simple lunch into something special. For a sweet treat, consider making French toast with slightly stale bread.
To keep your homemade French bread fresh, store it at room temperature in a paper bag for up to two days. This allows the crust to remain crispy while keeping the interior soft. For longer storage, wrap cooled loaves tightly in plastic wrap, then foil, and freeze for up to a month. Thaw at room temperature and refresh in a warm oven for a few minutes to bring back that freshly baked taste and texture.
Troubleshooting Common Bread Baking Issues
Even with a foolproof recipe, baking can sometimes present unexpected challenges. Here are a few common issues you might encounter and how to address them:
- Yeast didn’t proof: If your yeast mixture doesn’t become foamy after 10 minutes, it likely means your yeast is old or the water temperature was incorrect. Discard and start over with fresh yeast and carefully calibrated warm water.
- Dough is too sticky or too dry: If the dough is too sticky, add a tablespoon of flour at a time until it reaches the right consistency (pulling away from the bowl). If it’s too dry and crumbly, add a teaspoon of warm water at a time. Humidity and flour types can affect hydration.
- Bread didn’t rise: This can be due to inactive yeast, a cold environment, or over-kneading. Ensure your rising spot is warm and draft-free.
- Bread is dense: This often results from insufficient kneading (which develops gluten for structure), inactive yeast, or not allowing enough time for the dough to rise properly.
Don’t be discouraged by minor setbacks; every baking experience is a learning opportunity. With a little practice, you’ll intuitively understand your dough and oven, leading to consistently perfect results.
Happy Baking, my friends! I can’t wait to hear what you think about this quick and easy homemade French bread. Please share your experiences and any clever serving ideas you discover in the comments below. Enjoy the wonderful journey of baking and the delicious rewards that come with it!