
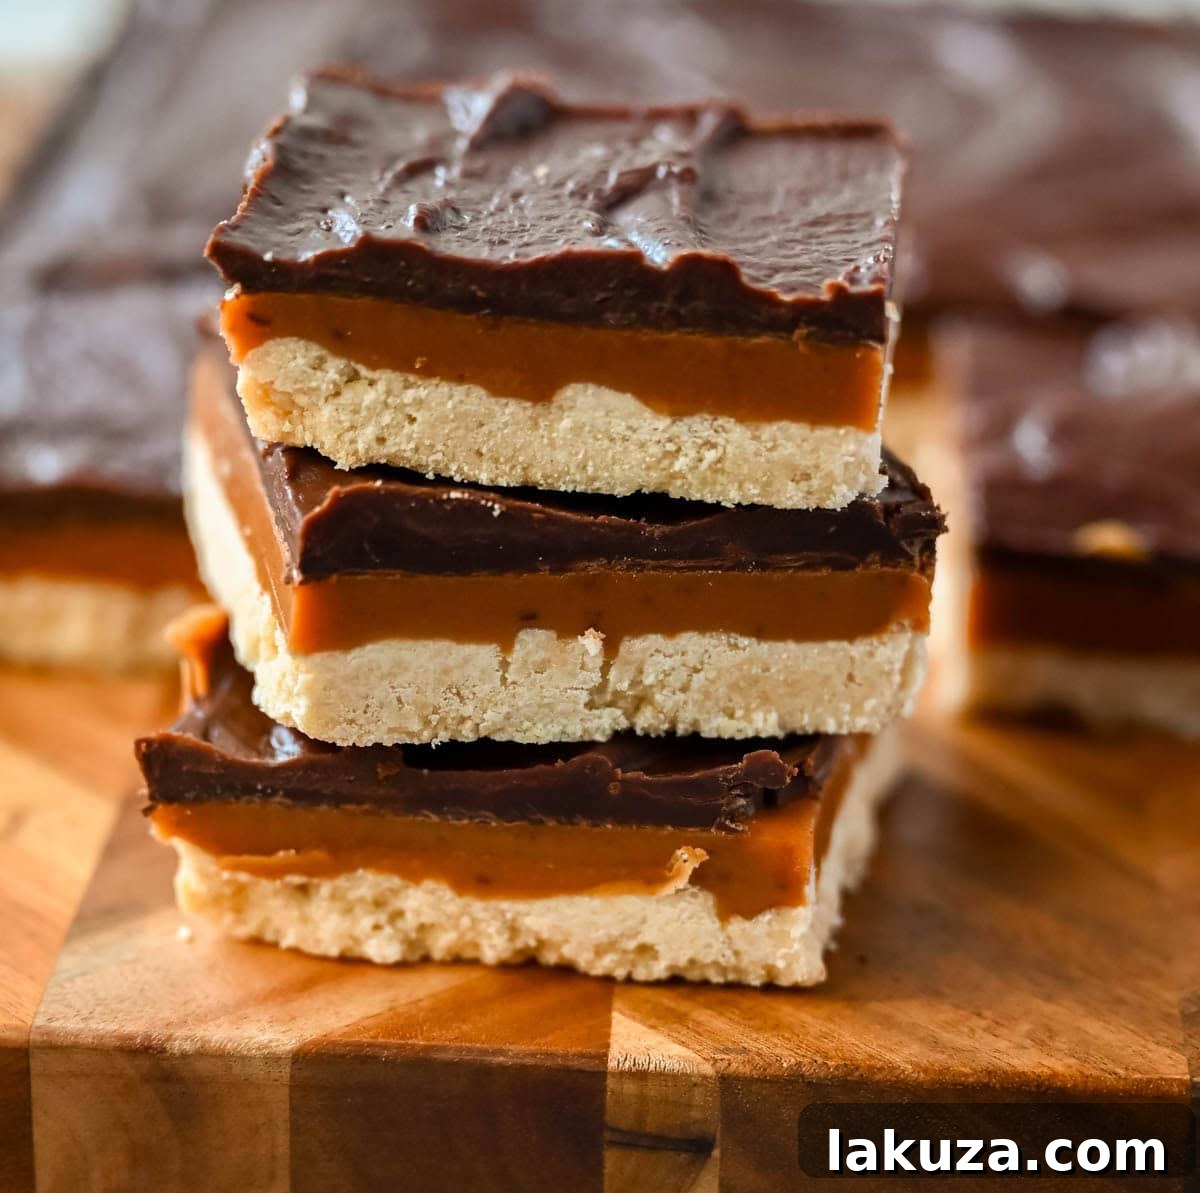
Indulge in the ultimate homemade treat with these decadent Millionaire Bars. Featuring a perfectly crumbly, buttery shortbread crust, a luscious layer of rich, chewy caramel, and a generous topping of smooth, dark chocolate ganache, this dessert is a true classic that lives up to its name. Forget complicated pastries or store-bought imitations – this easy-to-follow recipe brings bakery-quality luxury right into your kitchen, promising an exquisite balance of textures and flavors that everyone will adore. Each bite offers a symphony of sweet, salty, and rich notes, making it an irresistible choice for any occasion, from casual gatherings to elegant celebrations.
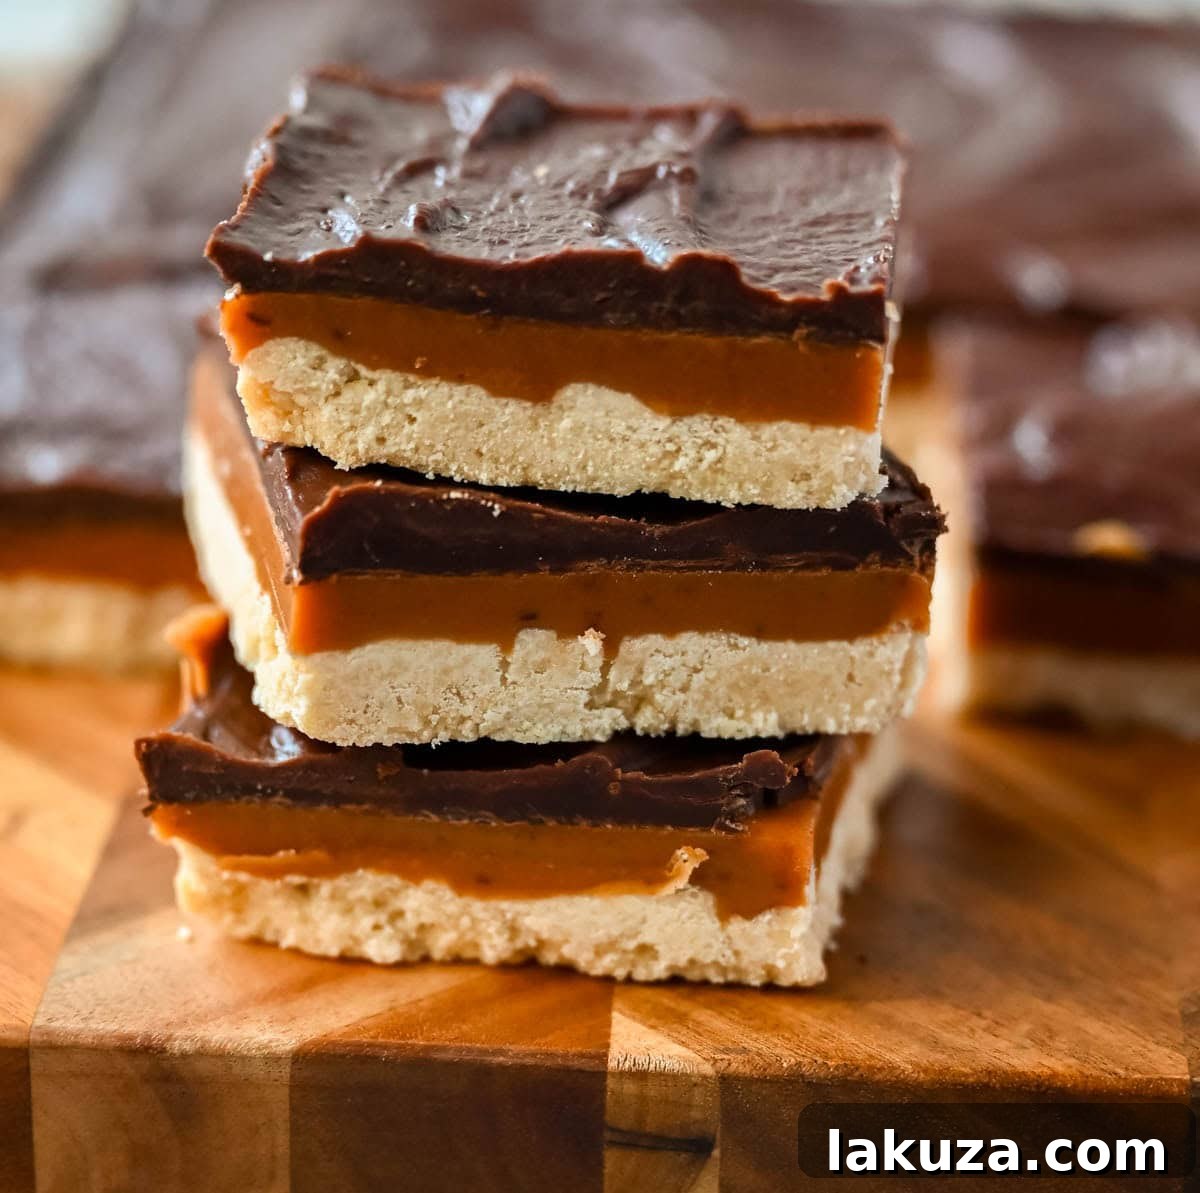
If you’re a fan of the iconic chocolate and caramel combination, you’re in for an unparalleled experience. While a certain popular candy bar might come to mind, these homemade Millionaire Bars elevate those beloved flavors to an entirely new level. We’re talking about an upgrade that transforms a simple craving into a gourmet delight. Imagine a dessert that’s more buttery, features a thicker, more generous layer of slow-cooked caramel, and is crowned with a rich, velvety chocolate ganache – far superior to any thinly coated commercial treat. This isn’t just a recipe; it’s an invitation to create a confectionery masterpiece that is incredibly satisfying and free from unnecessary fillers and stabilizers.
Unlike mass-produced candy bars that prioritize shelf-stability over pure taste and texture, our homemade Millionaire Bars embrace quality ingredients. We bypass the palm oil and emulsifiers, opting instead for real butter, fresh cream, and pure chocolate. The result? A shortbread base that melts in your mouth, a caramel layer that’s wonderfully soft and chewy, and a chocolate topping that cracks with a satisfying snap. This commitment to quality transforms a simple dessert into a truly luxurious experience, delivering a depth of flavor and a superior texture that only homemade can achieve. Prepare to impress with a dessert that tastes as good as it looks.
Below, you’ll discover everything required to master these delightful Millionaire Shortbread Bars from start to finish. We’ll guide you through detailed step-by-step instructions, provide crucial tips for achieving perfect caramel, offer comprehensive storage advice, suggest potential substitutions, and answer all your frequently asked questions to ensure your baking success. Get ready to embark on a sweet journey that culminates in the creation of a truly unforgettable dessert.
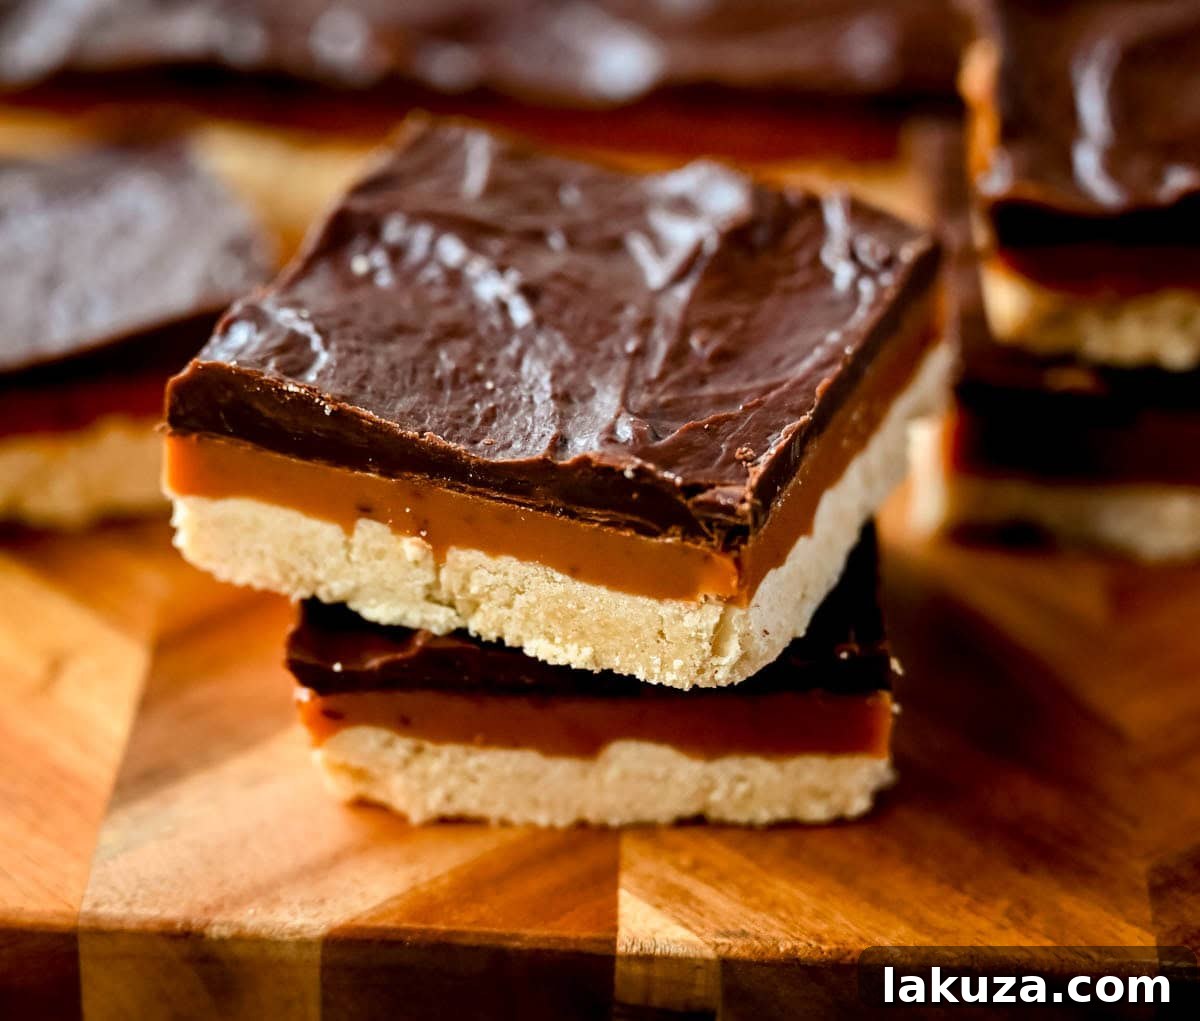
Essential Ingredients for Millionaire Shortbread Perfection
Crafting the perfect Millionaire Bar requires attention to detail and quality ingredients. Each component plays a vital role in building the harmonious layers of flavor and texture that define this classic dessert. Here’s what you’ll need, along with insights into why each ingredient is essential:
For the Buttery Shortbread Crust:
- Unsalted Butter: This is the soul of your shortbread, providing unparalleled richness and a tender crumb. Using unsalted butter allows you to control the overall saltiness of the crust.
- Granulated Sugar: Essential for sweetness and contributes to the shortbread’s characteristic crisp yet delicate texture.
- All-Purpose Flour: The structural backbone of your crust. Ensure it’s measured correctly for a perfectly tender (not tough) base.
- Fine Sea Salt: A pinch of salt is crucial for balancing the sweetness and enhancing the deep, buttery flavors of the shortbread. Adjust if using salted butter.
For the Irresistibly Smooth Caramel Layer:
- Sweetened Condensed Milk: The absolute key to a smooth, creamy, and wonderfully chewy homemade caramel. Its pre-sweetened and thickened nature simplifies the caramel-making process significantly.
- Light Brown Sugar (packed): Contributes a deeper, more nuanced caramel flavor compared to white sugar, adding notes of molasses and warmth. Packing it ensures accurate measurement.
- Heavy Cream: Adds richness and helps create that luxuriously soft and pourable caramel texture. Don’t substitute with lighter creams.
- Unsalted Butter: Just like in the shortbread, butter is crucial for flavor and richness in the caramel. It adds silkiness and helps the caramel set perfectly.
- Light Corn Syrup: An unsung hero in caramel making! Corn syrup (like Karo syrup) prevents sugar crystallization, ensuring your caramel stays smooth and glossy, not grainy. It also aids in achieving that ideal chewy consistency.
- Fine Sea Salt: A touch of salt elevates the caramel’s flavor, providing a delightful contrast to the sweetness and preventing it from being cloyingly sweet.
For the Decadent Chocolate Ganache Topping:
- High-Quality Chocolate Chips or Chopped Chocolate Bars: The foundation of your rich top layer. Opt for good quality semi-sweet or dark chocolate for the best flavor and texture. Chopping a bar often melts more evenly than chips.
- Heavy Cream: This is combined with chocolate to create a silky-smooth, pourable ganache that sets beautifully without becoming overly hard.
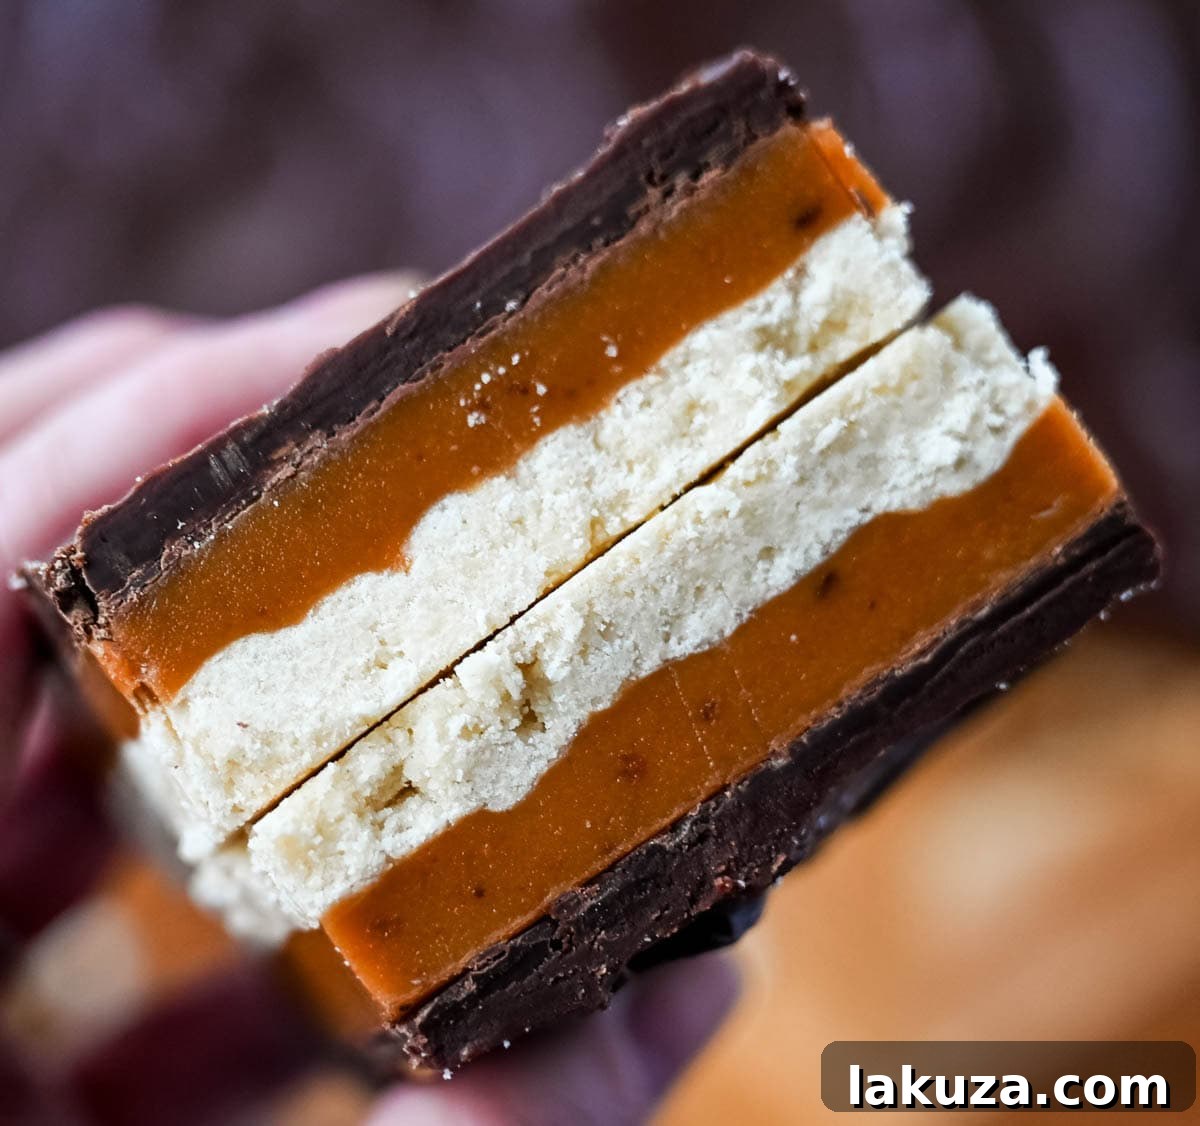
Crafting the Best Homemade Millionaire Shortbread Bars: A Step-by-Step Guide
Making Millionaire Bars is a rewarding process that combines baking precision with a touch of culinary artistry. Follow these detailed steps to ensure each layer is perfect, resulting in a dessert that will truly impress.
Step 1: The Buttery Shortbread Crust
- Prepare Your Pan: Preheat your oven to 350°F (175°C). For easy removal and clean cuts, create a foil or parchment paper “sling” for a 9 x 13-inch baking pan. Fold two long sheets of heavy-duty aluminum foil—one running lengthwise and one crosswise—allowing excess foil to hang over the edges of the pan. Press the foil snugly into the corners and up the sides. This will be your secret weapon for lifting the entire slab out later.
- Combine Dry Ingredients: In a medium-sized mixing bowl, whisk together the all-purpose flour, granulated sugar, and salt until well combined.
- Incorporate Butter: Pour in the melted butter and stir with a sturdy spoon or spatula until the mixture comes together and is uniformly moistened. It should resemble wet sand.
- Press the Crust: Sprinkle the shortbread dough evenly over the bottom of your prepared pan. Using your fingertips and the palm of your hand, press the dough firmly and evenly into a smooth, compact layer. Pay special attention to the corners and edges to ensure an even thickness.
- Vent and Bake: Prick the entire surface of the pressed dough with a fork at approximately 1-inch intervals. This prevents bubbling and ensures an even bake. Bake for 25–30 minutes, or until the crust is light golden brown around the edges and firm to the touch.
- Compact and Cool: Immediately upon removing the pan from the oven, place it on a wire rack. While the shortbread is still warm, gently but firmly press its surface with the back of a sturdy spatula. This crucial step compacts the shortbread, preventing it from crumbling and making it significantly easier to cut later. Allow the crust to cool until it’s just warm to the touch, or at least 20 minutes, before proceeding.
Step 2: The Luxurious Homemade Caramel Filling
- Combine Caramel Ingredients: In a large, heavy-bottomed saucepan (this is important for even heat distribution and preventing scorching), combine the sweetened condensed milk, light brown sugar, light corn syrup, heavy cream, unsalted butter, and a pinch of salt. Stir everything together until well mixed.
- Cook the Caramel: Place the saucepan over medium heat. Stir frequently, almost constantly, to prevent the bottom from burning and ensure even cooking. This process requires patience. Continue cooking until the mixture thickens considerably and reaches a temperature of 236–239°F (113–115°C) on a candy thermometer. This typically takes 16–20 minutes.
- The Candy Thermometer is Key: We cannot stress this enough – a candy thermometer is your best friend here. Caramel is incredibly temperature-sensitive. A few degrees too low, and it will be too runny; a few degrees too high, and it will become hard or grainy. Monitoring the temperature accurately ensures that perfect soft, chewy texture.
- Pour and Set: As soon as the caramel reaches the target temperature, remove it from the heat immediately. Pour the hot, glistening caramel evenly over the cooled shortbread crust, spreading it quickly with a spatula. Allow the caramel layer to cool completely and set properly, which will take approximately 1½ hours at room temperature. Do not rush this step.
Step 3: The Rich Chocolate Ganache Layer
- Melt the Chocolate: In a microwave-safe bowl, combine the chopped chocolate and heavy cream. Microwave at 50% power, stirring every 20 seconds, until the chocolate is completely melted and smooth, but only slightly warm. This usually takes about 1–2 minutes in total. Be careful not to overheat the chocolate, as this can make it seize. Alternatively, you can melt the chocolate and cream together in a double boiler over simmering water.
- Spread the Ganache: Pour the melted chocolate ganache evenly over the completely cooled and set caramel layer. Gently spread it to create a smooth, consistent top layer.
- Chill to Set: Refrigerate the bars just until the chocolate is set but not overly hard, typically about 10-15 minutes. Over-chilling can make the chocolate brittle and difficult to cut cleanly.
Step 4: Achieving Perfectly Sliced Millionaire Bars
- Lift from Pan: Once the chocolate has set, use the foil overhang to carefully lift the entire slab of Millionaire Bars from the pan and transfer it to a clean cutting board.
- Score and Cut: For the cleanest possible cuts, use a large, sharp serrated knife. Gently score the chocolate layer first, then apply a firm, steady downward pressure with a slight sawing motion to cut through all three layers.
- Clean Slices: For bakery-style squares, wipe your knife clean with a warm, damp cloth and dry it thoroughly between each cut. This prevents chocolate and caramel from sticking and ensures every bar looks pristine.
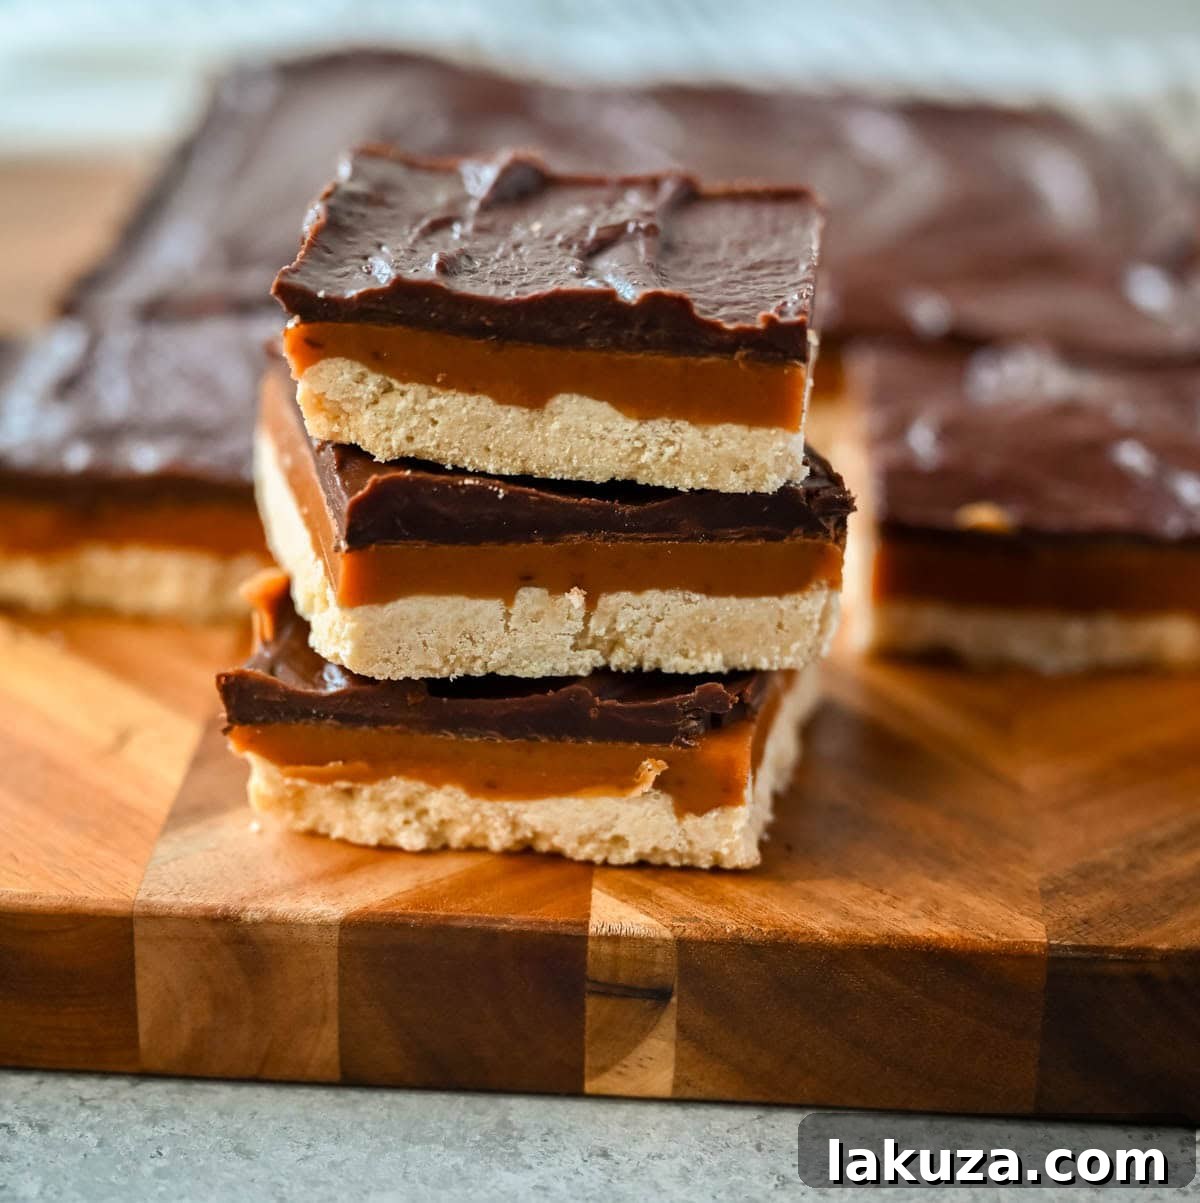
The Unwavering Importance of a Candy Thermometer for Caramel
When it comes to making caramel, precision is paramount, and a candy thermometer is an indispensable tool. Caramel is a highly sensitive concoction where even a deviation of a few degrees can drastically alter its final texture. If the caramel doesn’t reach the correct temperature, it will remain too soft and runny, failing to hold its shape. Conversely, if it cooks for too long or gets too hot, it can become hard, brittle, or develop an unappealing grainy texture. A reliable candy thermometer eliminates all guesswork, guaranteeing that your caramel achieves that signature soft-chewy consistency that defines classic Millionaire Bars. It ensures consistent, perfect results every single time, making your baking journey much smoother and more successful.
Frequently Asked Questions (FAQ’s) About Millionaire Bars:
- Can I use store-bought caramel for these bars?
While you technically can, we strongly recommend making the homemade caramel from scratch. The flavor, richness, and especially the perfectly soft and chewy texture of homemade caramel are far superior to any store-bought alternative, truly making these bars “millionaire-worthy.” - My caramel turned out too soft and runny. What went wrong?
This is a common issue and almost always indicates that the caramel did not reach the correct temperature. Ensure you use a candy thermometer and cook the caramel until it consistently registers between 236–239°F (113–115°C). If it’s too soft, you might need to cook it for a few more minutes to reach the proper setting temperature. - My shortbread crust crumbled when I tried to cut it. How can I prevent this?
There are a few tricks for a non-crumbling shortbread. First, ensure you press the crust very firmly into the pan before baking. Second, and crucially, gently but firmly press the baked shortbread with a sturdy spatula immediately after it comes out of the oven, while it’s still warm. This compacts the crumbs and helps it hold together. Also, make sure it cools sufficiently before layering the caramel. - How can I ensure my chocolate layer doesn’t crack when cut?
The key is not to over-chill the chocolate layer. Refrigerate it just long enough for it to set (about 10-15 minutes), so it’s firm but still slightly pliable. Using a sharp, serrated knife warmed under hot water (and wiped dry) also helps achieve clean cuts. Scoring the chocolate first can also prevent major cracks. - Can I use different types of chocolate for the ganache?
Absolutely! While semi-sweet is traditional, you can experiment with dark chocolate for a richer, less sweet bar, or even milk chocolate for a milder, creamier flavor. Just be aware that different chocolate types have varying fat contents, so you might need to slightly adjust the amount of heavy cream in your ganache to achieve the desired consistency.
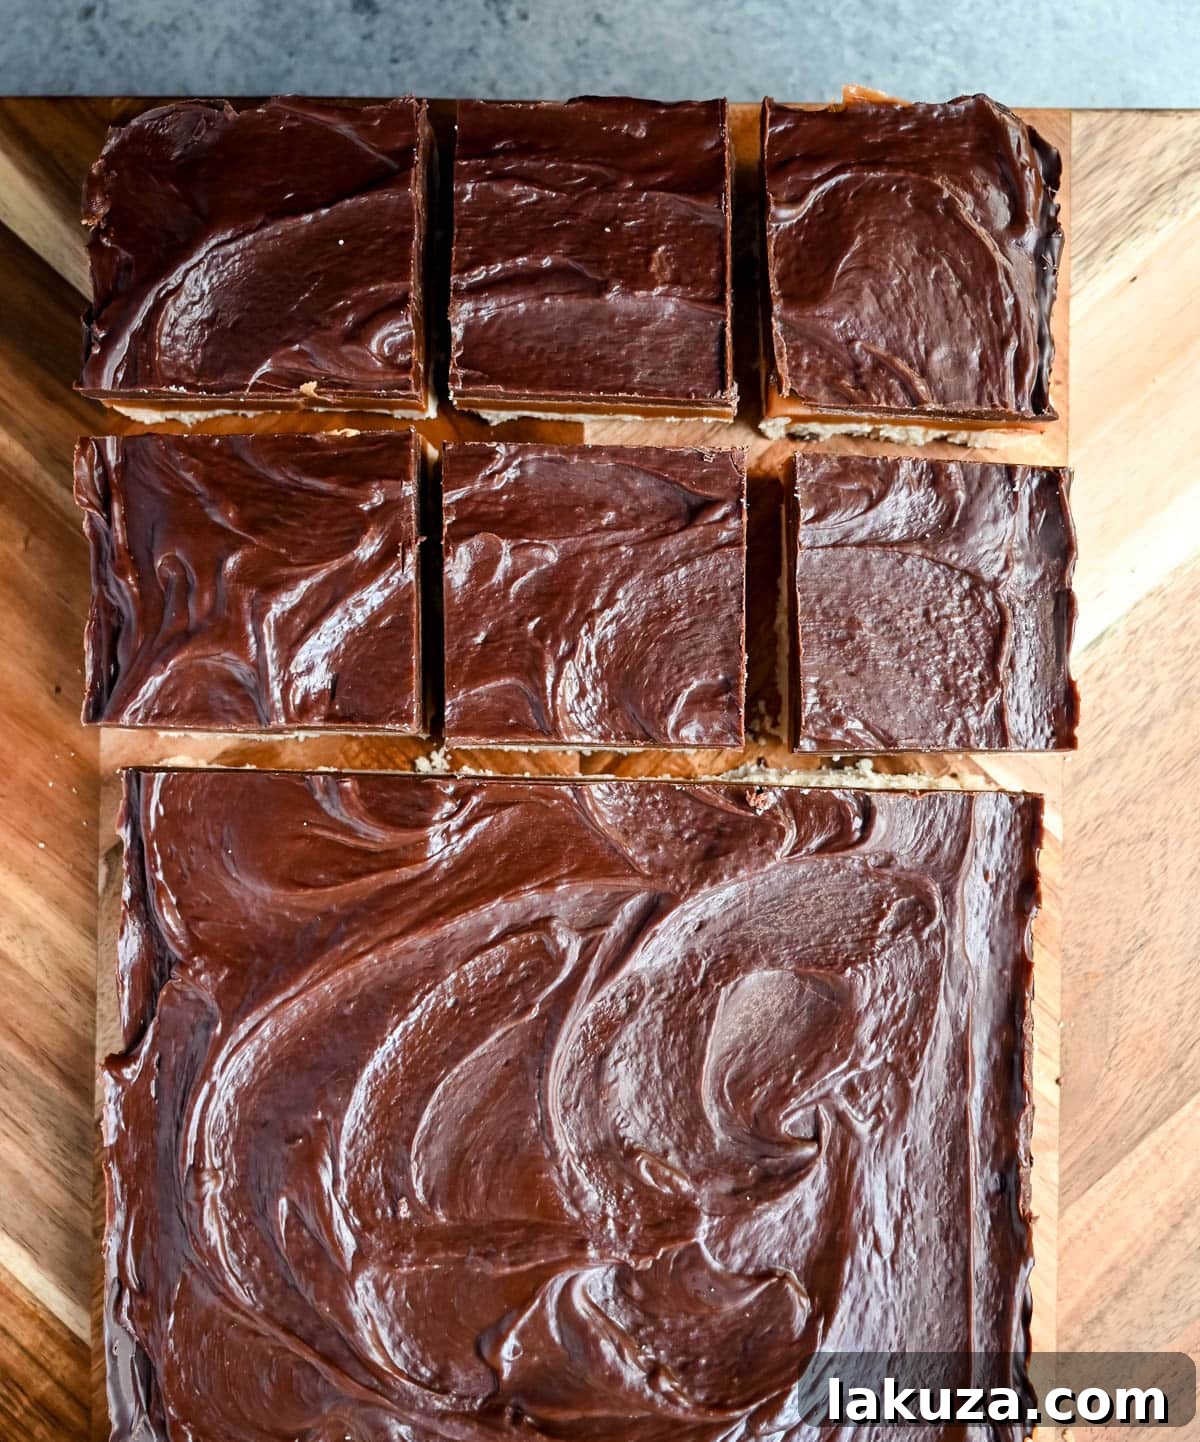
Expert Tips for Cutting Millionaire Bars Like a Pro:
Achieving perfectly neat, bakery-style squares with distinct layers is simpler than you think with these crucial tips:
- Optimal Chill Time: Before slicing, ensure your bars are chilled in the refrigerator for 20–30 minutes. This allows all three layers to firm up slightly without becoming overly hard or brittle, making them easier to cut cleanly.
- Warm, Sharp Knife: The most important tool is a truly sharp knife, ideally a serrated one. For an even cleaner cut, warm the blade under hot running water, then immediately wipe it completely dry before each slice. The warmth helps the chocolate glide, while the serrations tackle the caramel.
- Score First, Then Cut: Begin by gently scoring the chocolate layer to create a guide. Then, use a confident, straight downward motion combined with a gentle sawing action to cut through all the layers. Avoid pressing too hard, which can squish the caramel.
- Clean Between Cuts: For professional-looking results, wipe your knife clean with a warm, damp cloth and dry it thoroughly after every single cut. This prevents sticky residue from accumulating on the blade and marring subsequent slices.
Storage Solutions for Your Millionaire Bars:
Proper storage ensures your Millionaire Bars stay fresh and delicious for as long as possible. Here’s how to keep them at their best:
- At Room Temperature: Store the sliced bars in an airtight container at cool room temperature for up to 3 days. If your home is particularly warm, consider refrigerating them.
- In the Refrigerator: For longer freshness, place the bars in an airtight container in the refrigerator. They will keep well for up to 1 week. For the best texture and flavor, allow them to come to room temperature for about 15-20 minutes before serving. This softens the caramel and chocolate perfectly.
- In the Freezer: Millionaire Bars freeze exceptionally well! Arrange sliced bars in a single layer on a baking sheet to freeze solid, then transfer them to an airtight freezer-safe container or a heavy-duty freezer bag. They can be frozen for up to 3 months. To thaw, simply transfer them to the refrigerator overnight.
Pro Tip: Always layer parchment paper or wax paper between slices to prevent sticking, especially when storing them stacked or freezing them.
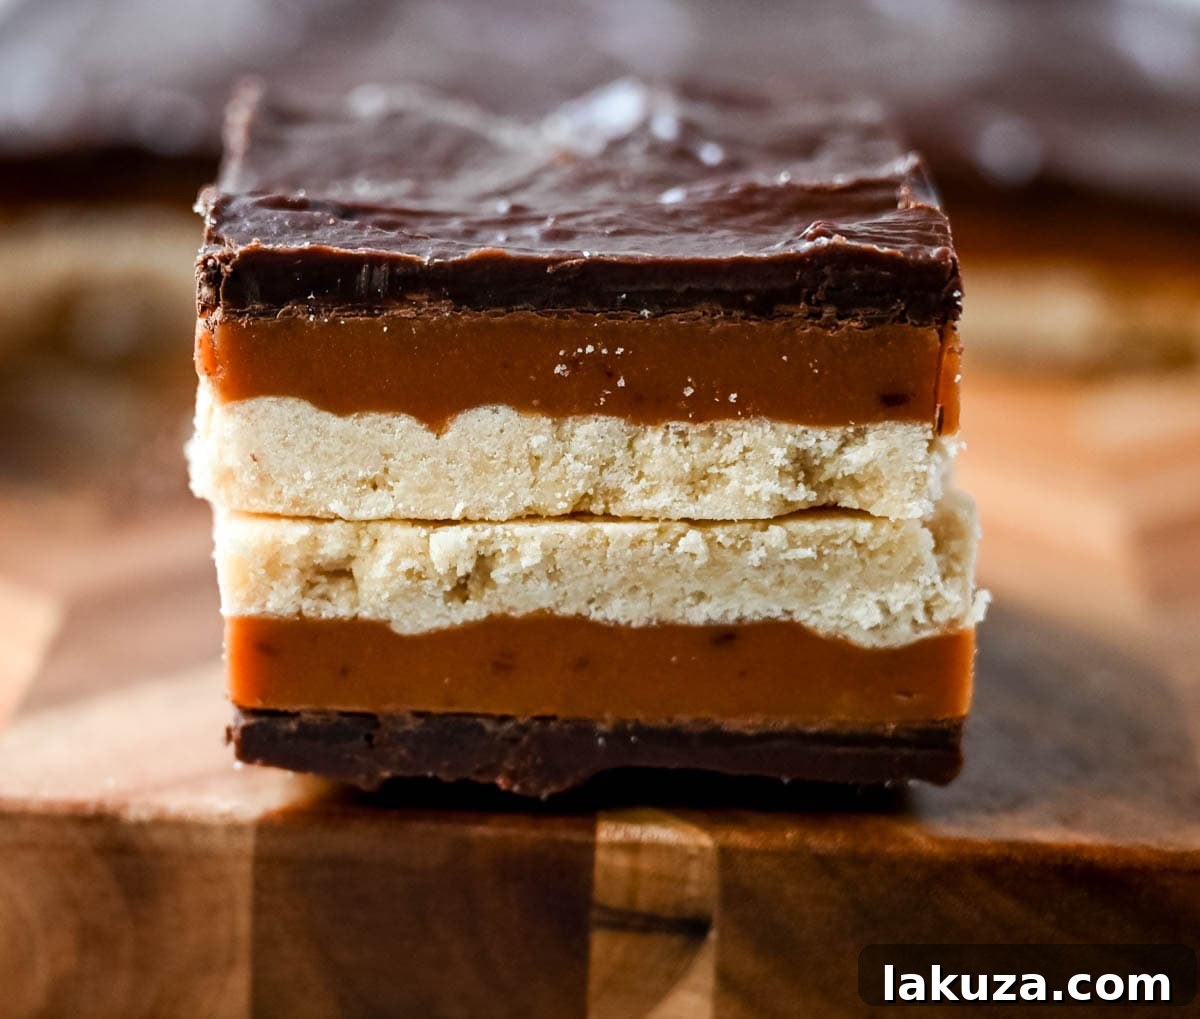
More Irresistible Dessert Bar Recipes to Try:
Bake Sale Trifecta Bars
Nanaimo Bars
Butterfinger Bars
Better than a Boyfriend Brownies

Millionaire Bars
These classic, rich millionaire bars feature a buttery shortbread crust, a thick layer of smooth caramel, and a rich chocolate ganache. An easy dessert bar recipe that everyone loves!
By: Modern Honey® – www.modernhoney.com
Prep Time: 10 minutes
Cook Time: 40 minutes
Servings: 24 bars
Ingredients
Shortbread Crust:
- 1 cup Butter (melted)
- 2/3 cup Sugar
- 2 1/2 cups All-Purpose Flour
- 3/4 teaspoon Salt (reduce to 1/4 teaspoon if using salted butter)
Caramel Layer:
- (1) 14-ounce can Sweetened Condensed Milk
- 1 cup Brown Sugar (packed)
- 1/2 cup Heavy Cream
- 1/2 cup Light Corn Syrup
- 1/2 cup Butter (8 Tablespoons)
- 1/2 teaspoon Salt
Chocolate Layer:
- 12 ounces Semi-Sweet Chocolate (chips or chopped bars)
- 2 Tablespoons Heavy Cream
Instructions
Shortbread Crust:
- Preheat the oven to 350°F (175°C). Line a 9 x 13-inch pan with two long sheets of foil or parchment paper, creating an overhang on all sides for easy lifting. Press the lining snugly into the pan.
- In a bowl, combine the flour, sugar, and salt. Stir in the melted butter until the mixture is evenly moistened and forms a dough.
- Sprinkle the dough over the bottom of the prepared pan, then use your fingertips and palm to press it into a smooth, even layer. Prick the surface with a fork at 1-inch intervals.
- Bake for 25–30 minutes, or until the crust is light golden and firm to the touch. Place the pan on a wire rack and, while still warm, gently press the surface with a sturdy spatula to compact it. Let the crust cool until just warm, at least 20 minutes.
Homemade Caramel Layer:
- Add sweetened condensed milk, brown sugar, corn syrup, heavy cream, butter, and salt to a large, heavy-bottomed saucepan.
- Cook over medium heat, stirring frequently, until the mixture thickens and the temperature reaches 236–239°F (113–115°C) on a candy thermometer. This usually takes 16–20 minutes. Do not rush this step; accurate temperature is crucial for proper caramel texture.
- Immediately pour the hot caramel over the cooled shortbread crust and spread it into an even layer. Allow it to cool completely and set, about 1½ hours, at room temperature.
Chocolate Layer:
- Microwave the chopped chocolate and heavy cream in a bowl at 50% power, stirring every 20 seconds, until melted and smooth but only slightly warm — about 1–2 minutes total.
- Spread the melted chocolate evenly over the cooled caramel layer. Refrigerate just until the chocolate is set but not overly hard, about 10-15 minutes.
- Use the foil overhang to lift the entire slab from the pan and transfer it to a cutting board. With a sharp serrated knife and a gentle sawing motion, cut the bars into desired squares or rectangles. For the cleanest cuts, wipe the knife clean between each slice.
Notes
Caramel is extremely sensitive to temperature. Even a few degrees too low leaves it runny, while too hot makes it hard or grainy. A candy thermometer guarantees the perfect soft-chewy texture, removing guesswork and ensuring consistent results every time.
Recipe adapted from America’s Test Kitchen.
Additional Information
Course: Dessert
Cuisine: French
Keyword: millionaire bars
Nutrition information is automatically calculated and should only be used as an approximation.
We hope you love these Millionaire Bars as much as we do! Don’t hesitate to leave a comment below if you have any questions or simply want to share your baking success.